Use Sunscreen to Shade Realistic Yellow (Copic Markers & Colored Pencils)

Use Sunscreen to Shade Realistic Yellow (Copic Markers & Colored Pencils)

Do your Flowers Look Fake?

Do you dream of coloring realistic flowers with Copic Markers, colored pencils, or even watercolor? Do you keep practicing— coloring lots of flower stamps and trying out new tutorials… but you never seem to get the look of a real flower? Traditional Copic blending techniques fail miserably when it comes to florals. It’s not you. It’s the technique.

Artistic Coloring: Loosen Up! (Copic Marker, Colored Pencil)

 
Do you want to add more artistry to your Copic projects? You need to loosen up a little! | VanillaArts.com


I color upside-down and backwards

Not kidding. 

When I teach live classes, I demonstrate the entire project upside-down and backwards.

My students want to see what I'm doing. And because my classrooms are simple rooms and not high end instructional spaces, I don’t have the luxury of coloring at a fancy table with mirrors or a camera hovering overhead so that students can watch from afar. 

Nope, we’re very low-tech. I tape my project to a small board and rest that board against my chest, project facing outwards. I walk around the room demonstrating and coloring, using my body as a desk.

I know it sounds strange but it works.

My project is upside down and backwards from my vantage point but it's right side up and easily visible to everyone else. Students can watch me color and see exactly what to do.

But here's the thing, my upside down and backwards projects don't look all that different from the ones I color at home sitting at my art table. Sometimes I can't tell which projects were colored which way.

I'm not telling you this to impress you with my amazing upside down coloring skills.

I'm telling you this because you need to loosen up.


Students can be very intense

Do you want to add more artistry to your Copic projects? You need to loosen up a little! | VanillaArts.com

They come to class to learn and they’re quite determined.

They want to mimic every little stroke I make. They copy my moves carefully. They analyze where my strokes start and where they stop; they count how many flicks it takes me to fill the space. Some even ask me to measure how long each flick is. They swoop when I swoop and dot precisely where I dot.

Students try to duplicate everything about my coloring.

Except in all my years of teaching, not one student has ever stood up. 

Nobody puts their project on their chest and tries coloring upside down and backwards.

Which is strange.

They really think they're copying me exactly, move for move, and yet no one has noted that I'm doing it upside-down and backwards.

They’re all  focused on what I’m doing without ever stopping to consider how I’m doing it.

And the how is more important, vastly more important than the number, the length, and the size of my strokes.

Remember when I said that I usually can’t tell whether I colored something in a demo or at home?

That’s because I color the same sitting down at a table as I do standing up.


I color from the elbow and shoulder

So it doesn’t matter where I am or what the furniture is like. You could hang me from a bungee cord over a pit of rabid sharks and I could still crank out a decent flick stroke because I color with my whole arm rather than my fingers.

Coloring from the elbow? Coloring from the fingers?

What does that mean?

Well, pull out a Copic and draw a small square. Now color that square in.

Go ahead and try it. 

Right now, draw a 1 inch square and color it in. I’ll wait until you’re done.

Did you color the square? Good. Now think about what movements you used to fill in that square.

Which parts of your hand and arm were moving?

Need to color another square to find out? That’s okay. I’ll wait again.

Okay, so you colored both squares. 

Now I’m going to make a few educated guesses about what was going on. Ready?

  1. You sat down at a table- because sitting stabilizes your body and the table stabilizes your arm.

  2. You pressed the entire length of your forearm (from elbow to wrist) directly to the table, adding even more stabilization.

  3. You lifted your wrist but that was really only to elevate the marker over the square. Aside from that hovering, you locked your wrist.

  4. For those of you who didn’t hover, you rested the entire pinkie side of your hand against the paper- and if you didn’t lock your wrist, you made every effort to keep it still and stable.

  5. All of the coloring motion came from the movement in your knuckles- primarily your thumb, index, and middle fingers.

And all of that stabilization and support is why you make teeny tiny, up-tight, constipated looking projects.


You need to loosen up!

You've got to move your body when you color. You should be having fun dancing with your markers.

Do you want to add more artistry to your Copic projects? You need to loosen up a little! | VanillaArts.com

Look, it’s not your fault. You’re doing exactly what your kindergarten teacher told you to do when she taught you how to make your A, B, Cs. Printing and penmanship are finger actions. You work from the knuckle and that gives you the ability to make tiny yet precise movements.

But that isn’t how to paint.

I know, you’re coloring with a Copic Marker but that marker has a brush nib on it.

Brush nib.

A brush.

This indicates that the proper use of this tool is to treat your Copic like a paintbrush.

Painters don’t choke up to the tip of their paintbrushes. They don’t crab up on their canvas and work with their nose hovering two inches away from the painting.

And I see colorers do this all the time. You curl up around your coloring project like a boa constrictor, making teeny tiny movements that are tight and micromanaged. You white-knuckle the marker with a death grip. You give yourself carpal tunnel syndrome and pins & needles circulation problems.

And that tension? Whoa! It definitely shows in your coloring.

Constipated coloring is a real turn-off.

Lighten up and loosen up. For your health and for your art.

It’s not good to grip your marker as if you just fell off the Titanic- as if that marker is the only thing keeping Celine Dion from writing a song about your death.


Uptight coloring hurts your hand

It also kills your project.

Good flicks are light and swishy.  It’s like licking an ice cream cone- you don’t do it with all the force you can muster. There’s a delicacy to keeping everything from going splat on the sidewalk.

Do you want to add more artistry to your Copic projects? You need to loosen up a little! | VanillaArts.com

A good series of flicks is carefree and a little loosey goosey.

And that motion has to be generated from the largest pivot point on your arm that you can give it.

The smaller the joint you use, the more cramped and stunted your flicks will be.

Finger flicks are stubby.

If the movement of your flick comes from the wrist, that’s an improvement over your fingers. But it’ll be even better if you can move from the elbow or the shoulder. There should even be a little waist and spine twist action involved.

After a long coloring session, pay attention to what hurts. If your fingers are sore, that’s a bad sign. If you feel it in your triceps and biceps, that’s great!

I use the metaphor of dancing a lot, and it’s on purpose. Nobody stands out on the dance floor, moving just their index fingers. Gettin' down and grooving is a whole body event. Coloring should be too.

Now I’m not going to lie to you. It takes practice to color from the elbow with control but the effort is worth it. You’ll notice an improvement in the length and lightness of your flicks and improved blending powers, but also in the expressive nature of your coloring.

Expressive is good. That's the artsy stuff that makes you look like a pro.

It’s a mistake to curl your entire body inward when you color. 


Most colorers concentrate too much

Concentrate, it’s right there in the word. Concentration isn’t just thinking super-duper hard, concentration is also the word we use to describe a reduction. 

When you reduce your motion and microfocus everything into your fingers, you hamper your artistry.

Do you want to add more artistry to your Copic projects? You need to loosen up a little! | VanillaArts.com

Where is your heart located? 

Your heart is inside your chest, in the core of your body.

When you are tightened-up and coloring with just your fingers, you are not coloring from the core. 

You can’t add heart to a finger project.

Step back so that you can see your work. Move away from the table slightly so that you can freely swing your arm. Loosen up, bend and sway so that you can extend the length of your flicks and add some character to your strokes.

And relax. Because perfect blends and precise color placement do not make the art. 

Artistry comes from your core. Use your heart and you’ll make better art.


Want to add more artistry to your coloring?

Read more Adding Artistry articles:

Artistic Coloring- Adding Creativity to Your Copic Projects: Your Brain Lies!


Time vs. Talent: Your Copic Marker Skills and Your Schedule

 
There is a natural ebb and flow to Copic Marker skills. Are you too harsh on yourself given the time you have available? | VanillaArts.com


Today is my first day back to work

My family and I spent nine days on a lake in the woods. Remote and relaxing. 

The best thing about our vacation was that I put stuff away. I didn’t sneak into town for wi-fi; in fact, I barely checked my phone.

And for the last nine days I have not drawn or colored anything.

I know that sounds strange to anyone who colors for fun. Most of you dream of having enough free time to color late into the night.

But art is my job. It wouldn’t be a vacation if I dragged my work with me. So I haven’t touched a pencil or marker in nine days.

That’s a long time for my hands to sit dormant.

Which means that I’m not going to be drawing anything amazing today. Pretty much everything I draw or color for the next several days is going to be a stunted version of my usual work, way below average.

I’m mentally preparing myself. It’s going to sting my ego but nothing I create this week will be worth saving. It will all be lack-luster.

Because I spent nine days at the beach.


I’m out of practice

When I left on vacation, I was in the zone, making some really good stuff. But I can’t expect to spend nine days unplugged and then return to peak performance. Frankly, even if it were only a long weekend, I would still have trouble recreating the magic on my first day back.

There is a natural ebb and flow to Copic Marker skills. Are you too harsh on yourself given the time you have available? | VanillaArts.com

Art skills wither when you’re not using them. It doesn’t take very long to lose your groove.

Now let me ask - how many days has it been since you last colored something?

How many days do you typically go between Copic projects?

And for those of you who dabble with Copics, colored pencil, ink pads, and lots of trendy stuff… how many days days does it take for you to cycle from markers through all your other play toys and get back to markers?

Be honest, how many days a month do your markers sit untouched?

Each one of those days is a day in the woods.

It’s not uncommon for me to hear students chatting before class… “I can’t wait to get started because I haven’t colored since our last class.” 

That's very normal. Most colorers only pull out their supplies when they have downtime and downtime is downright scarce. I have students take classes specifically because if they weren’t paying for dedicated coloring time in a classroom, they’d get detoured by laundry or email.

And yet when you do find time to color, even though you haven’t touched a marker in weeks, you expect to sit down and effortlessly create your greatest masterpiece ever?


Can we get real?

Nobody, not even the most skilled of artists, not Leonardo freakin’ Da Vinci could spend the better part of a month dealing with kids, yard maintenance, and mandatory overtime but then crank out the Mona Lisa on a random Wednesday night.

I spent nine days on a lake in the woods and I know it’s going to take at least a week to warm back up to the point where I can create something worth showing here on the blog.

And you’re trying to do top level work squeezed in-between the office, the grocery store, and junior’s soccer practices?

You are putting too much pressure on yourself!

There is a natural ebb and flow to Copic Marker skills. Are you too harsh on yourself given the time you have available? | VanillaArts.com

Great coloring happens when you are in the perfect mental state, when you’re warmed up and the marker feels like an extension of your fingers. Top level work happens when your hand and brain are communicating at lightning speed. You can’t tap into creative flow when you only color every once in a while. 

I’m sure you know how to ride a bicycle but if I handed you one right now, you’d bobble and sway around for a few minutes until you found that old equilibrium, right?

And here you are expecting to win the Tour de France with Copics on one night each month?

Stop and think a minute- we all have a favorite marker blogger or design team members we really admire. You pin their work and when it comes time to color, you have their projects in mind. You want to color just like them.

But they’re in the zone. They’re warmed up and running smoothly on sustained creative activity. At the very least, they’re coloring as a part time job.

Do not berate and downgrade yourself.

You can not color like your hero if you’re not coloring as much as your hero.


I’m not saying this to dishearten you

I’m not ordering you pitch your career and ditch the family in order to spend more time coloring.

My point is simply to lighten up. Stop comparing your work to someone who colors for three to four hours every day. Stop envying the project of a star student who takes fourteen coloring classes a month. You are not being realistic and you’re slowly killing off your joy.

You enjoy coloring, right? 

But you’ll enjoy it a little less each time you expect too much from yourself. 

“I like to color but I’m not very good at it”

That’s the kiss of death for your soul. You’re holding yourself to a higher standard than what your schedule allows for.

Good takes time. Great takes even more time.

You are spending three weeks at the beach and expecting to drop into marker class and create a miracle.


Let’s be realistic

Do you have to color every single day of your life to color well?

There is a natural ebb and flow to Copic Marker skills. Are you too harsh on yourself given the time you have available? | VanillaArts.com

No.

You can make some pretty good stuff with the time you have available.

But I’m not going to sugar coat it. You’ll never, never, never color at your peak level if you are not doing it every day.

Just like you’ll never win an Olympic medal for Fencing, you won’t place top five in the Indy Car circuit, and you are not going to be on the cover of the next Sports Illustrated Swimsuit Issue.

If you’re not training for it, it ain’t gonna happen.

Be okay with that.

If you have more time, squeeze in a little more coloring. You’ll immediately see the results of more practice. More time with a marker in your hand pays definite dividends.

But if you can’t, you can’t. 


Your coloring will always reflect the amount of time you have to give 

Maturity is the ability to accept that fact without disparaging yourself.

It’s okay if you can only color in my classroom. It’s okay if you can only pick up a Copic once or twice a month. 

What’s not okay is asking yourself to color wow-level beautiful projects after an extended period of time away from the markers. 

You are not in the zone. Be honest about it.

It’s not that you don’t have talent, it’s that your talent hasn’t been given time.

And besides, there’s nothing wrong with nine days at the beach.

Seashell Trio

Join me for a fun Copic Marker + Colored Pencil lesson in the Vanilla Workshop

Seashell Trio was recorded live, now it’s a forever access class.

Art of Coloring is a live demonstration program from Vanilla Arts. Edited classes with perfect narration tend to make the coloring process look faster, easier, and smoother than it really is. Stop comparing yourself to the supermodel version of an artist!

Real time coloring with real mistakes and real fixes.

Class Printable Pack Includes: 

  • Class syllabus with detailed recipe guide

  • Full color project sample

  • Guide to Copic base

  • Detailed color map

  • Project inspiration references


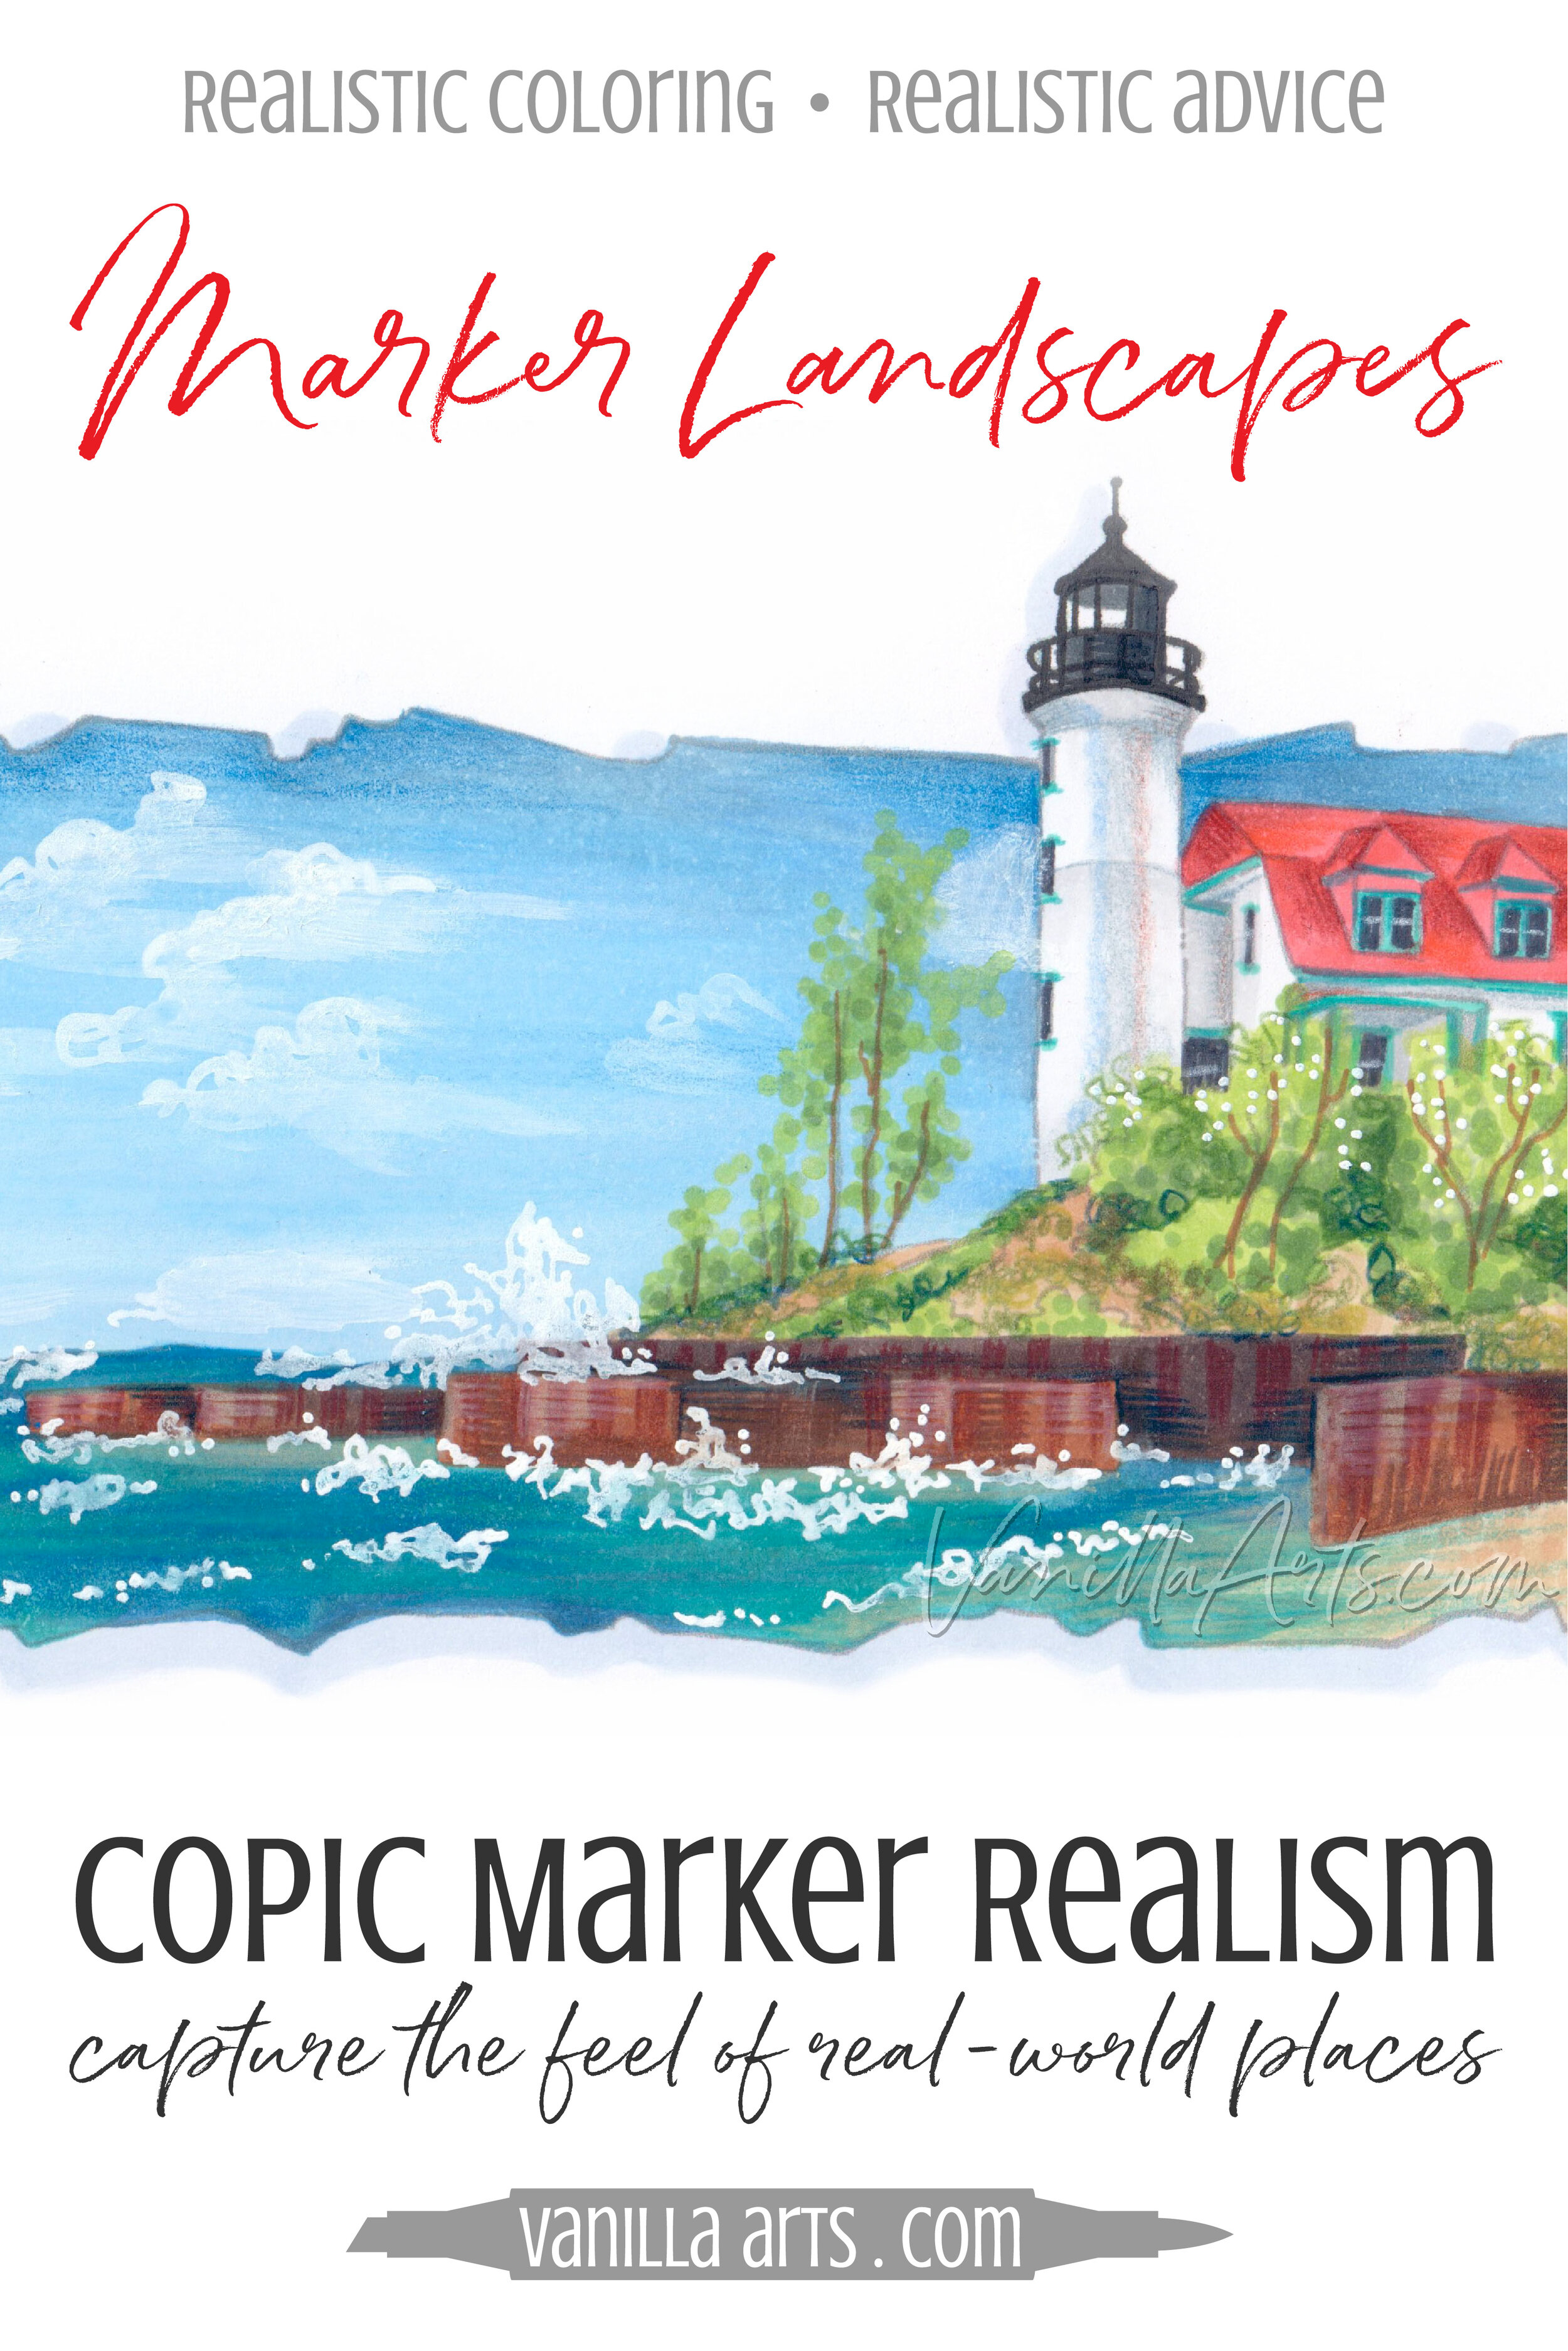
Realistic Landscapes with Copic Marker & Colored Pencil

 
Get your FREE copy of the "Point Betsie" digital stamp in August 2017. Join the Free Digi Club for a new stamp every month! | VanillaArts.com


A Lake Michigan Vacation!

"Point Betsie" is a Marker Painting Workshop that introduces you to coloring realistic landscapes.

Marker Painting Workshops are NON-SEQUENTIAL!

All of my Workshop classes are ANYTIME ACCESS. Work at your own pace and repeat the project as many times as you'd like.

Get your FREE copy of the "Point Betsie" digital stamp in August 2017. Join the Free Digi Club for a new stamp every month! | VanillaArts.com

The Point Betise digital stamp is included with class purchase! My digital stamps are ideal for Copic marker coloring but they also work great with colored pencil and even watercolor. My stamps are full of wide open spaces to blend and celebrate pretty color. There are no distracting texture marks to get in the way of your creativity!
That's what the "Vanilla" in Vanilla Arts Co. is all about. I give you the vanilla base, you add the hot fudge, the sprinkles, the whipped cream, and the Copic ink!


Point Betsie is a real place!

Located along the shores of Lake Michigan, just outside of the town of Frankfort, Point Betsie is the warning signal that northward boats are about to encounter the shifting sands of the Sleeping Bear Dunes and the Manitou Islands.

Northern Michigan is gorgeous and Point Betsie is a point of pride for those of us with roots there.


Point Betsie

 Join me for a fun Copic Marker + Colored Pencil lesson in the Vanilla Workshop

Point Betsie is an intermediate skills class, that introduces you to coloring realistic landscapes

Learn to incorporate real artistry into your coloring projects, one concept at a time. Every Workshop details a new method for enhancing realism, depth, and dimension.

Each class stands on its own as independent learning. You don't have to take six of my other classes to understand this lesson.

Workshops are NON-SEQUENTIAL!

All of my Workshop classes are ANYTIME ACCESS. Work at your own pace and repeat the project as many times as you'd like.

Come color with me. It's a ton of fun!

Class Printable Pack Includes: 

  • Class syllabus with detailed recipe guide

  • Full color project sample

  • Guide to Copic base

  • Detailed color map

  • Project inspiration references


If you’re looking for the Free Digi Club, the program has been discontinued.

You can check out the many free resources at VanillaArts.com which include the Studio Journal Article Archives, Vanilla Beans, YouTube (demonstrations & tips), Computer for Colorers, Undercover Swatches and Instagram for Works in Progress.


"Big Sable Point" a digital stamp by Amy Shulke of VanillaArts.com. Learn to color landscapes using Copic marker, colored pencils, and a dash of point. | VanillaArts.com

Point Betsie has a companion Class!

If you enjoy coloring Point Betsie, be sure to check out my other Lake Michigan lighthouse workshop, Big Sable Point.

I've had so much fun drawing these stamps and creating these classes that I hope to make an entire series of Great Lakes lighthouses.

Both stamps use the same techniques and very similar supply lists.