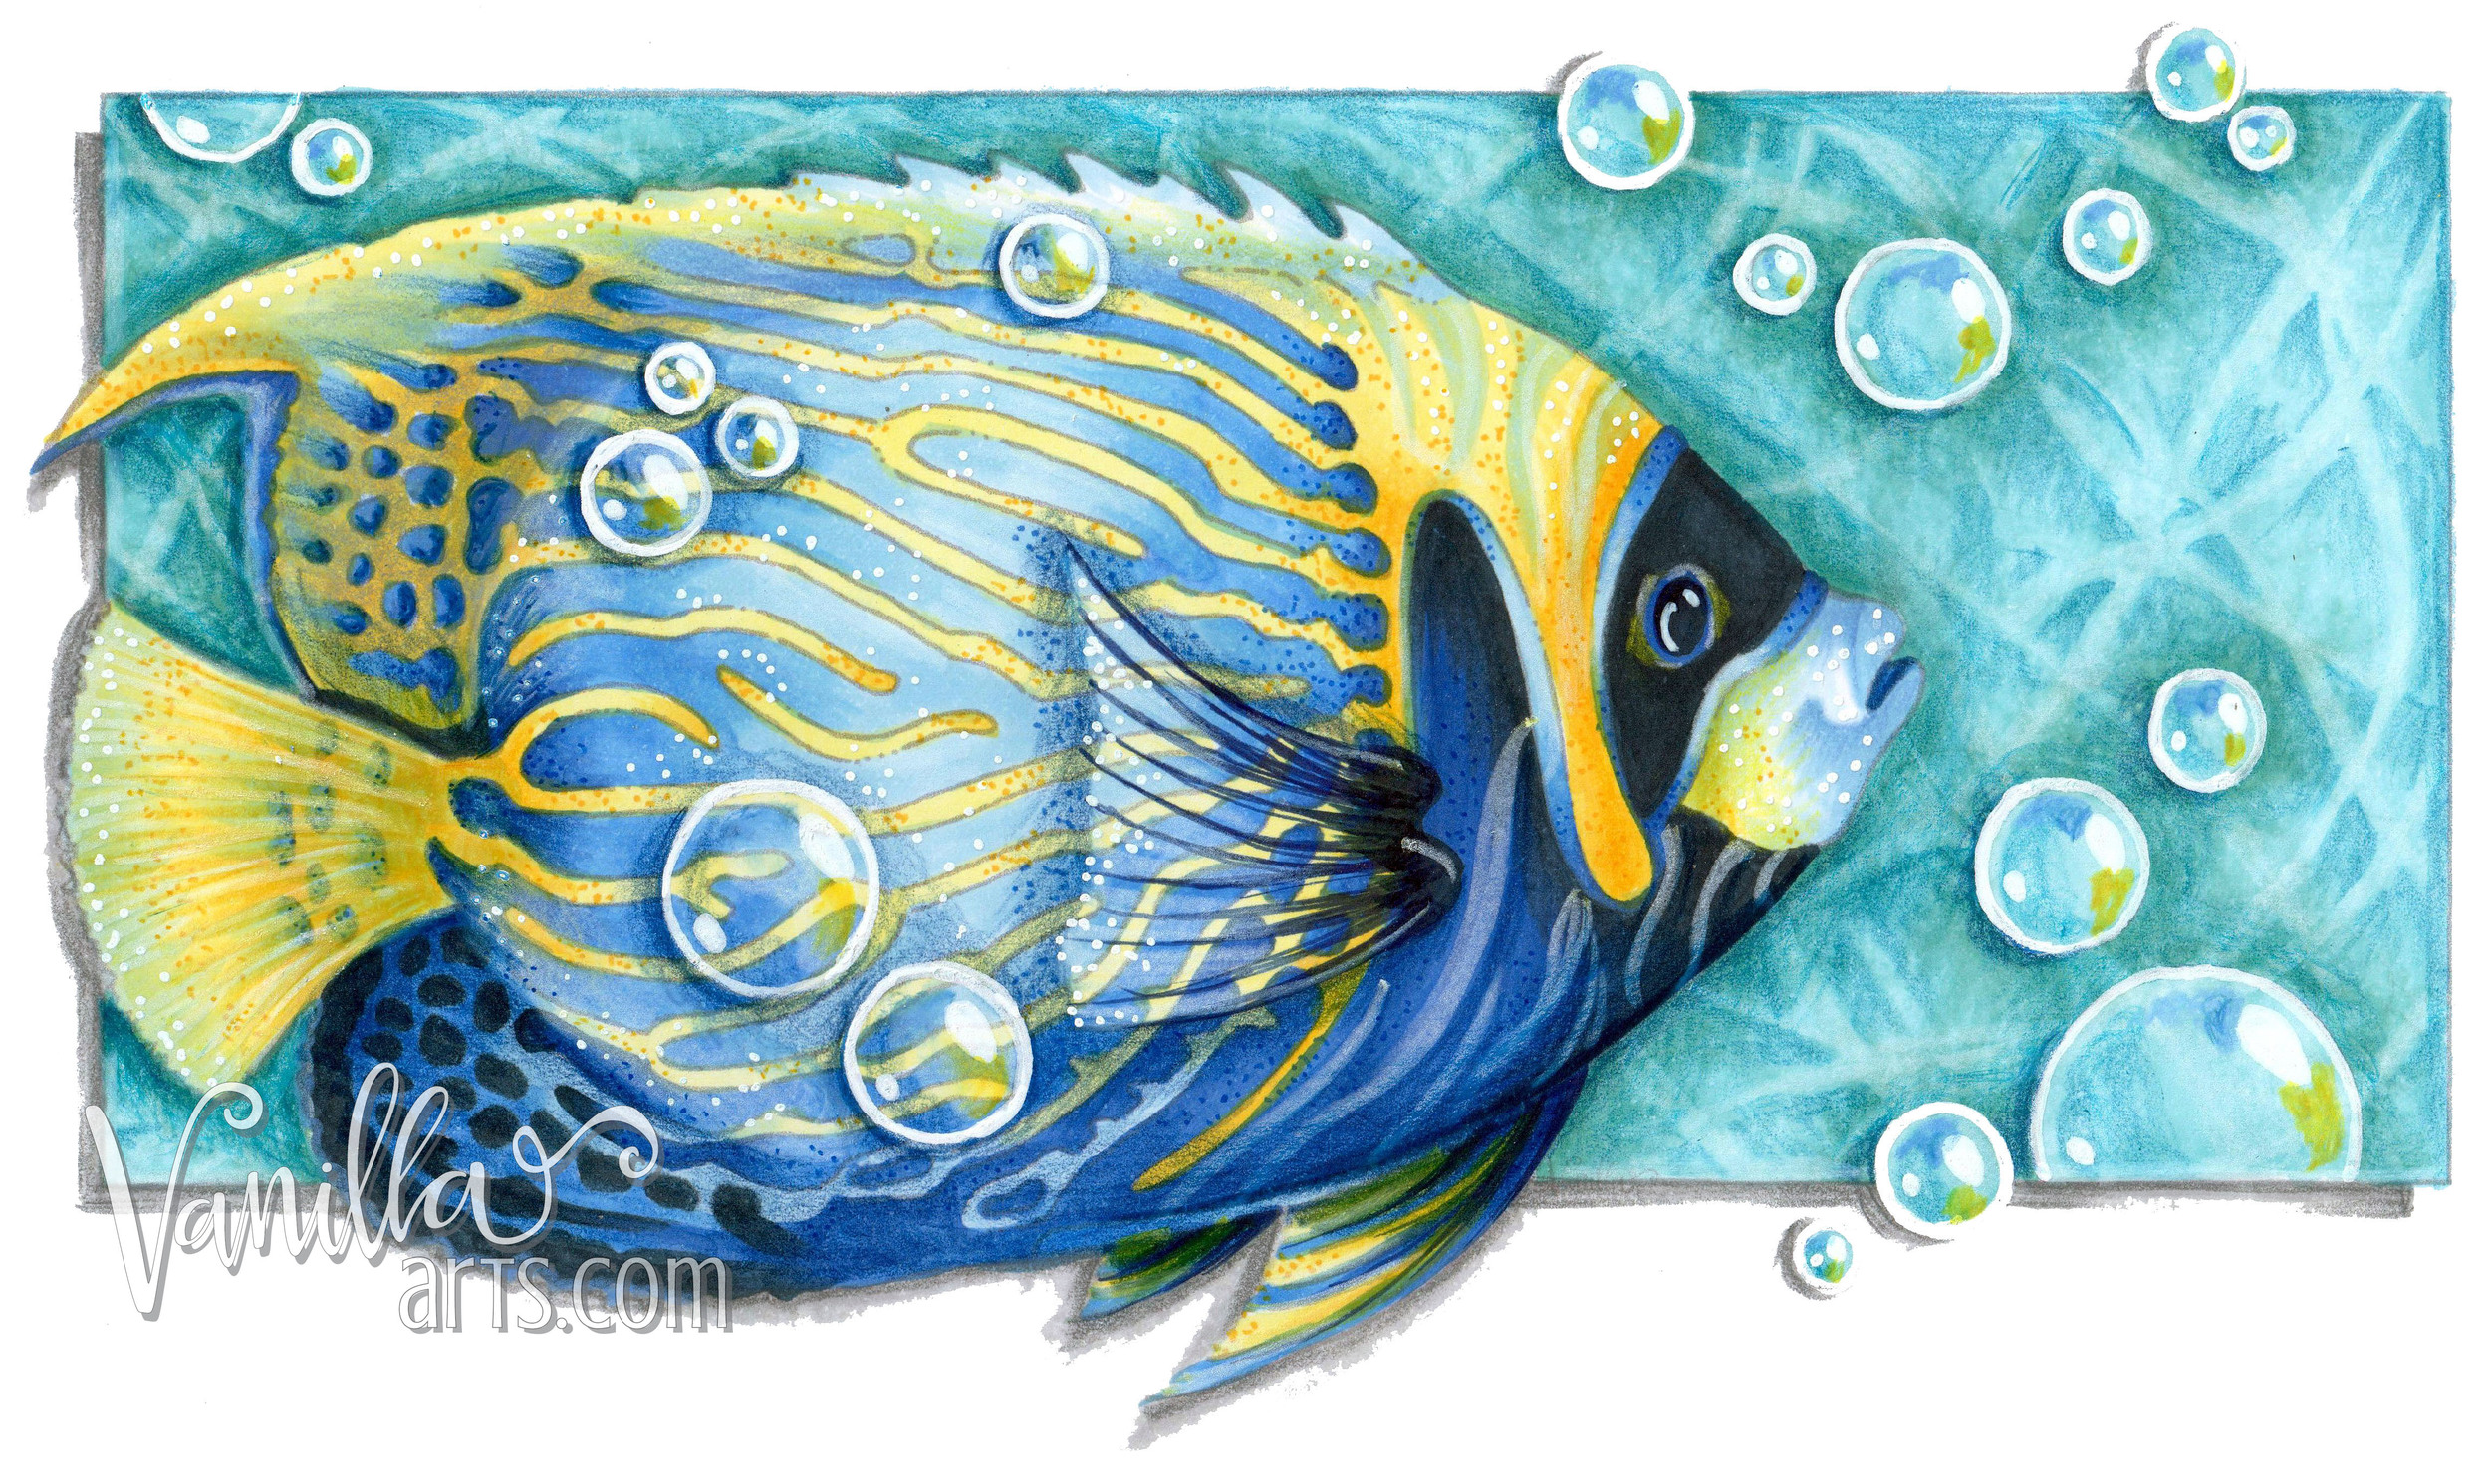
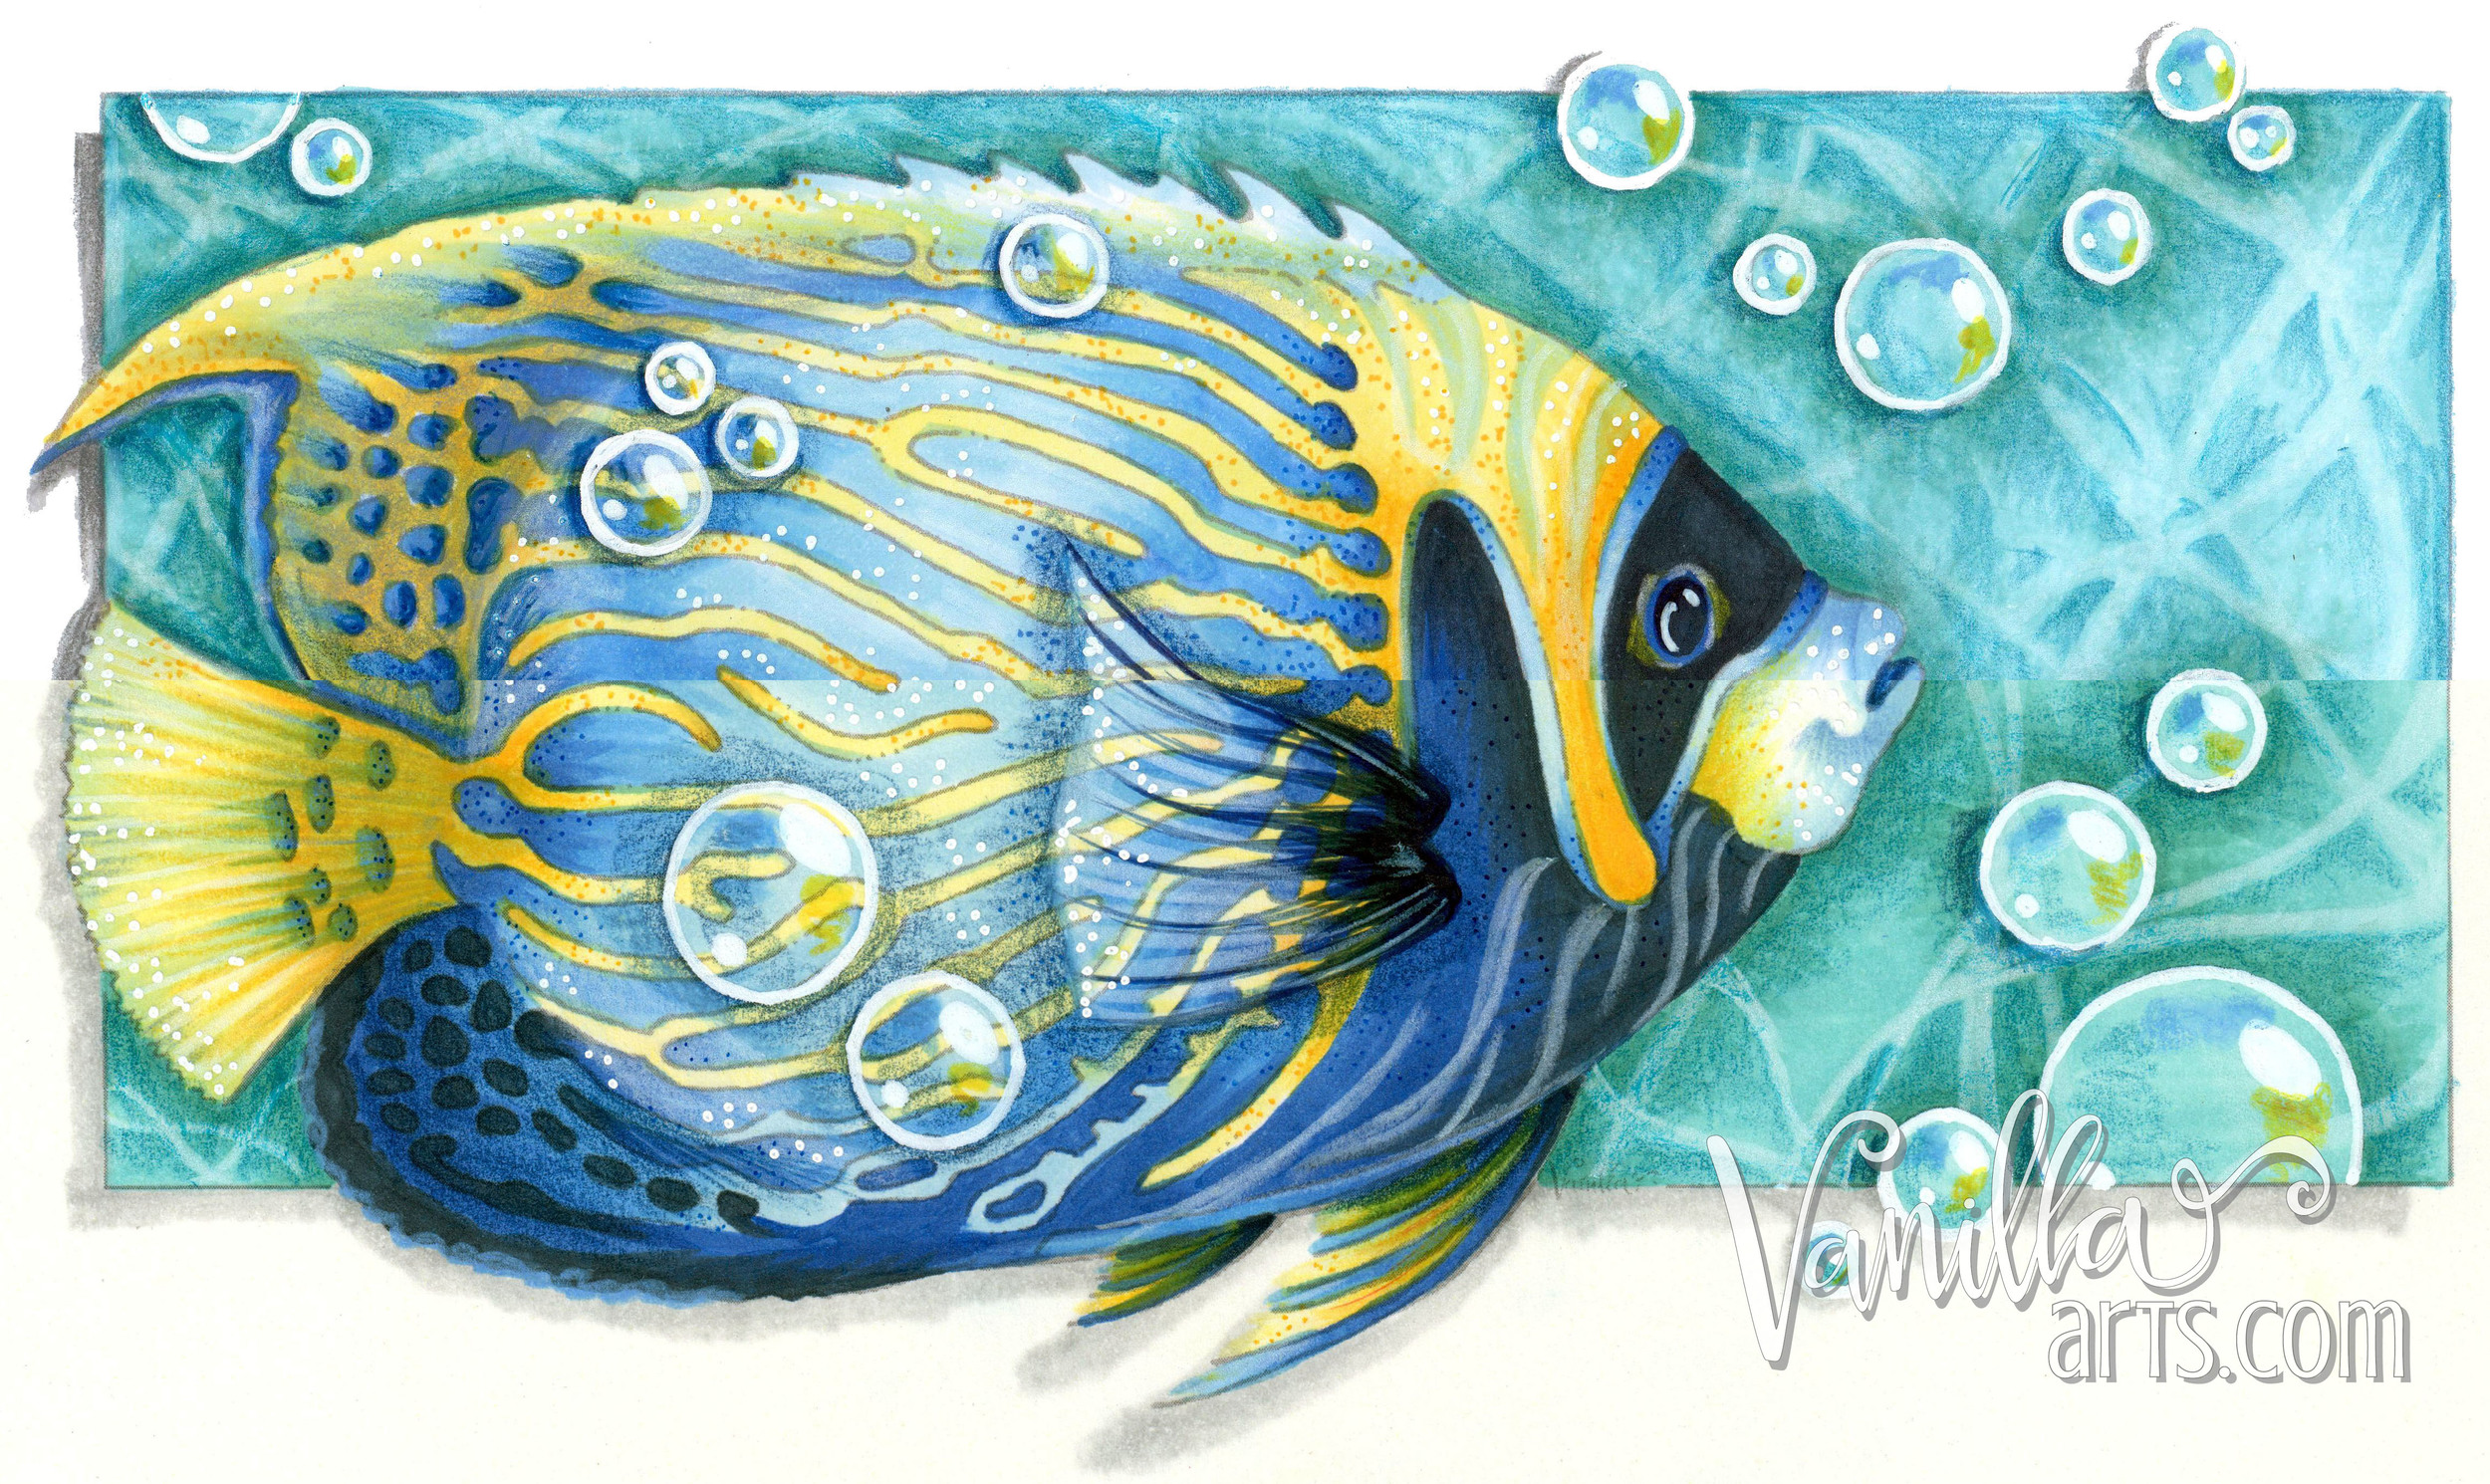
Intermediate Marker Painting Workshop "Copperbanded Butterflyfish"

Something's Fishy...
Join me and my intermediate to advanced students as we color a Copperbanded Butterflyfish.
This lesson is all about the difference between pattern and texture. Learn how to use both to make your images really sing!
Lesson: Pattern and Texture
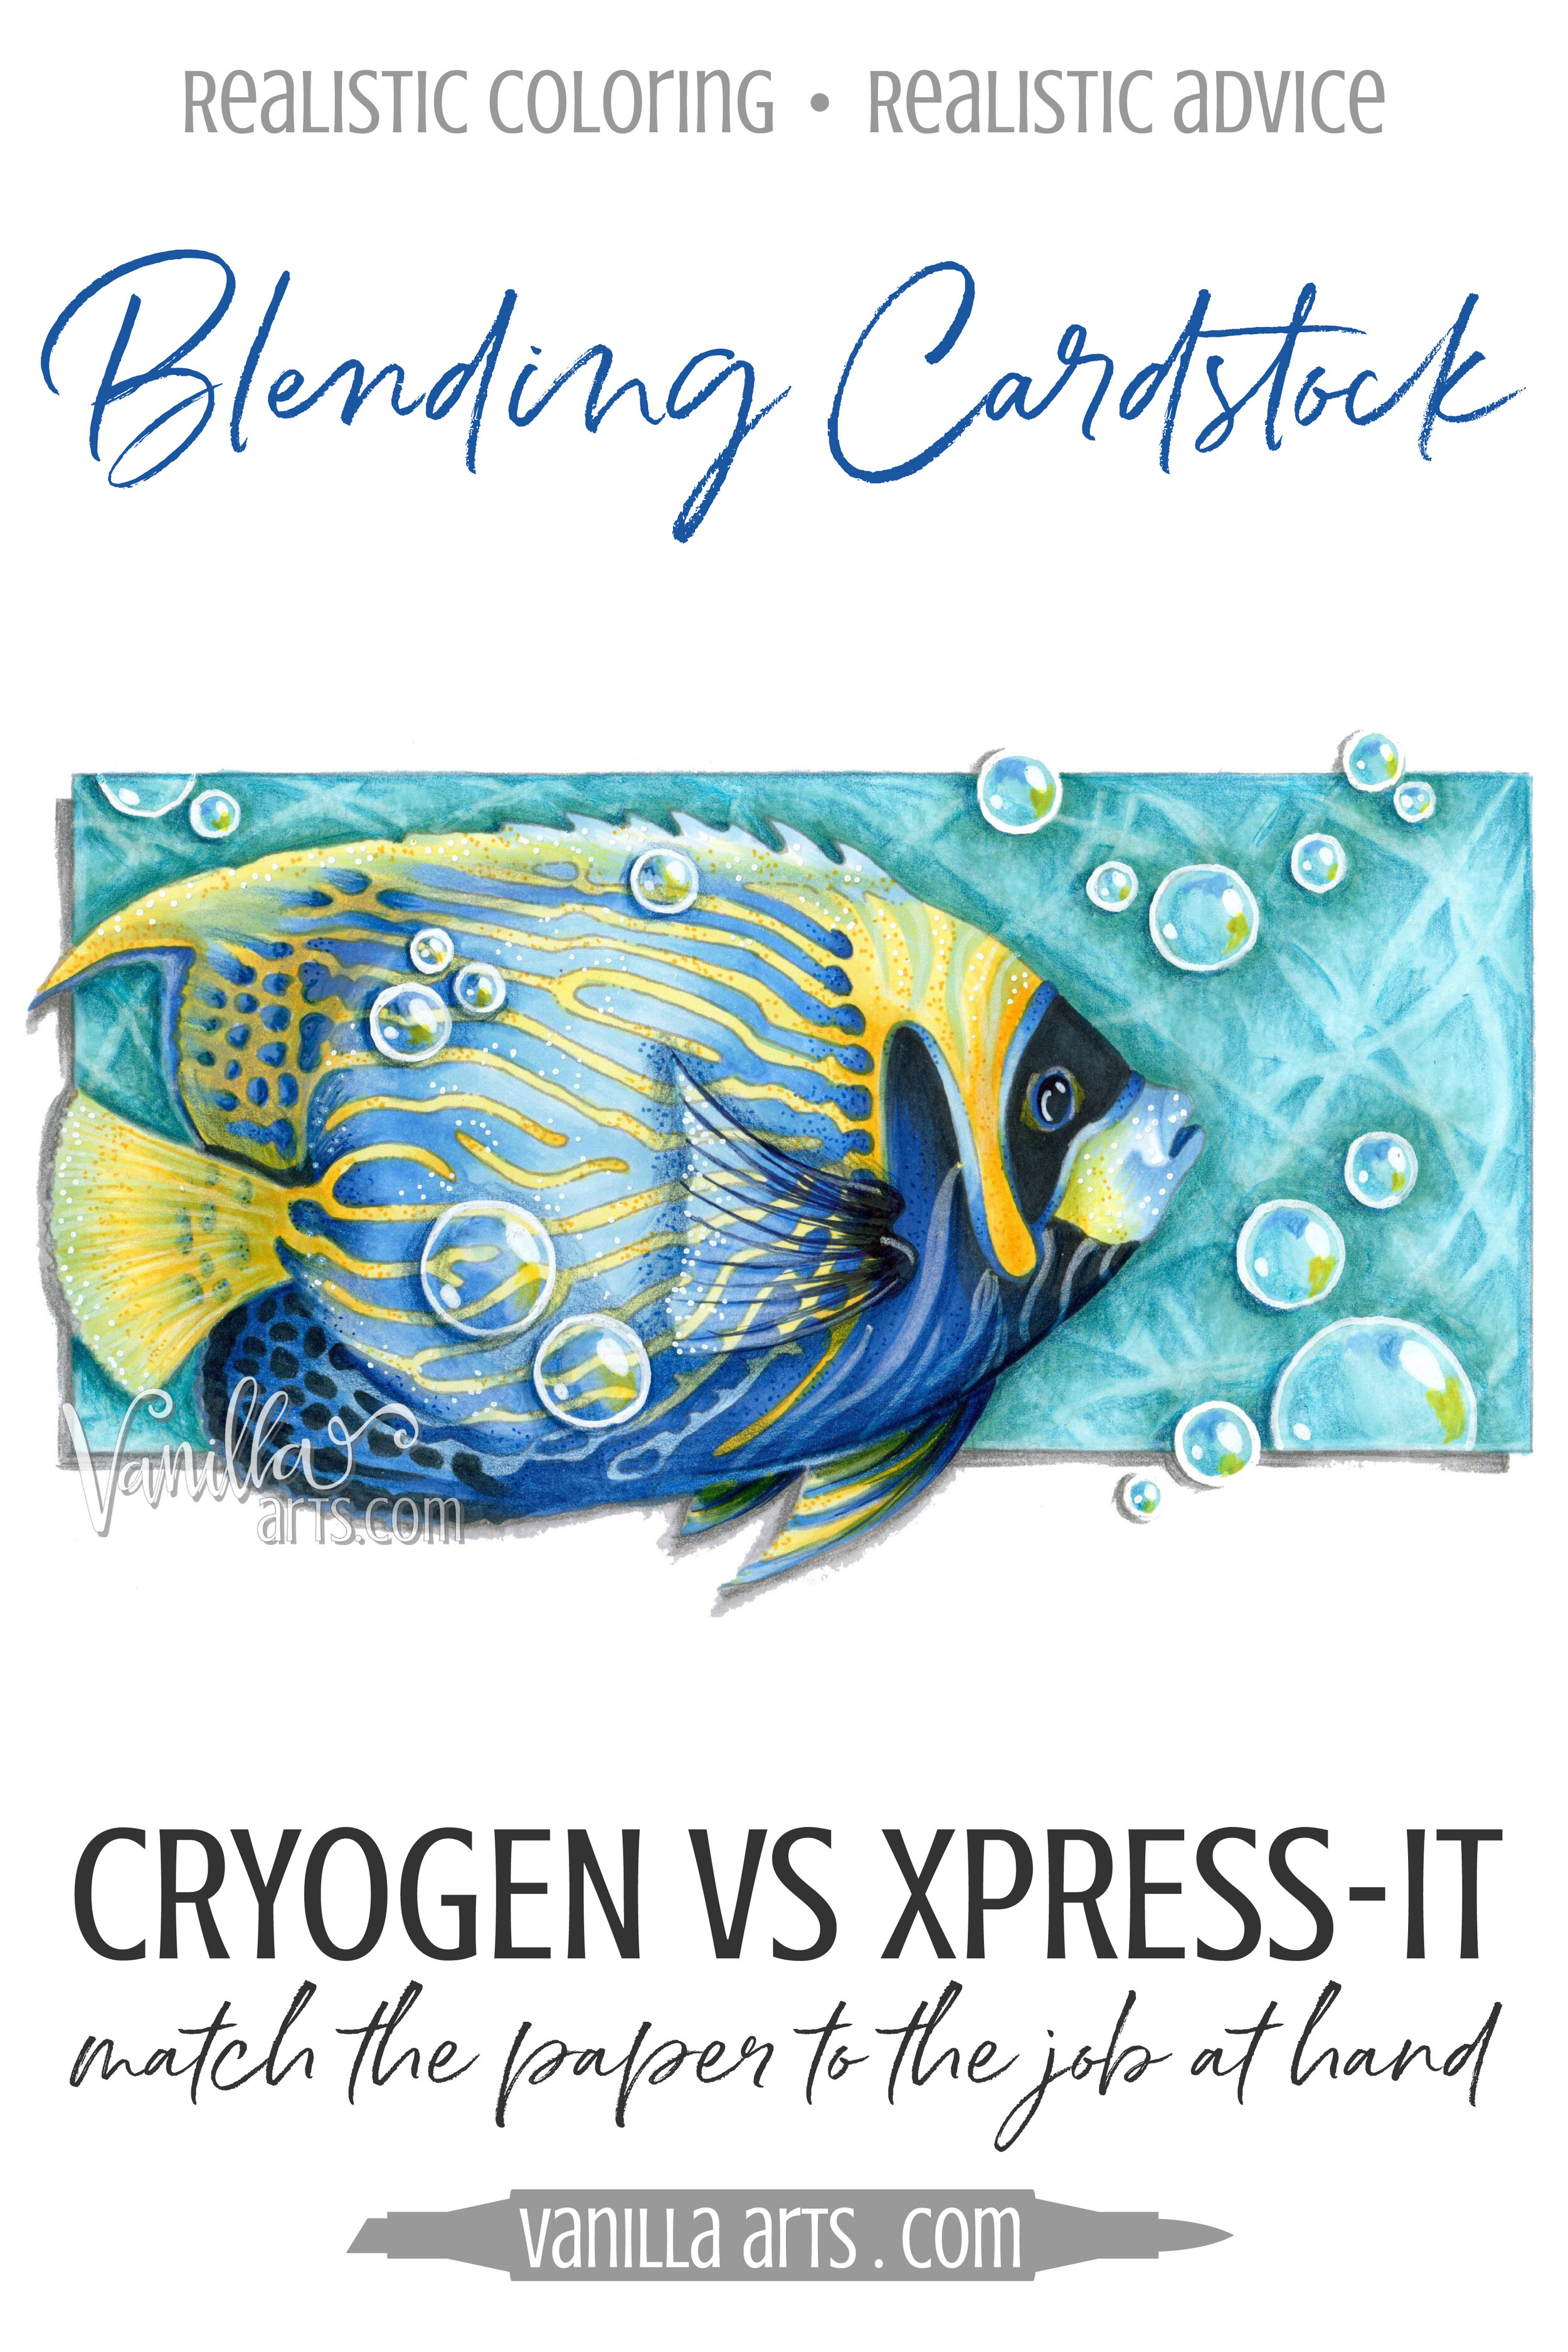
Image: "Copperband Butterflyfish" by Vanilla Arts Co.
Copperbanded Butterflyfish is now available as a class with anytime access!
Copperbanded Butterflyfish
Join me for a fun Copic Marker + Colored Pencil lesson in the Vanilla Workshop
Copperbanded Butterflyfish was recorded live, now it’s available as a Marker Painting Workshop with anytime access.
Art of Coloring is now a live demonstration program from Vanilla Arts.
Edited classes with perfect narration tend to make the coloring process look faster, easier, and smoother than it really is.
Stop comparing yourself to the supermodel version of an artist!
Real time coloring with real mistakes and real fixes.
Class Printable Pack Includes:
Class syllabus with detailed recipe guide
Full color project sample
Guide to Copic base
Detailed color map
Project inspiration references


Head to Head: Blending Cardstocks- Cryogen versus X-Press It

Nobody rides a bicycle on the beach...
Bikes are great; you can go a lot of places on a bicycle.
But if you're sunning your buns at one end of the beach and the daiquiri bar is way the heck down at the other end... it's highly unlikely that you're going to use peddle power to cross a mile of sugar sand beach.
Bicycles don't work very well in the desert; they're not so great underwater and I'd hate to be left with only a bike during a Michigan January.
Now I'm not beating up on bikes and bicycle enthusiasts. I love my bike.
But only an idiot tries to use a bike in a snowstorm. It simply isn't designed to do what you're asking it to do.
Smart people match the tool to the task
That includes paper.
Especially when you're working with Copics and colored pencil. Trying to blend alcohol markers on a dollar store drawing pad is like trying to peddle your way down Daytona Beach.
You're not using the right tool to facilitate good blending.
Sadly, Cryogen went out of business in 2022. I’m keeping this article published as an example of what to look for in good marker paper and how to test paper on your own.
For years, I've used x-press it blending card
Not just faithfully, I've used it exclusively.
For my style of marker painting, it simply works best.
Ink stays wet on the surface of X-Press It paper slightly longer than with other blending cardstocks. That extra wet-time allows for better blending. I see significant improvement when I move students from their preferred paper to X-Press It.
But X-Press It has one major drawback

I combine marker with colored pencil. The combination of wet and dry gives me more depth, texture, and mark versatility than is possible with just marker alone.
I love my X-Press It. The problem is that X-PI is everything a colored pencil paper should not be.
X-Press It is super slick with a slightly resistant surface. Way smoother than hot press, it's Bing Crosby driving a Zamboni eating butter kind of smooth.
Meanwhile colored pencil likes things gritty. Artists call it tooth; a good colored pencil paper has tiny jags and crevices which grab hold and collect pencil pigment as you color.
X-Press It cardstock is as toothless as the starting line-up for the 1972 Red Wings. Trying to color with colored pencil on X-PI is like spreading grape jelly onto a greased pig. About 70% of what you lay down ain't gonna stick.
So not to make light of Sophie's Choice, but at the start of every project, I'm usually standing at the train station trying to pick between X-Press It for Markers or Vellum Bristol for colored pencil.
Then I rediscovered Cryogen
A student once handed me some sheets of "sparkle paper" in class. I'm always up for trying a new paper, but she presented it as a marker paper, something another Copic instructor had recommended.
It was a nice cardstock, smooth with an interesting pearly flake embedded in the pulp. I made a few test swatches and no angelic chorus descended from the heavens. I decided I liked X-Press It better and filed the Cryogen away in my drawer of assorted paper.
Time passed.
I cleaned out that drawer last month and came across some unmarked sheets of cardstock. As I'm mentally berating the wheel running hamster who lives in my head for not labeling the paper... my fingers... they were feeling the paper. I was actually petting the paper.
And the hamster started dancing
He danced and sang because we were petting a marker cardstock with a bit of tooth.
Holy Grail anyone?
I've been playing with sparkle paper Cryogen recently. I'm pretty pleased.
I wouldn't say Cryogen White is the answer to ALL my problems but it does get the Nazi off my back. Here's what I've found.
X-Press It- a superior marker blending card
Full Name: X-Press It Blending Card
Surface: ultra hot-press, feels coated but isn't
Color: bright white
Weight: about 110 lbs.
Tooth: very little
Thirst: coats well on first pass, no excessive ink usage
Alcohol Ink Blendability: extended wet-time makes for easy and amazing blends
Vividness: colors are bold, no visible changes upon drying.
Bleed (ink pulled by paper fibers beyond stamp lines): hardly noticeable
Leak-through (to back of paper): only after 3 coats
Water Damage: exposure to water will damage paper irreparably. Surface will buckle, then separate from core, can peel off.
Colored Pencil: accepts a first coat with a sharp pencil. Hard to layer or blend, must press harder than normal to collect color. Color can smear.
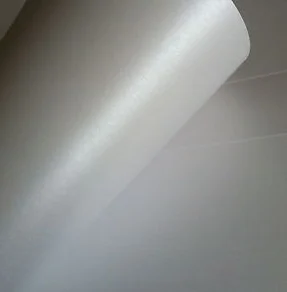
Cryogen- a balanced all purpose cardstock
Full Name: Cryogen Curious Metallics
Surface: hot-press
Color: "white" but is actually a creamy, yellow tinged white
Weight: 89 lbs.
Tooth: light tooth
Thirst: coats well on first pass, draws more ink than X-Press It
Alcohol Ink Blendability: moderate, some strokes remain visible after second pass.
Vividness: some colors mute slightly as they dry.
Bleed (ink pulled by paper fibers beyond stamp lines): light bleed but controllable
Leak-through (to back of paper): after 2nd coat
Water Damage: a light spray did not affect paper. A good soaking caused buckling and slight swelling. Swelling disappeared when dry but buckle remained. No peeling or bubbling.
Colored Pencil: accepts 2-3 coats of colored pencil, waxy pencils blended well. Easy to color softly with no visible stroke lines.
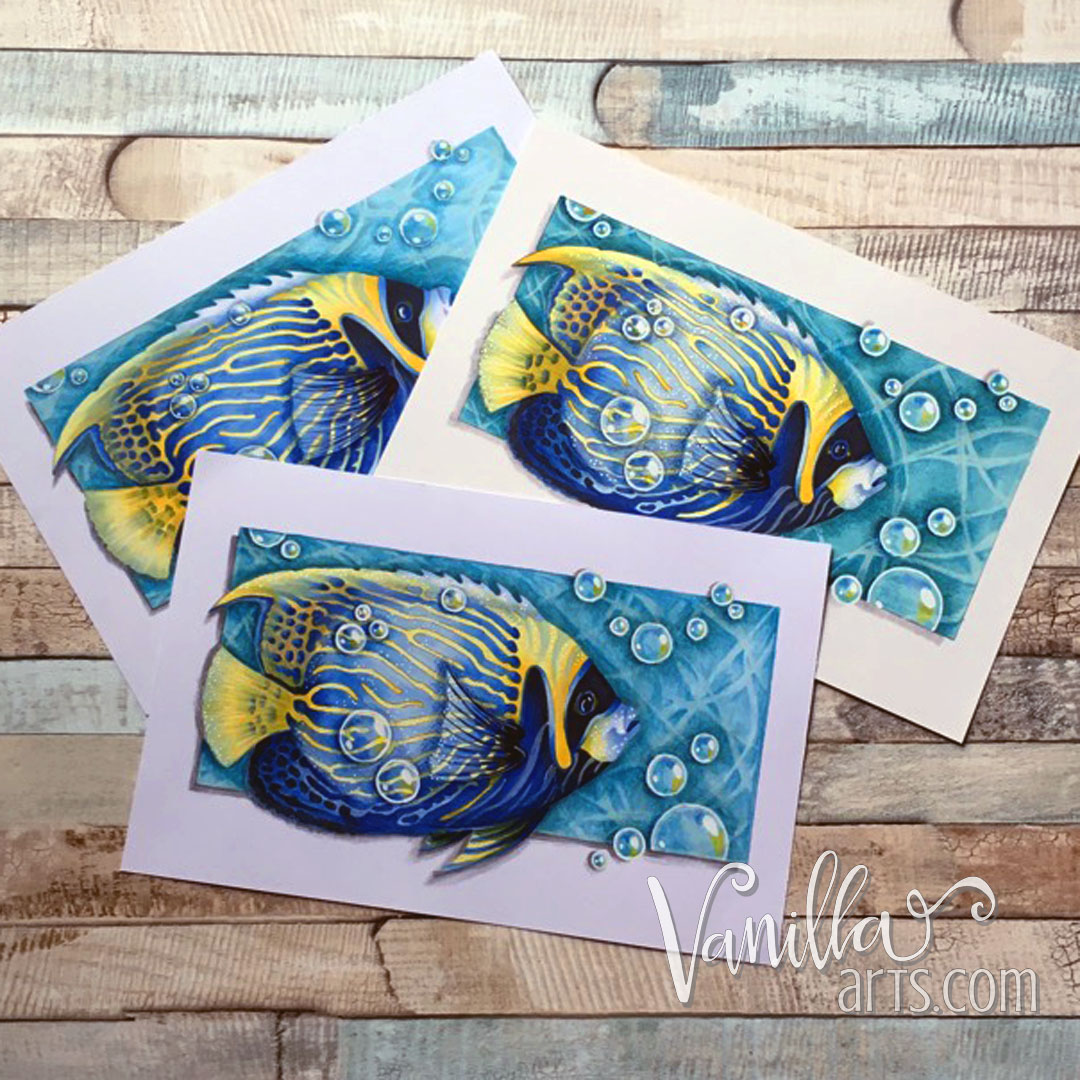
Here's a side by side:
X-Press it on top, Cryogen on bottom. Creamy color of Cryogen is more noticeable in real life.

Overall, a move to Cryogen means that I sacrifice some marker blending ability in order to gain pencil blending ability.
You can see some unblendable marker strokes in the blue stripes just before the tail on the Cryogen. The B37 was especially stubborn.
B99 looks more deep and vibrant on the X-PI but it's only noticeable when side by side.
B32 (lightest blue in the stripes) is noticeably lighter and more even on X-Press It.
The difference in aqua colors here is solely due to the yellow of Cryogen making all colors look warmer.
Blue pencil over yellow marker on X-PI looks muddy. Same on Cryogen looks more subtle and pleasing.
Not only does pencil "stick" better to Cryogen, white gel pen adheres more smoothly
So am I a Cryogen Fan now?
Maybe.
I'll still teach with X-Press It because I never want to place hurdles in front of my students. Blending is so much easier with X-PI that I can't justify the switch for my beginners and casual colorers.
But for any project (personal or with advanced students) that requires more than 50% colored pencil, I'll be using Cryogen.


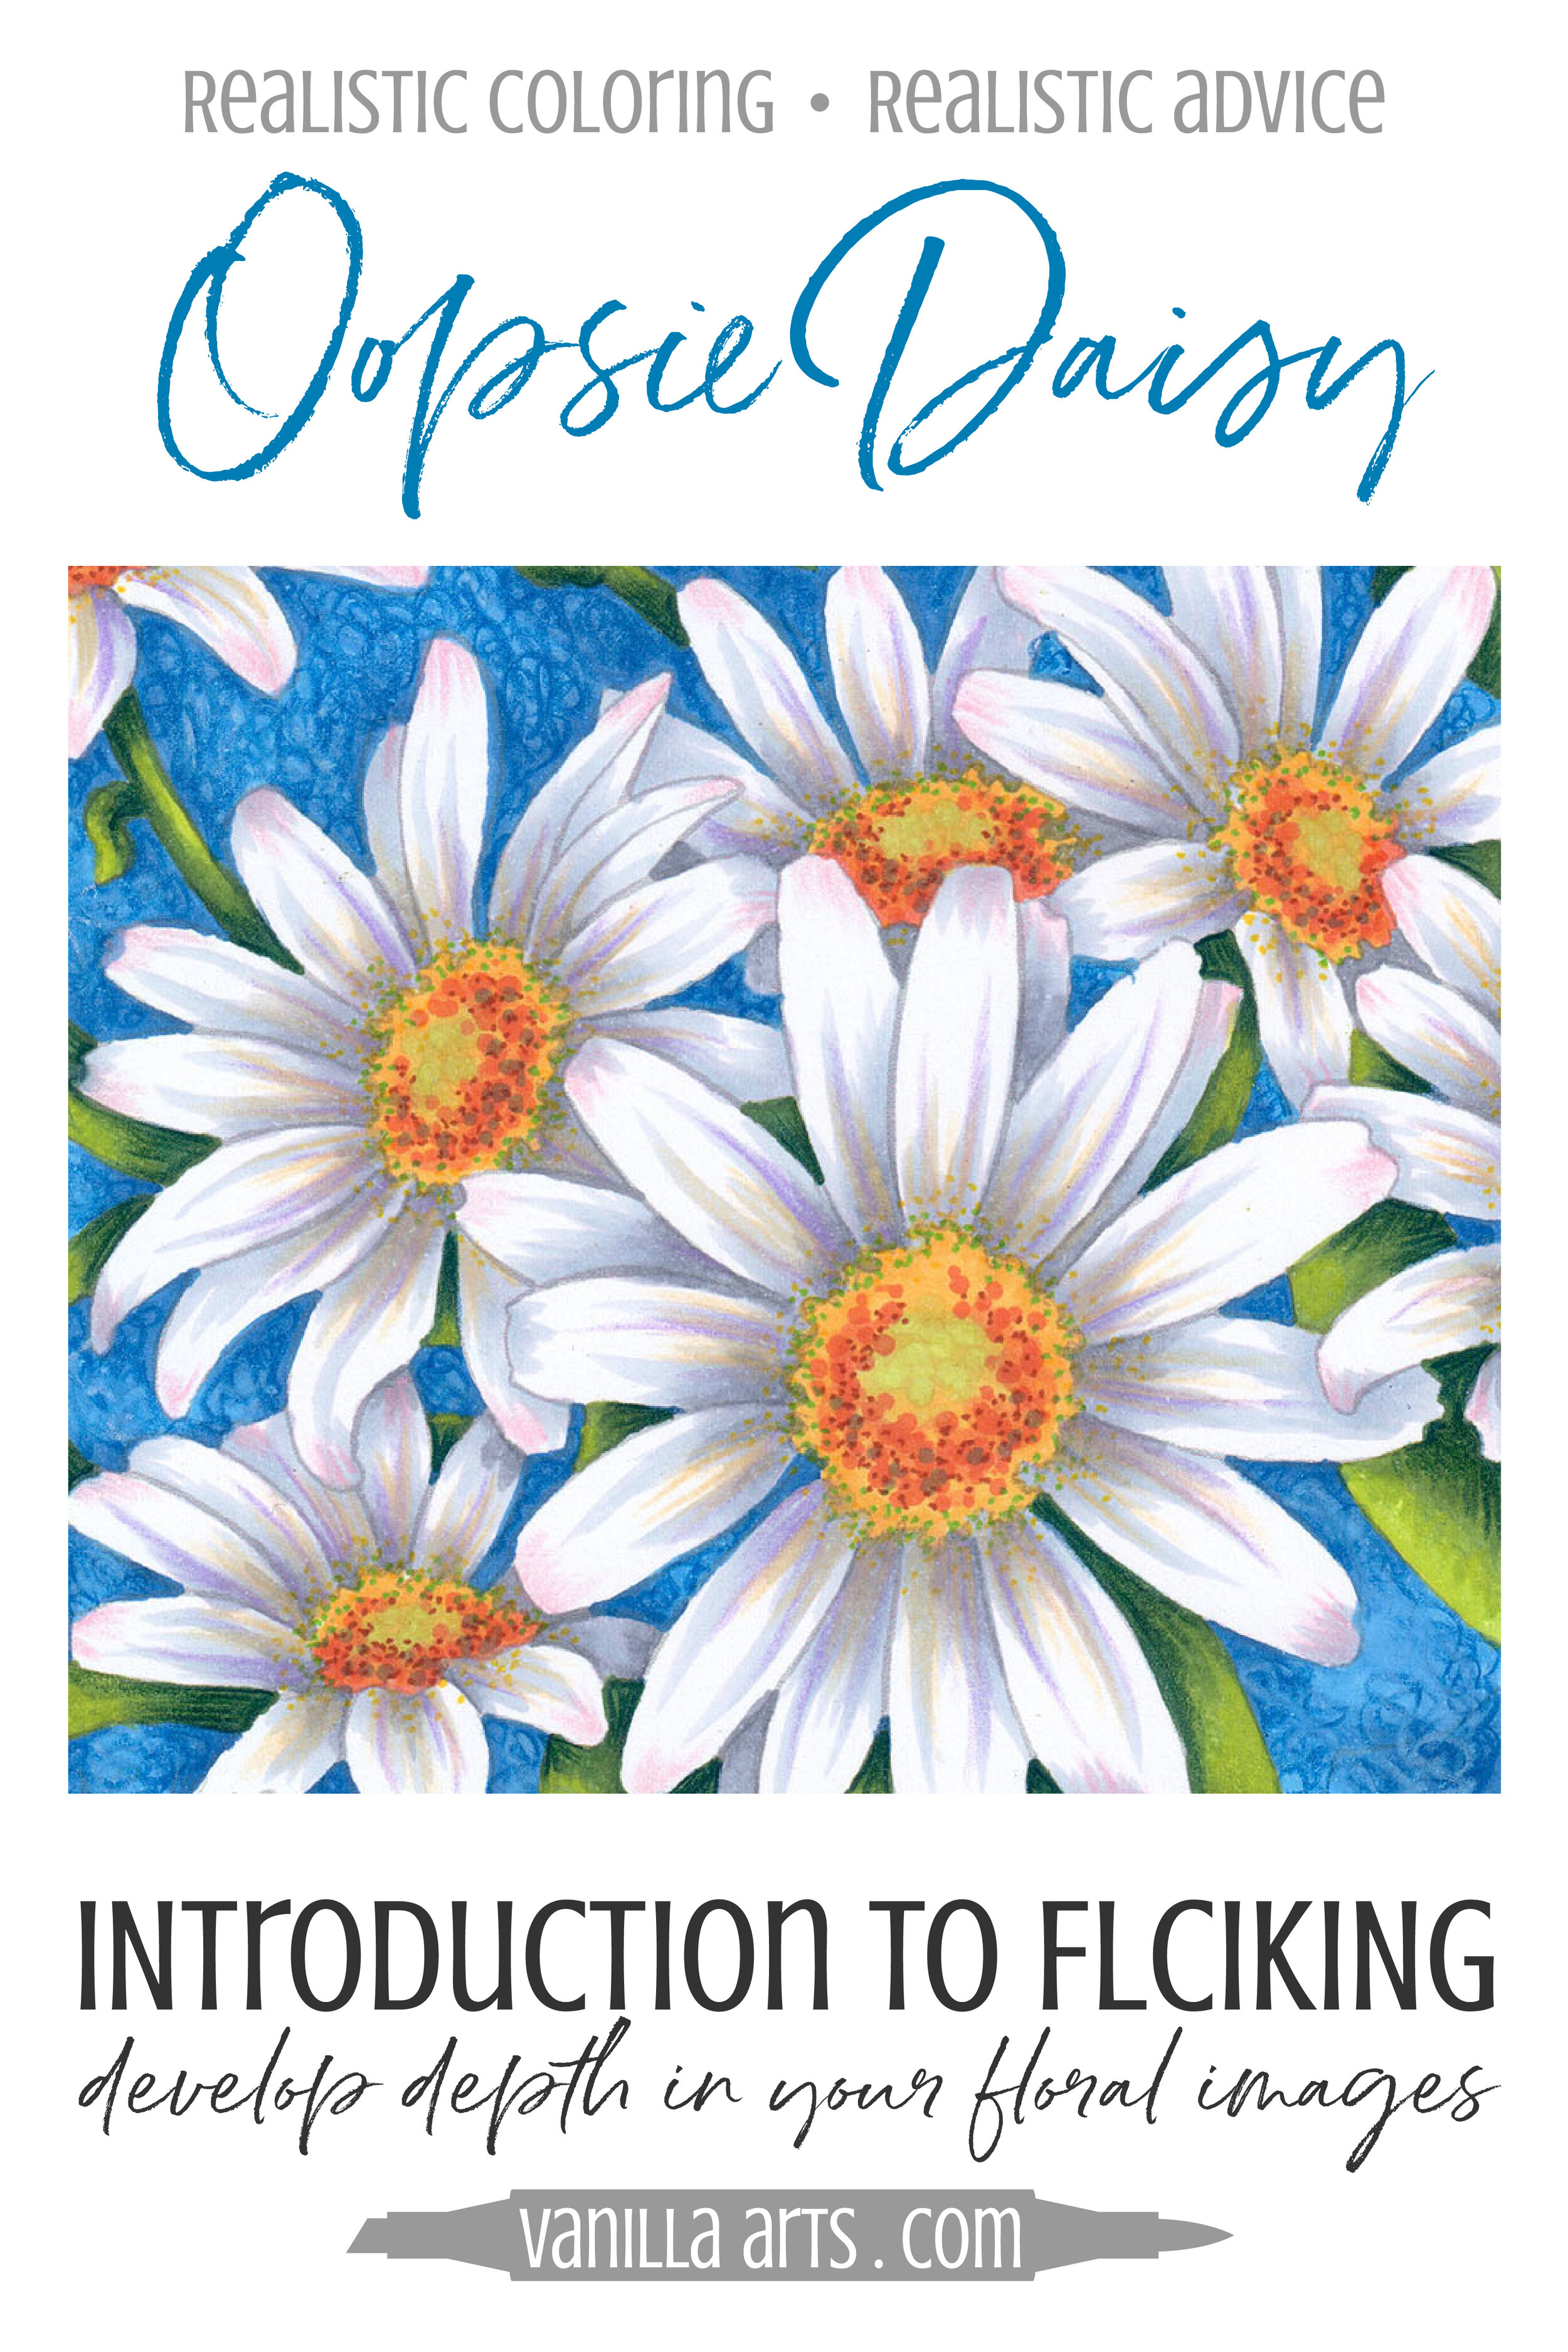
The Flick Stroke: The Essential Copic Marker Technique
He loves me, he loves me not...
"Oopsie Daisy" is a Marker Painting Workshop that introduces you to the art of Flicking! Flicking can help develop depth in your floral images.
Marker Painting Workshops are NON-SEQUENTIAL!
All of my Workshop classes are FOREVER ACCESS. Work at your own pace and repeat the project as many times as you'd like.