
Copic Markers: Do you make coloring harder than it has to be?

Wow, that is so complicated!
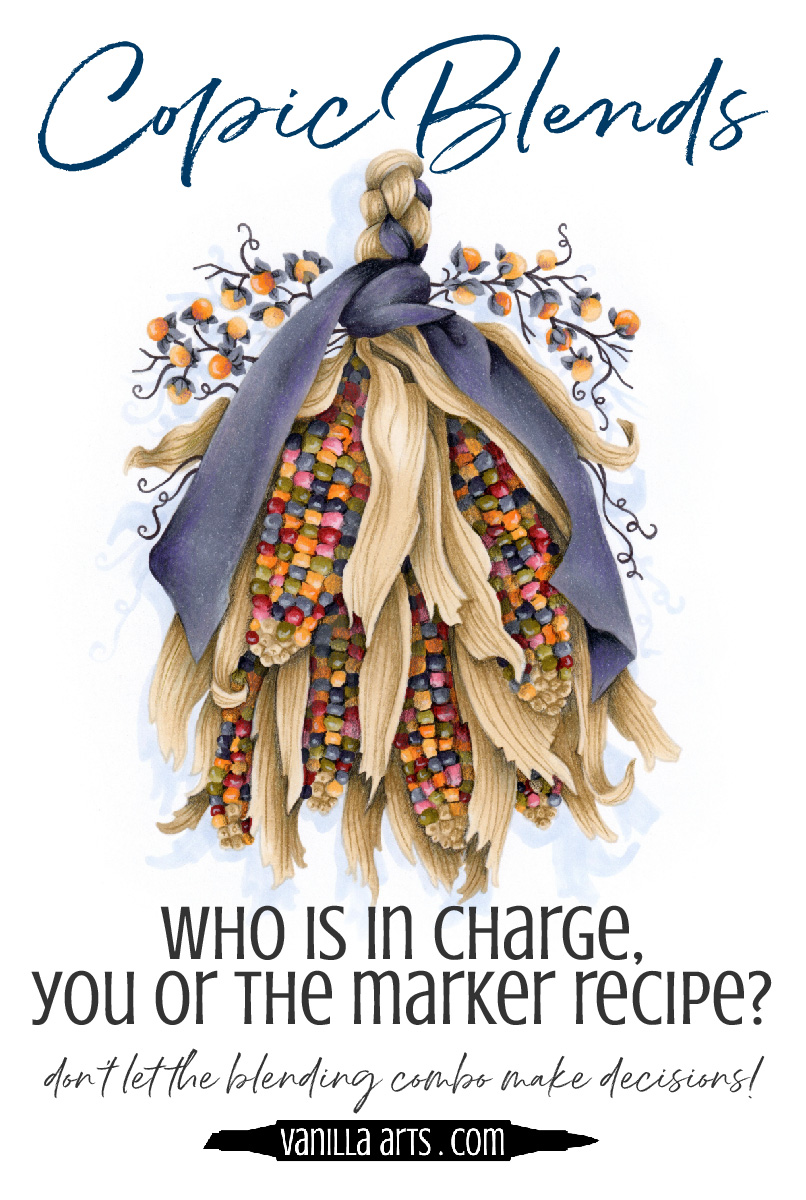
What did you think when you first saw the Indian Maize project here?
All those colors on each little kernel? I’ll bet it took weeks to color!
Weeks? Really?
I’ve noticed over the years, some very experienced Copic Marker fans add lots of extra steps to the coloring process that don’t really pay off in the end.
A lot of people make dimensional coloring harder than it has to be.
Do you?
Do you focus on blending combinations?
Most Copic colorers do.
You see the stamp image and immediately start to wonder “what blend would I use to color the corn husks?” and “what color combination would I use on the ribbon?”
The blending combo mindset is what leads to overly complicated coloring!
How so?
When you focus on color, you aren’t thinking about the overall illustration, the objects shown, or the shape of those objects. Instead, you’re zoning in on the smallest, most finicky detail of the coloring process- ink blends.
You can’t see the forest and it’s not because you’re looking at the trees. It’s worse than that, you can’t see the forest because you’re looking at flecks of tree bark under a microscope!
You’re missing the larger goal and making life harder in the process.
Don’t believe me?
Let’s look closer at how to color this image based on ink blending.
Most Copic blending combinations are three markers, right?
So to color this “Maize for Days” digital stamp, we have to come up with 3 marker combinations for every single thing in the image.
That’s
3 markers for the husks
3 for the bittersweet leaves
3 for the bittersweet berries.

The ribbon is bigger though. Some of you would use a 4 to 5 marker combination on something that large.
So that’s about 14 markers so far and we haven’t even gotten to the corn yet.
There are 8 different colors of corn kernels at three markers each. That’s 24 markers for the corn.
We’re looking at using 40 markers to color the entire image!
This is complicated!
But we’re not done yet.
Next, we have to think about the light source and where to place each of those 40 marker colors.
You’ve been trained to get the dark markers into the shade and leave the lightest colors where the highlights would sit. So you start thinking about arrows and sunlight directions and shadows.
One of those corn cobs has 94 corn kernels on it!
Yes, I counted.
You’re thinking about light sources for 94 little kernels?
This is complicated!
To make matters worse, we all tend to batch-color. We color all the greens at the same time before we move on to the reds or yellows.
An image like this almost requires a battle plan! “Color the ribbon first unless it would be better to start with the corn but then what color of corn should come first? Or maybe we just start with the bittersweet because it’s at the top???”
This is complicated!
You’re juggling 40 markers and 13 different blending combinations but that’s just the start. What about the light sources?
So that’s highlight and shade locations for 18 corn husks, 2 ribbon tails, a twisty knot, 20 bittersweet berries (each with 3 leaves), and 6 ears of corn which have up to 94 kernels each…
Whoa.
This is complicated!
But we’re not done yet.
Because most of you color light to dark which takes more steps than coloring dark to light.
So you basecoat all the green kernels in the light color, add the midtone, add the shade, then blend with the midtone, and finally smooth it all out with the lightest marker again.
And if you have to fix anything, you go back and do it all again?
This is complicated!
Hold on.
Wait. Wait. Wait wait wait…
Coloring does not have to be this hard!
Is your coloring also flat?
Go ahead, ‘fess up.
Are you constantly on the hunt for better blending combinations?

That’s the other gigantic problem with thinking about everything in terms of marker blends.
You are relying on the Copic recipe to provide depth. So when a blend doesn’t look as dimensional as you want, you scrap that recipe in search of something better.
When you let blending combos determine which markers make shade, you’re not always getting the correct COLOR VALUES for dimension.
A yellow recipe that works beautifully on a lemon or a school bus is not the right recipe for corn on the cob. Lemons are dimpled spheres with a slight sheen. School busses are glossy painted metal boxes. And neither the lemons nor the bus is buried underneath a pile of corn husks!
To stumble upon the right blending combo for dimensional yellow corn is like winning the lottery.
And remember, on this corn, we’re using 8 marker combinations. That means to get a fully dimensional corn cob, I’ve got to hit the jackpot 8 times in a row!
This is complicated!
This is nuts!
Stop the madness!
Who is in charge, you or the markers?
When you let the blending combinations determine how you color an image; when you let the markers mandate how long it takes and how many coats of ink you use- you are surrendering control of your project!
Most people are going to look at a complex Power Poppy stamp like this and say:
“I can’t color that! It would take too much time!”
Either that, or you’ll talk yourself out of coloring it the way your heart desires. You will take shortcuts and simplify everything. You’ll turn the beautiful patchwork Indian Corn into regular boring ol’ yellow corn, just to keep this from becoming an eight year coloring project.
But wait…
How long did it take me to color this image?
Less than an hour.
How many markers did I use?
I used 14 markers, not 40.
And I did not chart any directional lighting.
And I did not worry about where the shade goes.
And the only thing I blended was the ribbon.
You can color simply without sacrificing dimension!
It’s not an either/or proposition.
You can have both!
All it takes is to shift your brain out of marker recipe mode and towards the concept of Universal Shading.

Universal Shading?
Yes.
Artists do not shade individual pieces of corn, one at a time; kernel by kernel.
We’re not masochists! We do it all at once.
Think of a tiger— a colorer will get all worked up about how to shade the orange stripes and then what markers to use on the black stripes.
A colorer thinks in terms of stripes.
Meanwhile. the artist colors the tiger.
All tiger stripes and all corn kernels can be shaded the same way, at the same time.
The shade for individual pieces is the same no matter what color they are. Sometimes the intensity of the shade changes but the shape of the shade, the placement, and the crispness of the shade all remains the same no matter what color the area is.
Shade is universal.
In this image, the blue corn kernels get the same shade as red kernels which get the same shade as the yellow kernels. I used the same exact color on every single kernel!
That knocked a whole bunch of markers off my supply list!
And get this: I laid the shade down all at once instead of one kernel at a time.
It’s all the same. Shade is universal.
By hunting down new shade markers for every single kernel, you are
increasing the size of your marker list
multiplying the time it takes to shade everything independently
hoping to hit the color value lottery for every single shade recipe
flattening your objects by coloring small pieces rather than the whole shape
I know this sounds strange to you…
But that’s because you’re likely a colorer who was taught by another colorer who learned from yet another colorer.
In this closed environment, weird things develop.
I was shocked the first time I noticed the item-by-item coloring technique. I watched a video where an advanced marker instructor shaded every stripe on a skirt individually. I couldn’t figure out why anyone wouldn’t just shade the skirt!
But then I realized, it’s because she wasn’t using a “skirt” recipe, she was using five “stripe” recipes.
If everything is a series of blending combinations, nothing is viewed as a whole.
That makes realism harder because you’re never looking at whole objects.
This is one of the reasons why I started teaching online, making my own videos and offering online classes based in traditional artistic techniques.
Because coloring doesn’t have to be so darned hard!
LET’S FIND YOUR INNER ARTIST

Select Supplies used in "Amazing Maize":
(contains affiliate links to Amazon and Dick Blick)
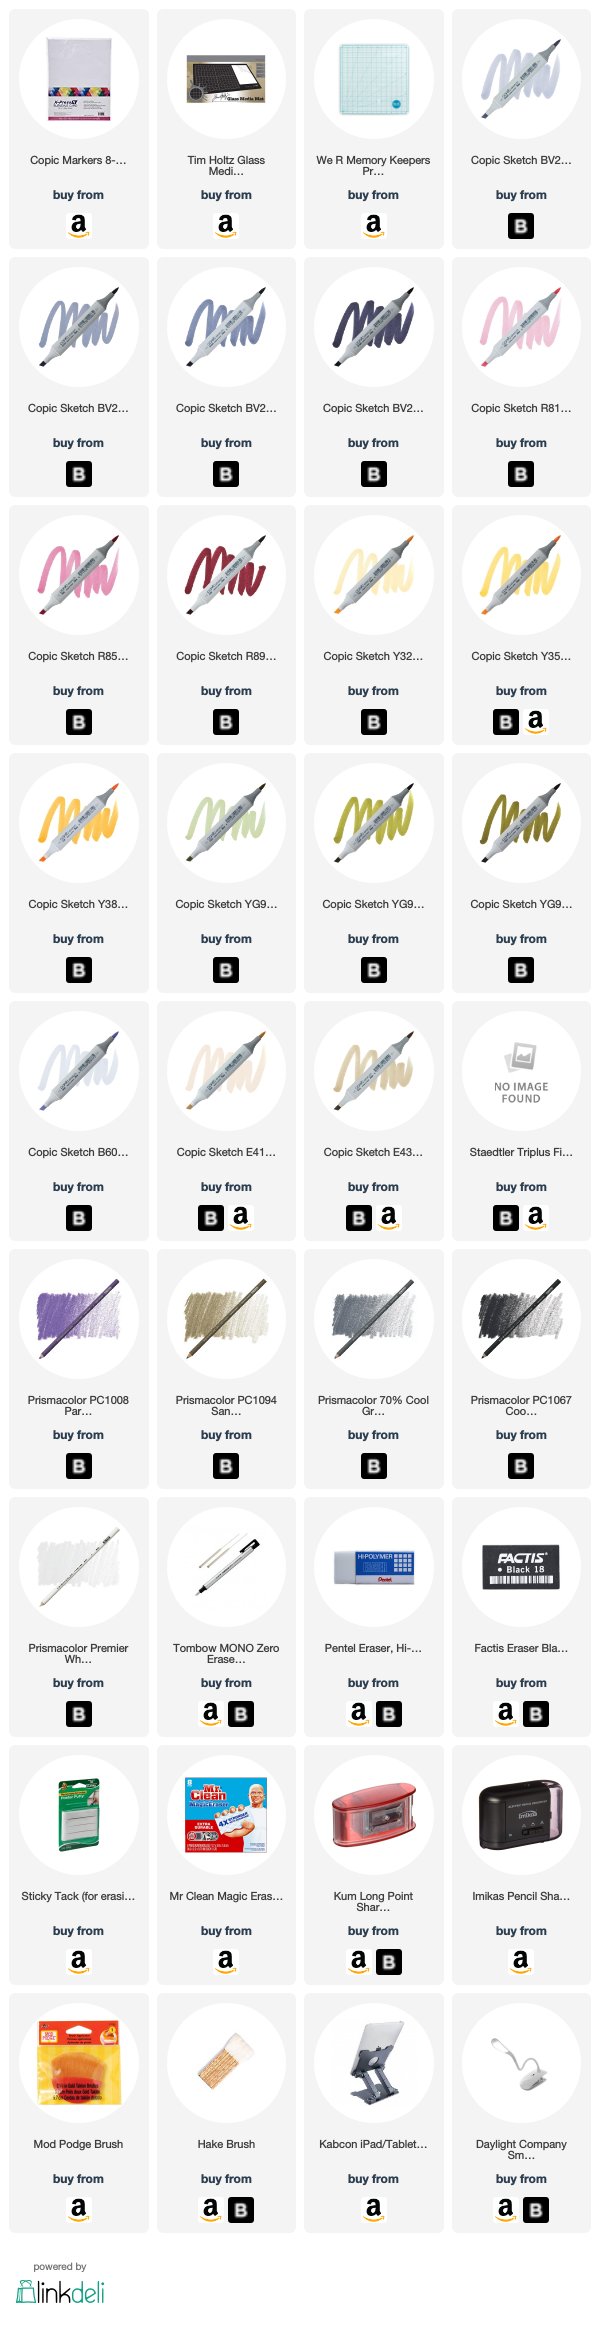
Vanilla Arts Company is a participant in the Amazon Services LLC Associates Program, an affiliate advertising program designed to provide a means for use to earn fees by linking to Amazon.com.


Donec id justo non metus auctor commodo ut quis enim. Mauris fringilla dolor vel condimentum imperdiet.