
Coloring Myths: Is Realistic Coloring Just a Copy of a Photograph? (Copic Markers, Colored Pencil)


You want to try realistic coloring…
But honestly, the fear of trying to copy a photo reference is stopping you.
All that detail? And trying to match the colors exactly?
It sounds stressful, not fun.
Today, let’s look at why you may be overestimating the difficulty of realism… and underestimating your ability to add more realism to your Copic Marker and colored pencil projects.
It’s a myth— a big fat lie. Realism is not copying every tiny detail from a photograph.
Realism is just the next step beyond depth and dimension.
What is Realistic Coloring?
Well, let’s start by saying what it’s not:
Realistic coloring is NOT duplicating a photograph.
We’ve got copy machines and photo printers. We don’t need you to spend 82 hours recreating every nook and cranny of the cookie on the Chips Ahoy package.
Realistic coloring is actually just realistic painting— no different than what artists do with oil paints or watercolor, only we do it with markers and colored pencils..

There are many levels of realism in painting.
Naturalism: Not so much a style as a philosophy where the artist paints things as they truly appear in life with flaws, blemishes, and natural imperfections. Also refers to scenes where people or animals are caught in candid moments rather than posed.
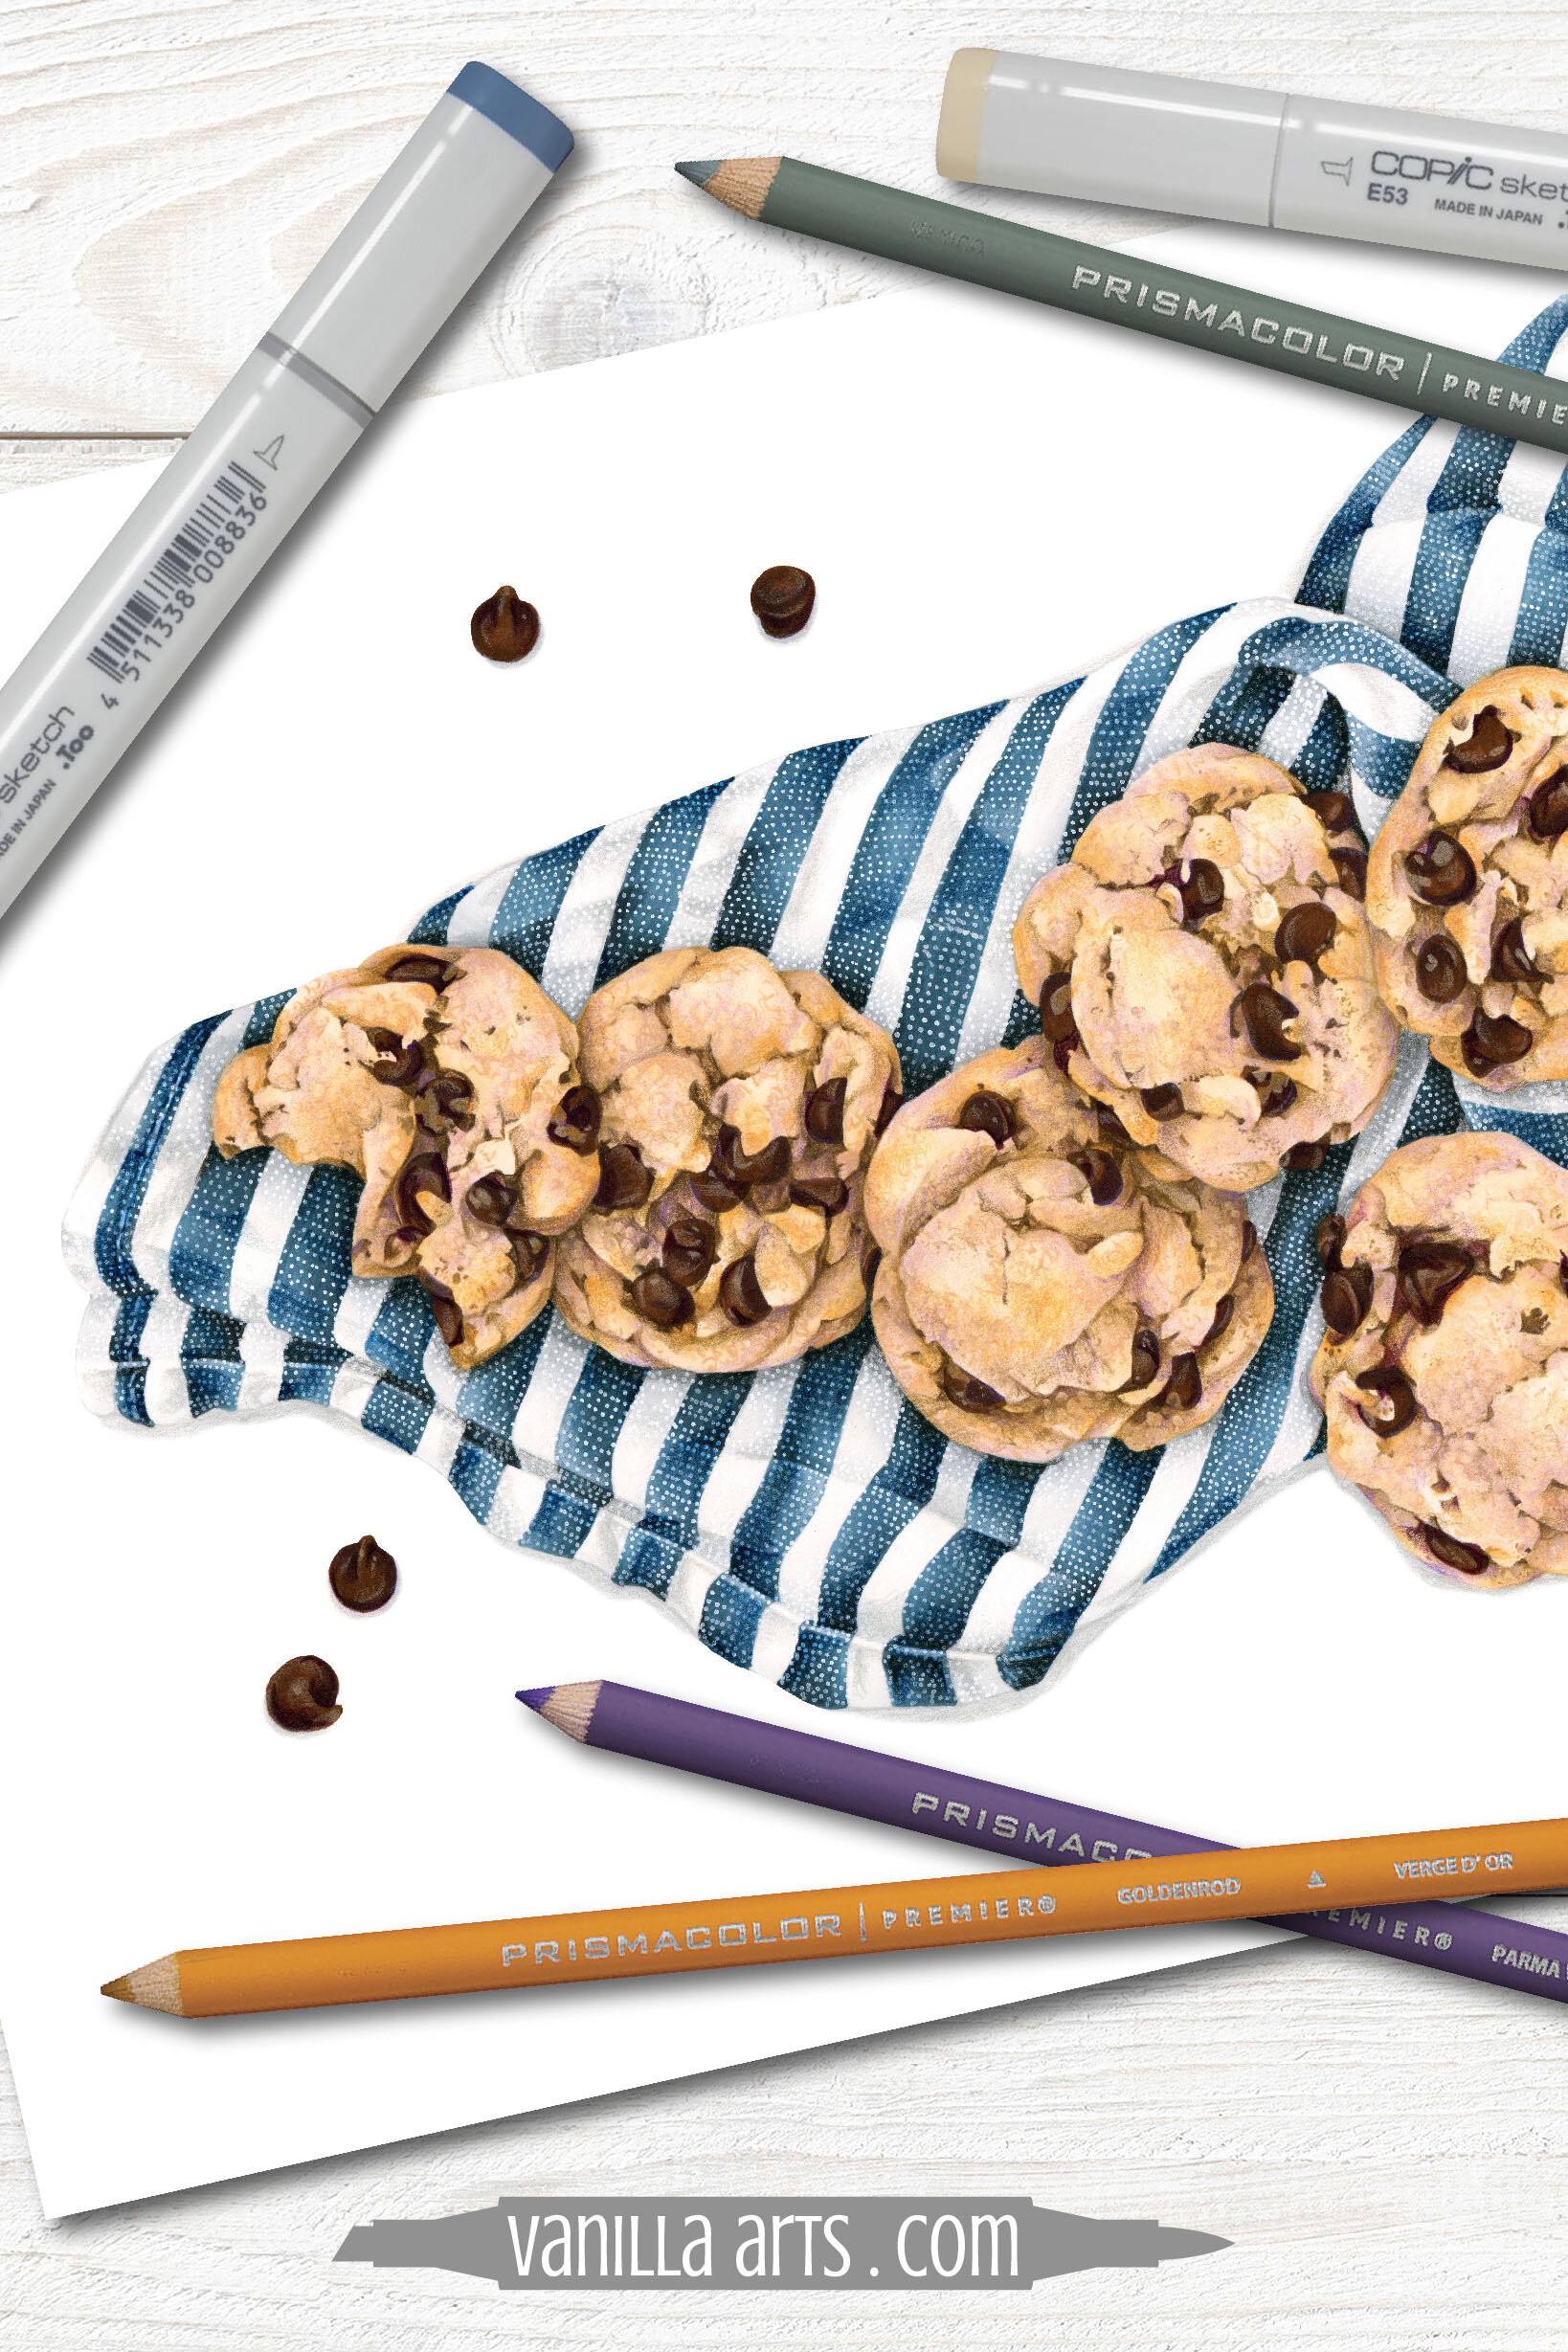
Moderate Realism: Like my Chocolate Chip Cookies here, they look relatively real but still somewhat stylized. Nobody looking closely would mistake them for an actual cookie.
Expressionistic Realism: The artist uses loose strokes or creative color to create a form of moderate realism which carries emotion.
Trompe l’oeil: The artist creates the illusion of a three dimensional object sitting on or emerging from the artwork.
Fantastical Realism: Can be any level of realism. The artist creates a plausible scene or objects which have never existed. Think science fiction or fantasy— unicorns are not real but we can paint a unicorn which looks real.
Photorealism: The finished artwork looks like a photograph with no visible strokes or clues that we’re not looking at a real object or scene. Often involves a lot of naturalism.
Hyperrealism: The objects in the artwork look better than real. Think of photorealism as capturing a random moment whereas hyperrealism is highly-planned to feature the best or most interesting characteristics of the object or scene. Hyperrealism has ideal lighting and communicative poses.
But here’s the catch about realism, no matter what kind you try: We are never just copying every little detail in a photograph.
Not even in photorealism.
I know it’s called “photo”realism but even a photorealistic artist always edits which parts of a photo reference to portray and then that portrayal is filtered through their style and skill level.
Realism is not a copy of a photo.
Realism is art which looks like it could be a photo.
Oh my gosh, what a relief!
Many of you are talking yourself out of adding more realism to your coloring projects based on a big misunderstanding about photo references.
Nobody is asking you to become a camera.
Just show us what you see.
More Realistic Coloring Tips:
Don’t miss my previous realism articles, click to read more


Overwhelmed by Detail
I say “C’mon gang, let’s look closer at our photo reference…” and many of you head for the door.
Oh lord, I’m in the wrong class. I’m gonna feel so stupid by the end of this lesson…
Far too many people think realistic coloring means we’re gonna start counting crumbs and measuring the distance between chocolate chips.
Nope.
That’s not fun; that’s drudgery.
I’ll be honest— photorealism and hyperrealism are not for everybody.
There’s no shame in saying “I really don’t care if there are four or five chocolate chips in the far right cookie.”
But a lot of you have amazing untapped artistic talent. If you spend your life cranking out copies of someone else’s second-rate tutorials, you’ll never become the artist you were born to be. Blending combinations and step-by-steps are fun until they suddenly get boring; then you’re off trying to feed your artistic needs with crochet or acrylic pouring.
Realistic coloring is the next step beyond blending.
And to add more realism, you need to see more realism. That usually means using photo references.
You can do this!
You can edit photographic details and still create realism
As I said, nobody is expecting you to change your name to Kodak and start yelling “Say cheese!” at random strangers. Even if you wanted to duplicate a photo reference exactly, it still won’t happen.
You’re human. Details get edited out— either on purpose or by accident.
This is why I always soften the blow of “realism” with the word “more”. We’re just trying to add a little more than before. More feels easy. More certainly doesn’t feel like you have to draw every darned detail.
Now wait a minute, Amy! I’ve watched photorealism artists on YouTube and they really are perfectly recreating photographs.
No.
No they’re not. Lots of details get lost in the creation process.

How details are naturally edited away:
Skill level of the artist— what you paint depends upon what you see. Most people think drawing classes are about drawing but they’re actually about learning to see. A beginner simply won’t notice the intricate detail a professional can. How many times have you missed something until I mention it in class? That’s why I never ask you to count crumbs. You will only see the crumbs you’re ready to see.
Your style— everyone has unique taste and interests. As you color, the weird quirks in how you see and how your hand works will transform a photo reference into something only you could’ve created. Even if you see the crumbs, some of you simply won’t add them because crumbs are not interesting to you.
Limiting details for scale— card makers know this well. You will not have room for realistic details on a 1 inch cookie. This is one reason why so many Copic projects look cartoonish; the image is simply too small to carry much detail. Even if you try to add crumbs, the scale will be off and the coloring still looks stylized rather than real.
Color perception— we don’t see color the same way, especially if you have vision issues like cataracts. How you interpret color will influence the markers, pencils, or paint colors you use. In advanced classes, I give suggestion swatches rather than telling students which colors to use. Everyone picks different browns, yet we all manage to create realistic cookies.
Deleting for clarity— we do this without even thinking. We naturally skip the weird pink stain on the table or the dog who wandered into the room when the cookie reference was taken. My Chocolate Chip Cookies were photographed on a marble countertop. See any marble here? Nope, the marble didn’t add anything to the idea of cookies, so I scrapped it.
Improving composition— I move things around all the time, adding and subtracting to direct the eye. I moved the loose chocolate chips to find a better balance. I also changed the topography of every cookie, adding crevices or smoothing strange lumps as I colored. With skill, you can improve the composition and no one will ever notice.
Even when I’m challenging you to color with the most realism you can possibly manage, no one is asking you to precisely duplicate every detail.

The following article contains affiliate links to trusted retailers like Blick.com and Amazon.com.
Vanilla Arts Co. is a participant in the Amazon Services LLC Associates Program, an affiliate advertising program designed to provide a means for use to earn fees by linking to Amazon.com.
This is not a sponsored post.
Photo references are a starting point, not the end goal
Ultimately, you have to keep in mind that we’re doing something creative here, not auditioning for a job as copy machine at Paperclips R Us.
I frequently remind my students:
Nobody will see your photo references. They’re not going to hang your project side by side with the original photograph.

This isn’t a contest, there are no bonus points for faithful adherence to the photo.
Close-enough is often more than enough to make people smile.
Let’s put one of my cookies under the microscope.
Go ahead, look back and forth. Find the differences, spot the details I missed, look for things I added, changed, or moved.
Before I shared my reference here, you probably thought I stuck very close to the photo.
But no, after I drew the major shapes in kinda-sorta-maybe the right spots, then I started playing.
And that’s where the learning happens.
That’s where the art happens.
What if I pushed this valley deeper? What if I added a highlight along ridge here? What if made a new crevice? What if I used violet instead of brown? What if I added pink where I see warmth? What if… what if… what if…
In art school we worked with live models and actual objects more than photo references. The really bad part about models is they like to go home at night. Flowers wilt. The sun position changes how the light falls or you shift your body and suddenly your perspective has changed and you can’t find your original position. Life is not static.
When you draw or paint from life, you grow accustomed to losing your reference halfway through the project. You learn to capture the important stuff right away before the inevitable change happens.
When you lose your model mid-project, you start delving deeper into brain-artistry. What will it take to make this look real? You look closely at the shapes you’ve made and evaluate them based on logic. You develop the aspects which are working and alter the forms that are not, based on instinct rather than a ruler and a reference.
If you’re working from a photo reference, nobody prompts you to stop copying and start creating.
At a certain point, you must put the reference away so that you can develop your painting as an independent creation.
I’m not saying you can’t pull the photo out and double-check something, but if you’re still closely following the reference at the end of the project, you’re limiting your creative potential.
The photo reference is a roadmap, not the destination.
Where’s the YOU in your art?
Here in the coloring world, people follow tutorials closer than they should and consider themselves a failure if their project doesn’t look exactly like the class sample.
Many of you spend years duplicating other people’s art.
Then you hop into my classes and try to treat photo references exactly like the sample projects you’ve been copying for years.
That’s not what references are for.
Photo references make it easier to draw and paint things you normally could not.
I live in Michigan, I can’t draw garden fresh tulips in December. As a technical illustrator, I didn’t have the luxury of having a surgeon keep the field open long enough for me to draw the entire knee implant. As an instructor, I need to be sure you and I are looking at the same detail on the same cookie.
That’s why we use photo references.
References are a convenience item. Photographs freeze a moment and make it accessible to anyone anytime.
But a photo reference is just raw information.
The reference is not the art.
Your interpretation is the art.

Curious about the weird lavender and pink colors in this cookie recipe? That’s the “me” in my art. What odd colors do you see in the photo reference?

Do not fear your photo references
Nobody is asking you to perfectly recreate a photograph.
Photo references are convenience items, learning devices, and sources of inspiration. They’re not something you must copy exactly down to the smallest crumb or fiber.
And remember, when you take a coloring class or follow a tutorial, you’re working on an exercise project.
Reminding yourself this-is-just-an-exercise should help relieve the anxiety and pressure you feel. It’s not the end of the world if you make mistakes— you’re exercising. Your chocolate chip cookie will not hang in the Louvre.
Photo references are not sacrosanct.
Even if you try to stay faithful to the photograph, changes and edits will happen naturally along the way.
In fact, adhering 100% to the photo is a pretty darned good challenge for a professional. Holy cow, that sounds really hard!
After 27 years of illustration, if I’m intimidated over the idea of precisely duplicating a reference, do you really think an art instructor will hold you to the same standard?
Nope.
We want you to take baby steps, learning along the way.
Oh, and one final thing…
Sometimes you’ll have weird moments when your vision cosmically expands and you feel completely overwhelmed by the massive amount of details you see in a photo reference. Let’s call it Detail Paralysis. It strikes at random times and it can last for a few minutes or a few hours.
When detail paralysis happens:
Take a step back and breathe
Squint or blur your vision to reduce the visual noise
Use a piece of scrap paper to hide the parts of the photo you’re not working on at the moment
Basically remain calm and focus just on the details you need when you need them.
But the fact that you can see enough detail to feel overwhelmed?
Ah grasshopper, that’s a very good sign!
It means you’re ready to add more realistic detail to your coloring. You’re one step closer to artistic proficiency.
You’re becoming the artist you were meant to be.
The Chocolate Chip Cookies project featured in this article was colored with Copic Markers and Prismacolor Premier Colored Pencils
Prismacolor makes many styles of colored pencil including several student grade pencils. Please make sure you’re purchasing Prismacolor Premier (Soft Core) Colored Pencils.
I do not recommend Prismacolor Verithin, Col-Erase, or Scholar versions.

Ready for a Treat?
Chocolate Chip Cookies is one of dozens of projects you can color as a member of my artistic coloring school, Color Wonk.
Every lesson includes line art, a 20+ page guidebook including photo references and step-by-step photos plus a recorded livestream demonstration with audience Q&A.
Receive feedback on your project in our exclusive forums or even personal coaching. Learn fine-art techniques to improve the look of your coloring AND make coloring easier!

Select Products used in Chocolate Chip Cookies:

Vanilla Arts Company is a participant in the Amazon Services LLC Associates Program, an affiliate advertising program designed to provide a means for use to earn fees by linking to Amazon.com.