Student Success: Kathy Adds Realism by Coloring Larger Images (Copic Marker, Colored Pencil)


“I want my coloring to look absolutely realistic!”
You’ve taken lots of coloring classes and you’ve colored tons of stamped images. You’re even being very careful to avoid the cutesy classes— no googley-eyed bunnies or smiling toaster classes for you.
You want to color with realism.
So why isn’t it happening? Why does everything you color still look cartoonish?
Coloring tutorials show you how one person colored one image.
Art classes develop skills which you can translate to any stamp image OR even original drawings!
Our goal at Vanilla Arts Company is to develop usable art skills rather than a pile of pretty projects.
Students are succeeding! Every month, we highlight great work from one of our outstanding Vanilla Arts students.
Kathy has all the tools…
Some students take classes but never reach out for a chat.
Not Kathy.
I noticed in your videos that you’re using the M277dw and I was wondering if you ever had any issues with it… If you’ve ever thought about a crisper resolution on the 85, try the setting discussed here… Oh, and if you’re anything like me, you’ll want to try the free editing version of…
Kathy lives 2500 miles from me.
We’d never met.
And yet somehow we had matching studios.
Yep. Same everything from office tools to software to art supplies to nifty gadgets picked up from random shops and outlets.
We watch each other’s videos and spend the whole time looking at the room in the background. “Hey, I have that! But oh, I don’t have the nifty rack it’s sitting on!”
But here’s the big difference between Kathy and me:
You can have all the tools and all the supplies— but if you tell yourself you can’t do it, you won’t do it.
Kathy had a nifty craft studio full of amazing things. She just didn’t think she could color or draw.
Which is why she couldn’t color or draw.
Not anymore. She’s a whiz-bang photorealistic artist now.
She started with Vanilla Arts for the basics but she has studied and practiced on her own too. That’s another thing she and I share. We deep dive like mad banshees. 14 books, 12 classes, and 10 months of Google searches before we’re ready to admit we know a little something.
Psssttt… Kathy? You know you can do it now, right?
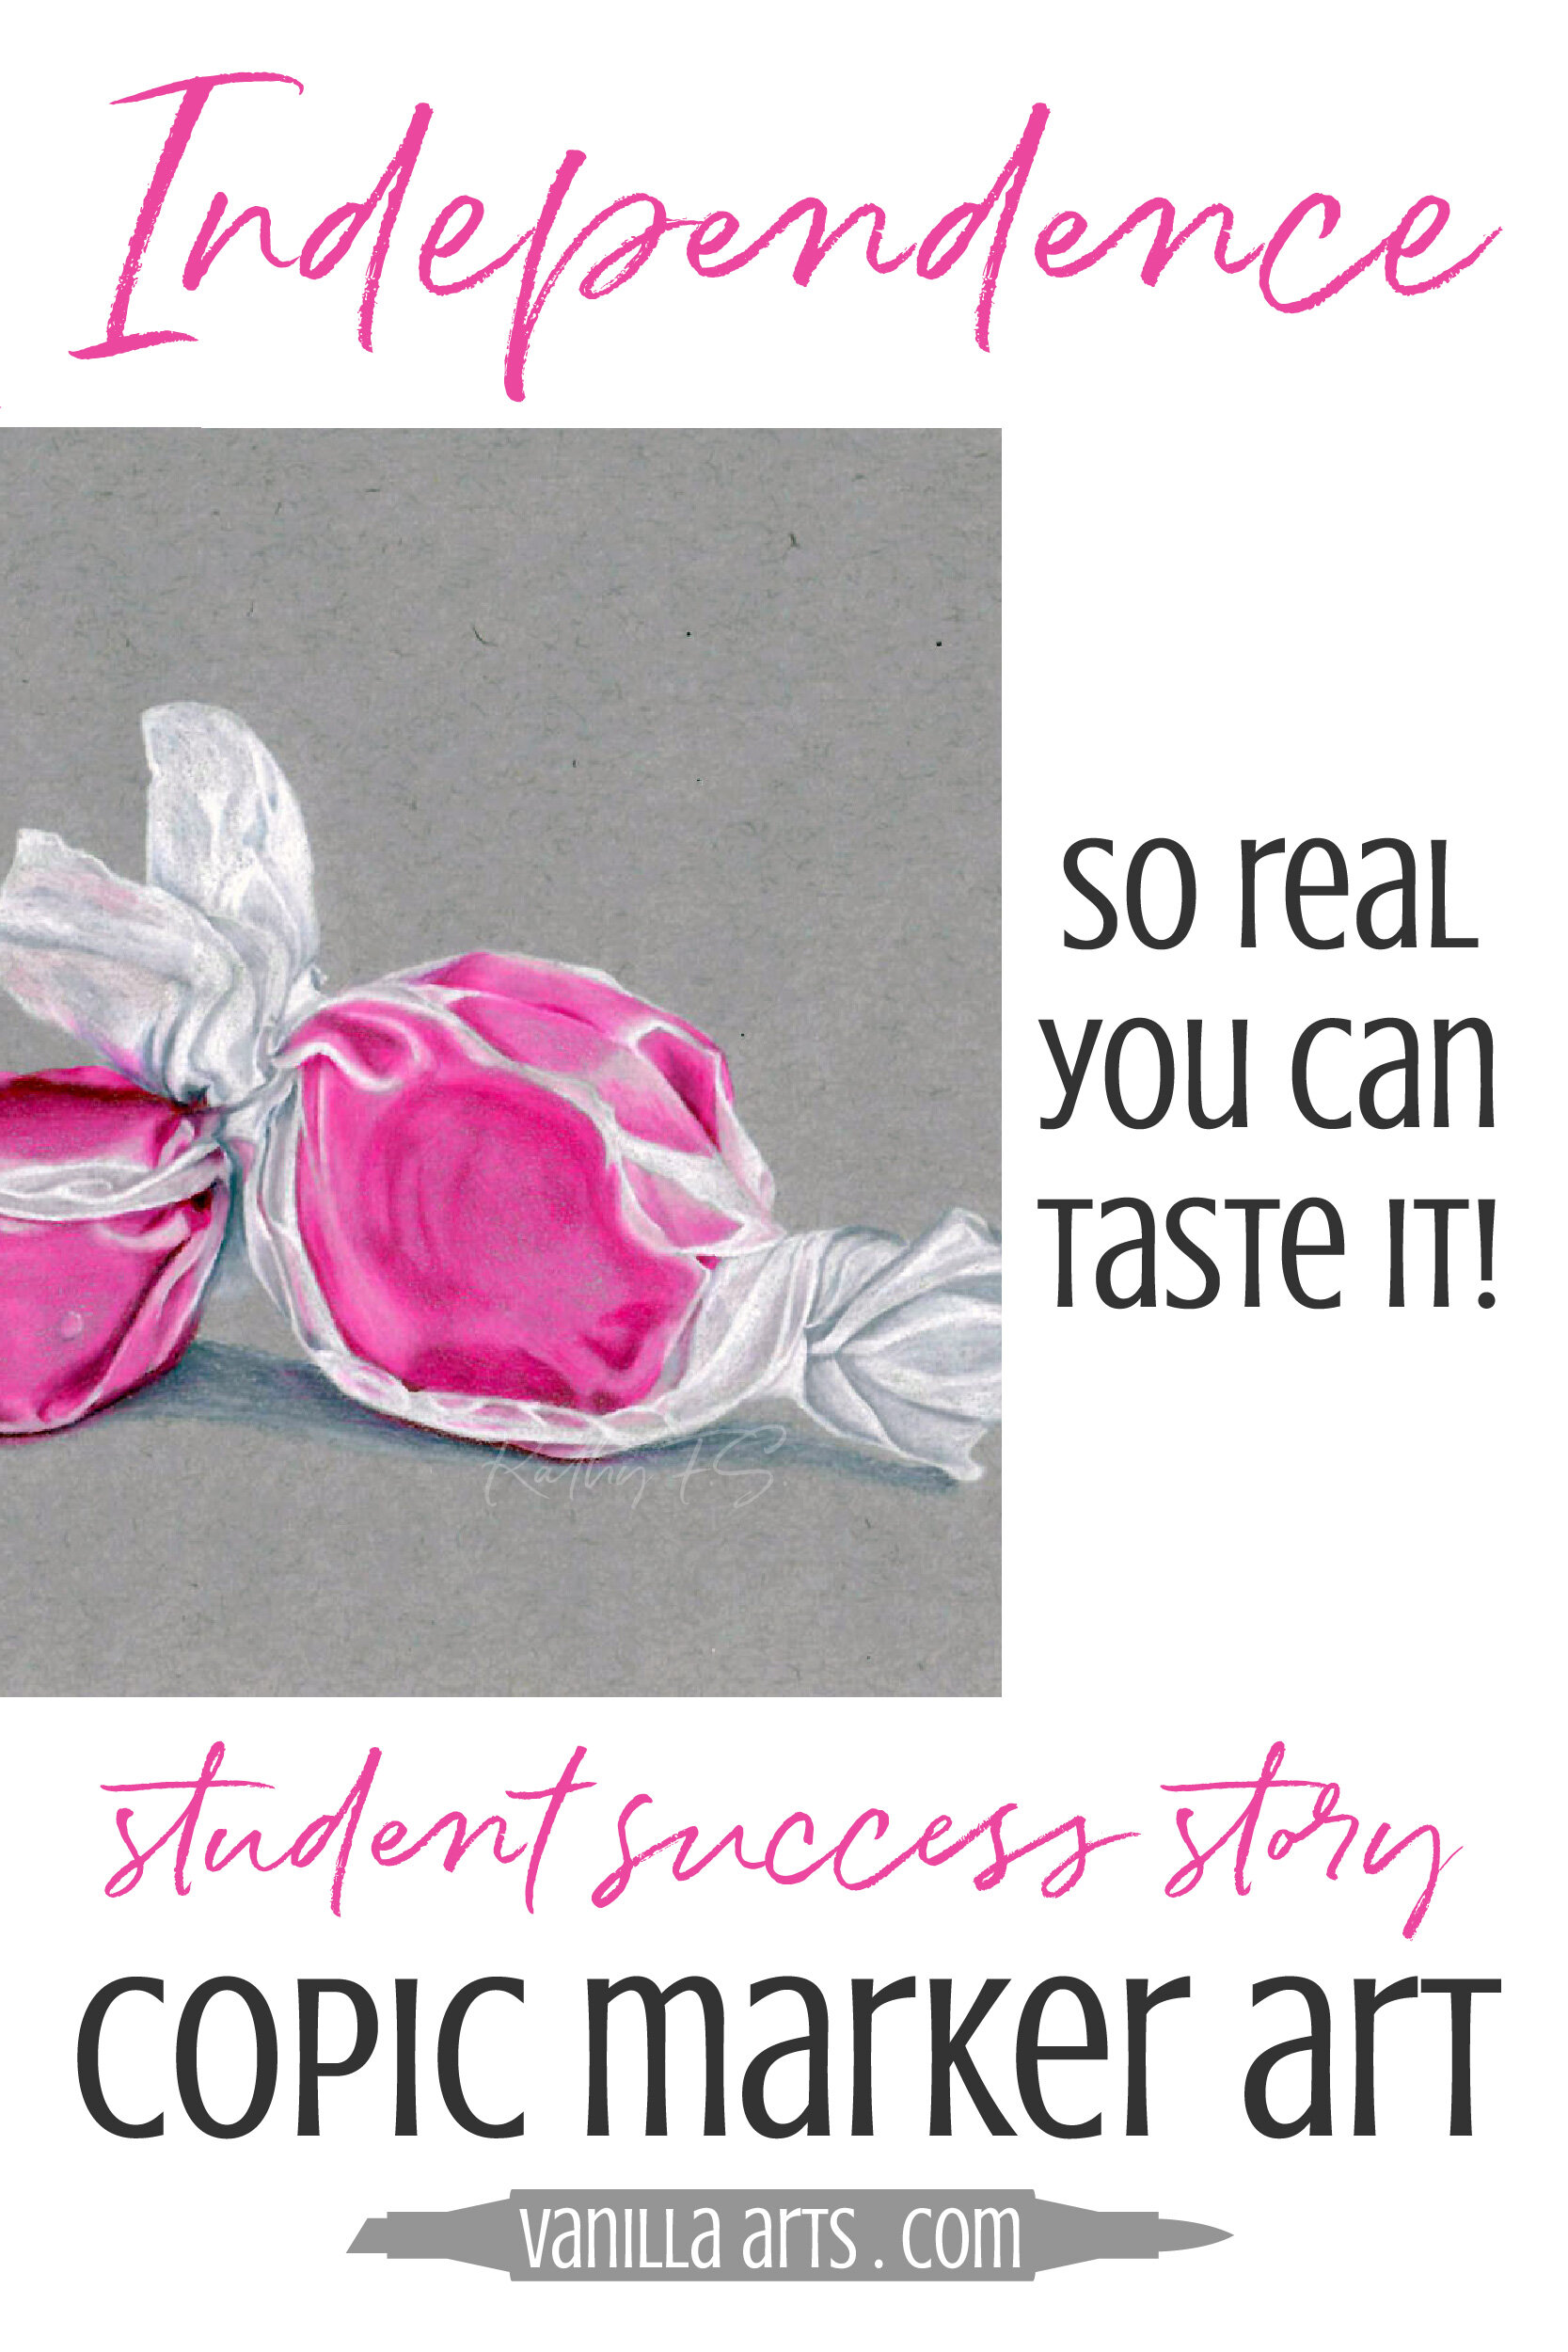
Kathy has started coloring larger projects. We asked her about this decision. Here’s what she had to say:
What size is Taffy and how does the compare to your normal coloring size?
My taffy candies are not that tall, only 4 inches but they’re 9 inches wide.. You might not think that that qualifies as a “big” project, but when you enlarge something 4 times it’s normal size, that definitely counts as bigger.
Normally, my default would be several individual pieces of taffy that might measure 1/2” - 3/4” and would be sitting in a bowl.
What kind of mental or physical roadblocks prevented you from coloring large before?
That’s an interesting question. I don’t believe that there were any physical roadblocks to me coloring large— I own some nice large pieces of art paper.
However, mentally the biggest block was that any prior large coloring I had done came relatively early in my coloring experience and they were just overwhelming. Looking back, it wasn’t the size that caused my anxiety it was that there were many techniques I was trying to employ that were just all so new.

What did you learn from coloring Taffy larger? Is there anything you would have missed if you’d drawn this at your usual coloring size?
I hate to admit this, but I can be a slow learner. I have to really pull something apart and put it back together before I understand it enough to turn it into working knowledge.
Until now, I didn’t understand why Amy would tell students that we need to color large. But now, I understand that to achieve the level of realism I strive for, I need room in the image to capture it. The larger the image, the better I am able to create form and/or more add in unique characteristics to the image.
If I had colored these pieces of taffy at ½” - ¾” each, I know I wouldn’t have captured the cool twists in the wrappers. I wouldn’t have given the wrapper much thought at all. My brain would have overridden my eyes because there just wouldn’t be the room to get those twists in. Additionally, I don’t know that I would have captured the softness of the taffy to the degree I feel I did here or included the pink reflection in the wrapper twist of the right piece of taffy.
Your Taffy project is photorealistic, a style that always looks intimidating… but be honest, what was the hardest part about it?
Honestly, the hardest part was getting the outline of my image onto the toned paper— dark enough so that I could see it, but light enough so that YOU couldn’t see it when I finished!
How much longer did this large scale project take? How much time would a small version take?
I didn’t set a timer, but I know for sure I worked on it over the span of a week. My best guess is that I spent about 9 hours from start to finish.
If I were coloring small taffy, they wouldn’t take me more than 20 minutes.
Any tips for working larger?
When your composition is simple (like my taffy) then find interesting photo references to find nuances you can replicate when you color.
Coloring larger areas require more care when coloring, whether you use Copic Marker or colored pencil. Work quickly with the Copic to keep the ink wet enough to blend, but work slowly with your pencils to avoid visible strokes.
This sounds silly, but go in with the mindset that you will take your time and give yourself permission to evaluate and where necessary adjust during the coloring process.
Try it—it will help you understand the power of photo references on a whole new level.
Kathy’s Path to Success
Kathy signed up for her first Vanilla Arts class, Marker Painting Foundations in March of 2017. She was totally hooked before she played the first class video. Her attraction to the Vanilla Arts projects was a pull that she wasn’t able to break.
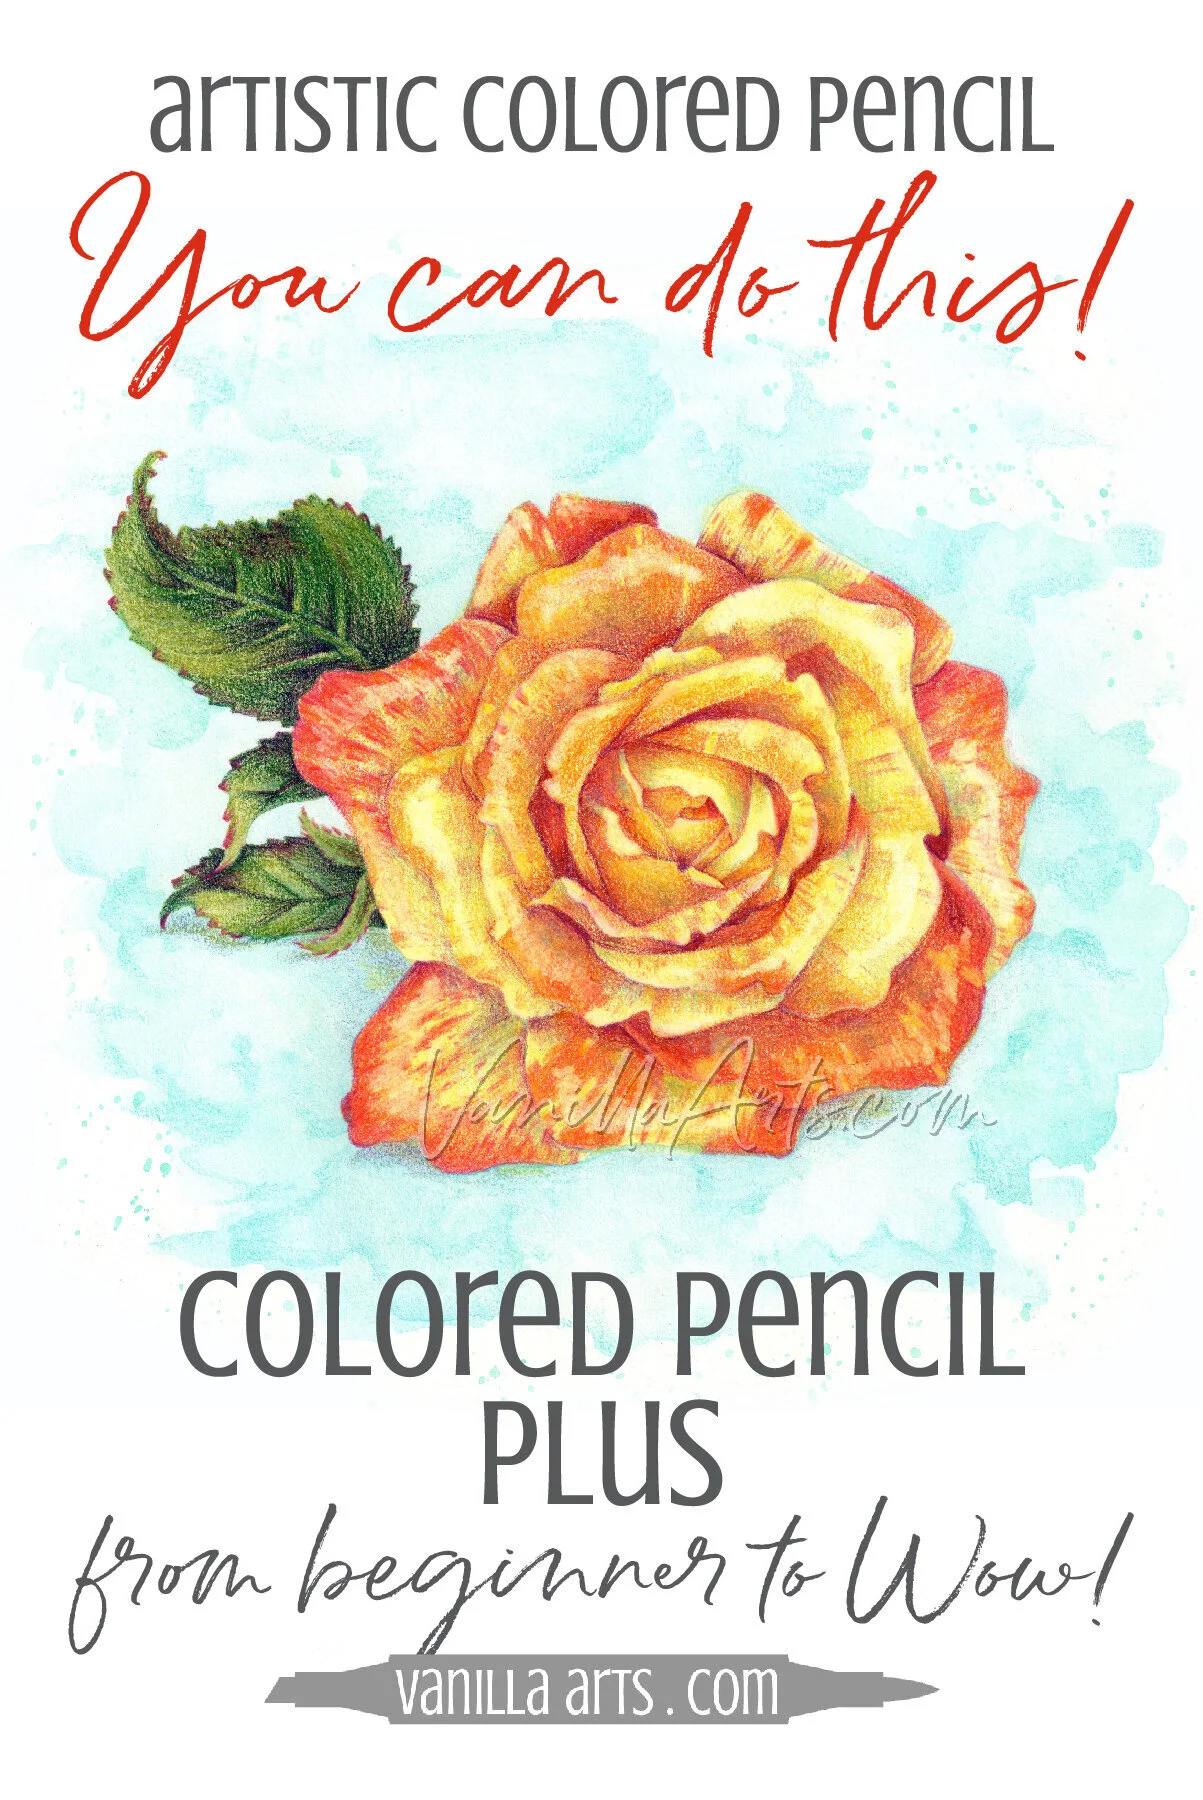
She has completed most of the Vanilla Arts workshops, including both the 12-week Marker Painting Foundations and Colored Pencil Plus courses.
[editor’s note: Eh hem, Kathy? What class haven’t you taken? I’m looking at the mile-long list here. I suspect you’re actually trying to hide the truth from Mr. Kathy!]
Kathy will be the first to admit that she didn’t really fall in love with colored pencils until she started to color on her own. That’s when she finally got to “know” them.
She continues learning at Vanilla Arts to this day. She loves the to attend any live Vanilla Arts broadcast. She has learned to just sit back, watch and listen instead of trying to color along. She does that later, in her own way.
Other Vanilla classes Kathy recommends:


click images above for more information

Kathy FS is a Vanilla Arts student, you can normally find her helping a fellow colorer through technique issues. Kathy has a background in desktop publishing and computer software development, so it was a natural progression that we drafted her into writing the Computer For Color series to guide us through alternative computer technique which enhance the coloring process.