
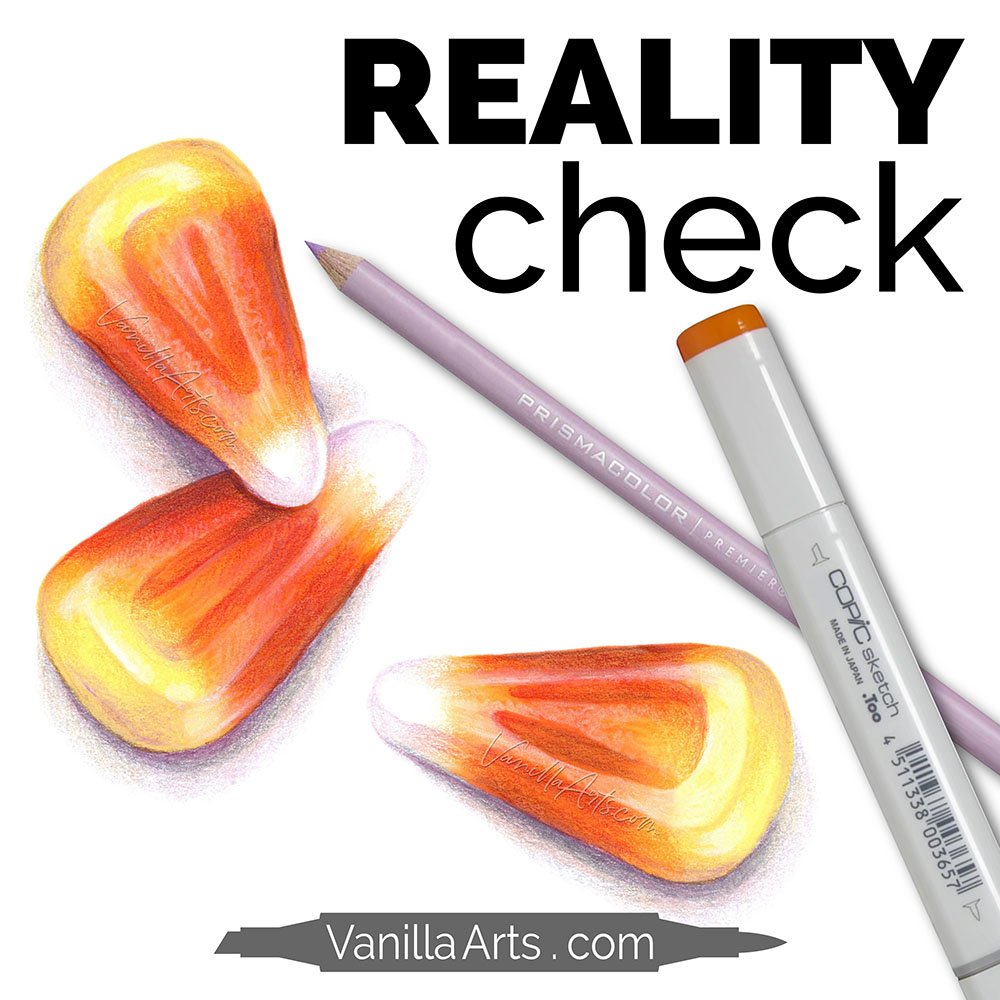
Simple Steps for Realism: Marker + Colored Pencil
Today, let me show you how and why professional artists use references plus how to incorporate references into your coloring process.
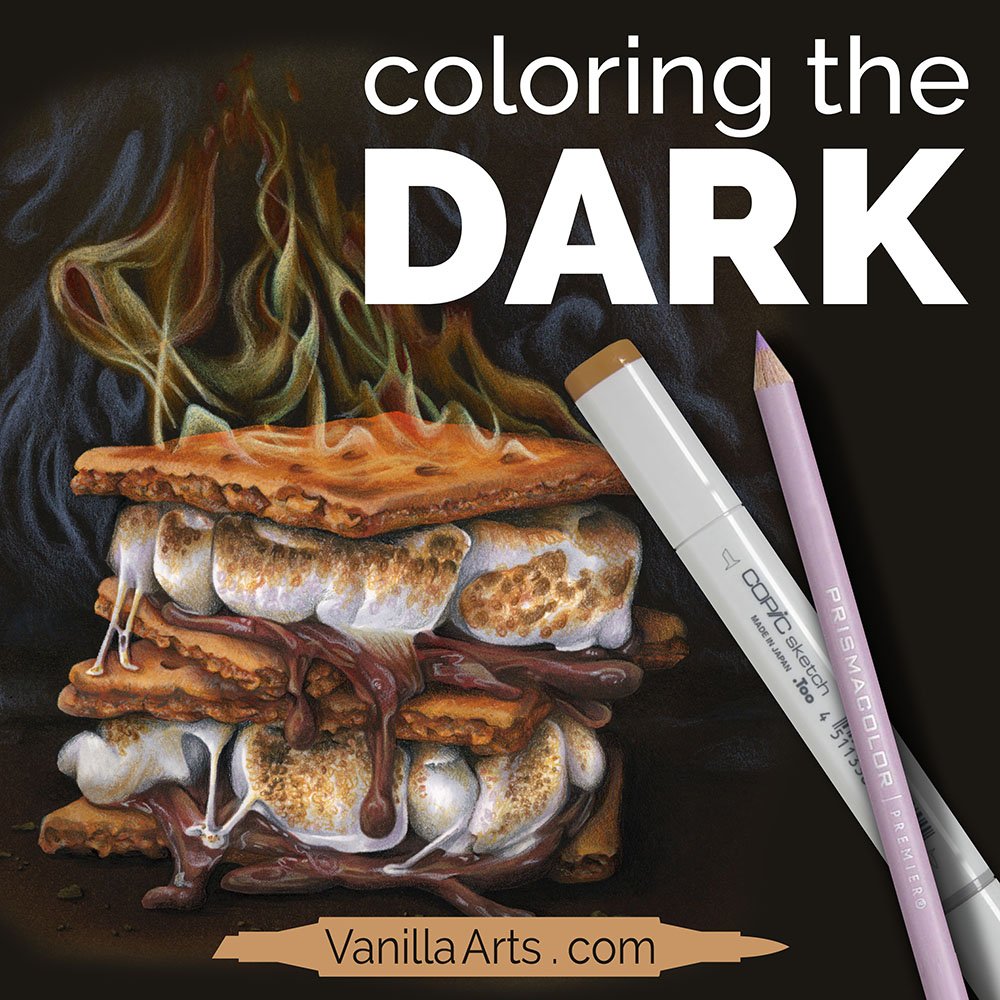
How to Color Realistic Night Scenes with Markers and Colored Pencils
Your standard technique for coloring a night scene is usually the same and it always involves a black or nearly-black background. The problem is, black paper doesn’t really look like night. Amy shows you a better approach to midnight theme settings.
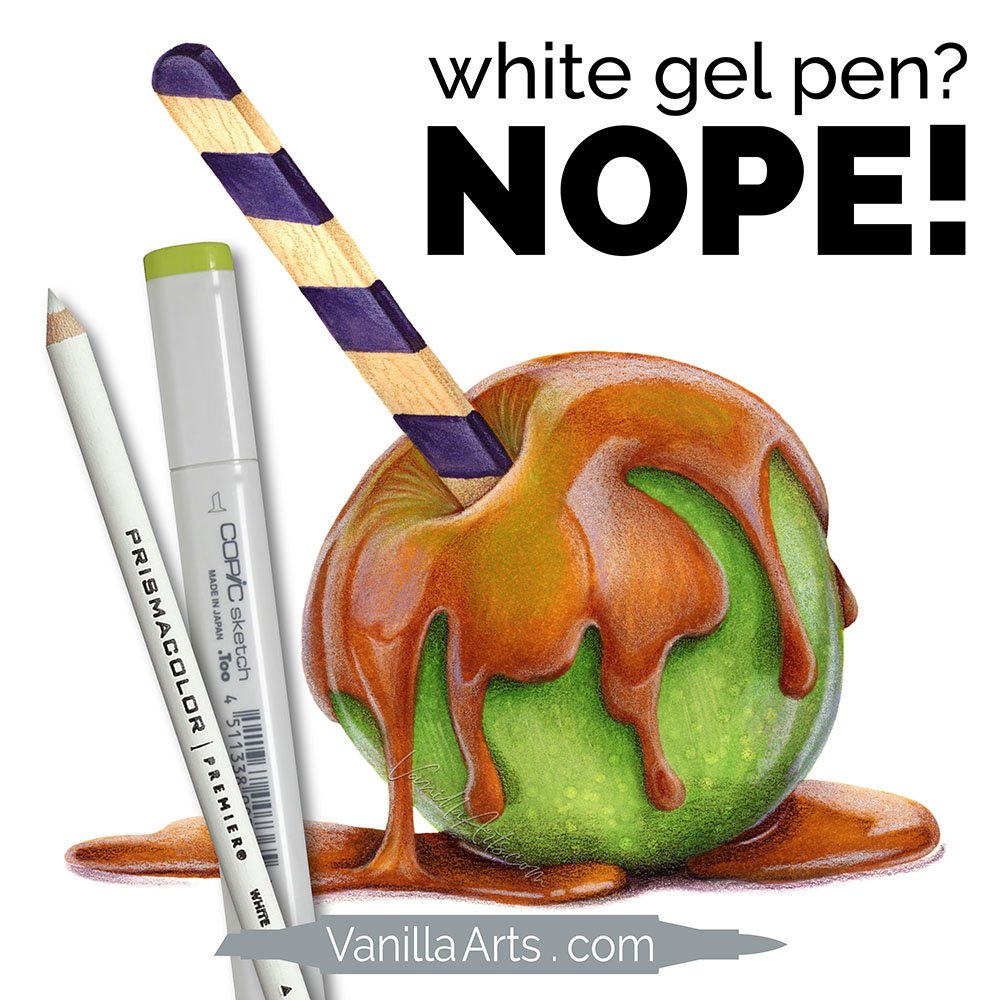
Realistic Shine and Reflections: Draw & Color - Caramel Apple
Sometimes it seems like every marker or colored pencil project MUST end with a few dots or dashes of white gel pen. Everyone does it, so it must look good, right?
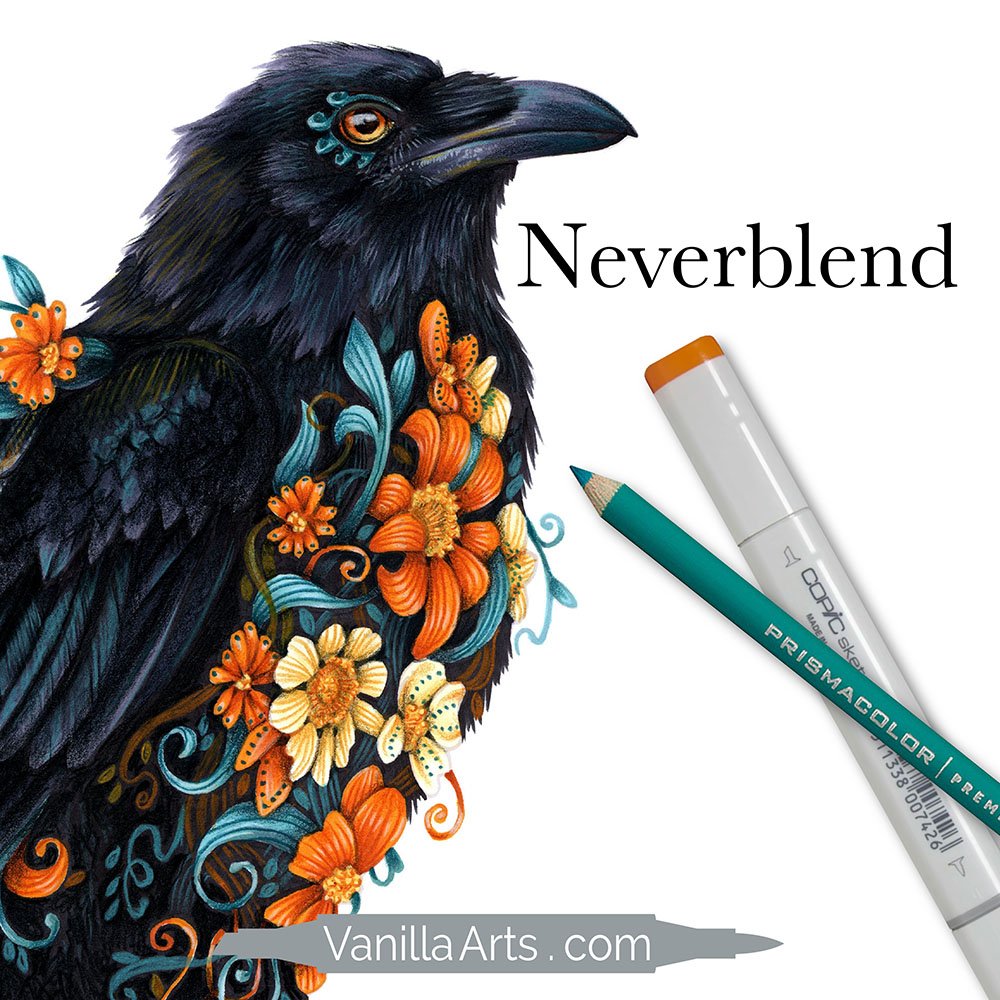
Coloring with Marker & Pencil: The Things We Never Think About
Coloring with alcohol markers and colored pencils is so much fun! But there’s one little problem: Your coloring looks great when you’re following a tutorial or taking a class. But on your own? You don’t know how to...