
Coloring Tip: How to Color a Smooth Background (why Copic Markers leave stripes and streaks)

Do your Copic Marker backgrounds look streaky or striped?
You’re not alone. It’s hard to create a smooth colorful background with Copic Markers.
I see the streaky-background question posted on beginner marker groups at Facebook a lot. The sad thing is, the answers from the community are almost never correct.
Use the chisel nib! No, use a Copic Wide! Use a bullet nib!
Work diagonally! Work from the image outward! Always color horizontally!
Use 3 colors on top of each other! Never use more than 1 color!
Or the absolute worst answer:
Smooth it out with a colorless blender!
Please, do not try to smooth anything out with a Colorless Blender. You’ll just make a mess.
Helpful advice is not always helpful. You can try these suggestions… heck, you can try them all at the same time… but it won’t help much.
Today, let’s look at why your marker backgrounds are covered with stripes, streaks, and funky patches.
The key to coloring smooth backgrounds with Copic Marker is to understand how the ink color builds and the limitations of marker nibs. For smaller images, use a circular stroke building at least 3-4 layers of ink. For larger projects, switch to a medium better suited for covering large spaces.

Copic Marker streaks are caused by uneven coverage
Most people assume the ink in the marker matches the color on the cap. But that’s not true.
Alcohol inks are transparent and the color is buildable.

Buildable means that the color adds-up or builds into something darker with every layer.
Two coats of Copic ink looks darker than one coat. Three layers will look darker still. Somewhere around 4-5 coats, you’ll reach maximum darkness.
Basically, YG95 + YG95 + YG95 looks a lot like one coat of YG97.
Marker backgrounds look streaky or patchy when the paper has been given different amounts of ink.
You’re seeing some areas with one coat of ink and other areas with two coats of ink. Two coats look darker and that’s why you’re seeing dark stripes or patches.
But wait Amy, I only colored one layer.
Sure, but to eliminate any white gaps between your marker strokes, you overlapped a bit. The overlap is a second layer, even if you don’t count it as such.
When you fill the background with straight strokes, the overlaps make dark stripes.
When you color in circles, the overlaps make doughnuts or dark curlicues.
When you zig-zag in sections, where the sections overlap. you’ll get a patchwork effect.
You can’t easily smooth-out a streaky background because to do so, you’d have to go in with surgical precision and add more ink to the one-coat areas without ever giving any extra ink to the two coat areas.
It’s a self-defeating process; as soon as you accidentally give more ink to a two-coat area, then it has 3 coats and now you’ve got to add more everywhere else.
Standard smooth-blending suggestions from helpful folks are usually wrong because they fail to address the root cause of the problem— uneven layers of ink.
When ink is unevenly applied, there will always be streaks.
Learn more about Copic Markers here:


The question nobody asks…
And I don’t understand why, because this is important…
When someone posts to a coloring group: “Hey, my background is really streaky. I can’t figure out how to fix this or prevent it from happening again…”
Nobody ever asks: “What size is your project?”
They never do. Why-o-why-o-why?
The answer to this question is essential to figuring out if the person has a snowball’s chance in Honolulu of ever coloring a smooth background.
Because here’s the key:
Copic Markers all have the same size nib.
Sure, they make brush nibs and bullets, chisel nibs and calligraphy nibs… but what they don’t make is small, medium, and large brush nibs.
Size matters.
And here’s where the internet lets you down because we have no sense of scale online.
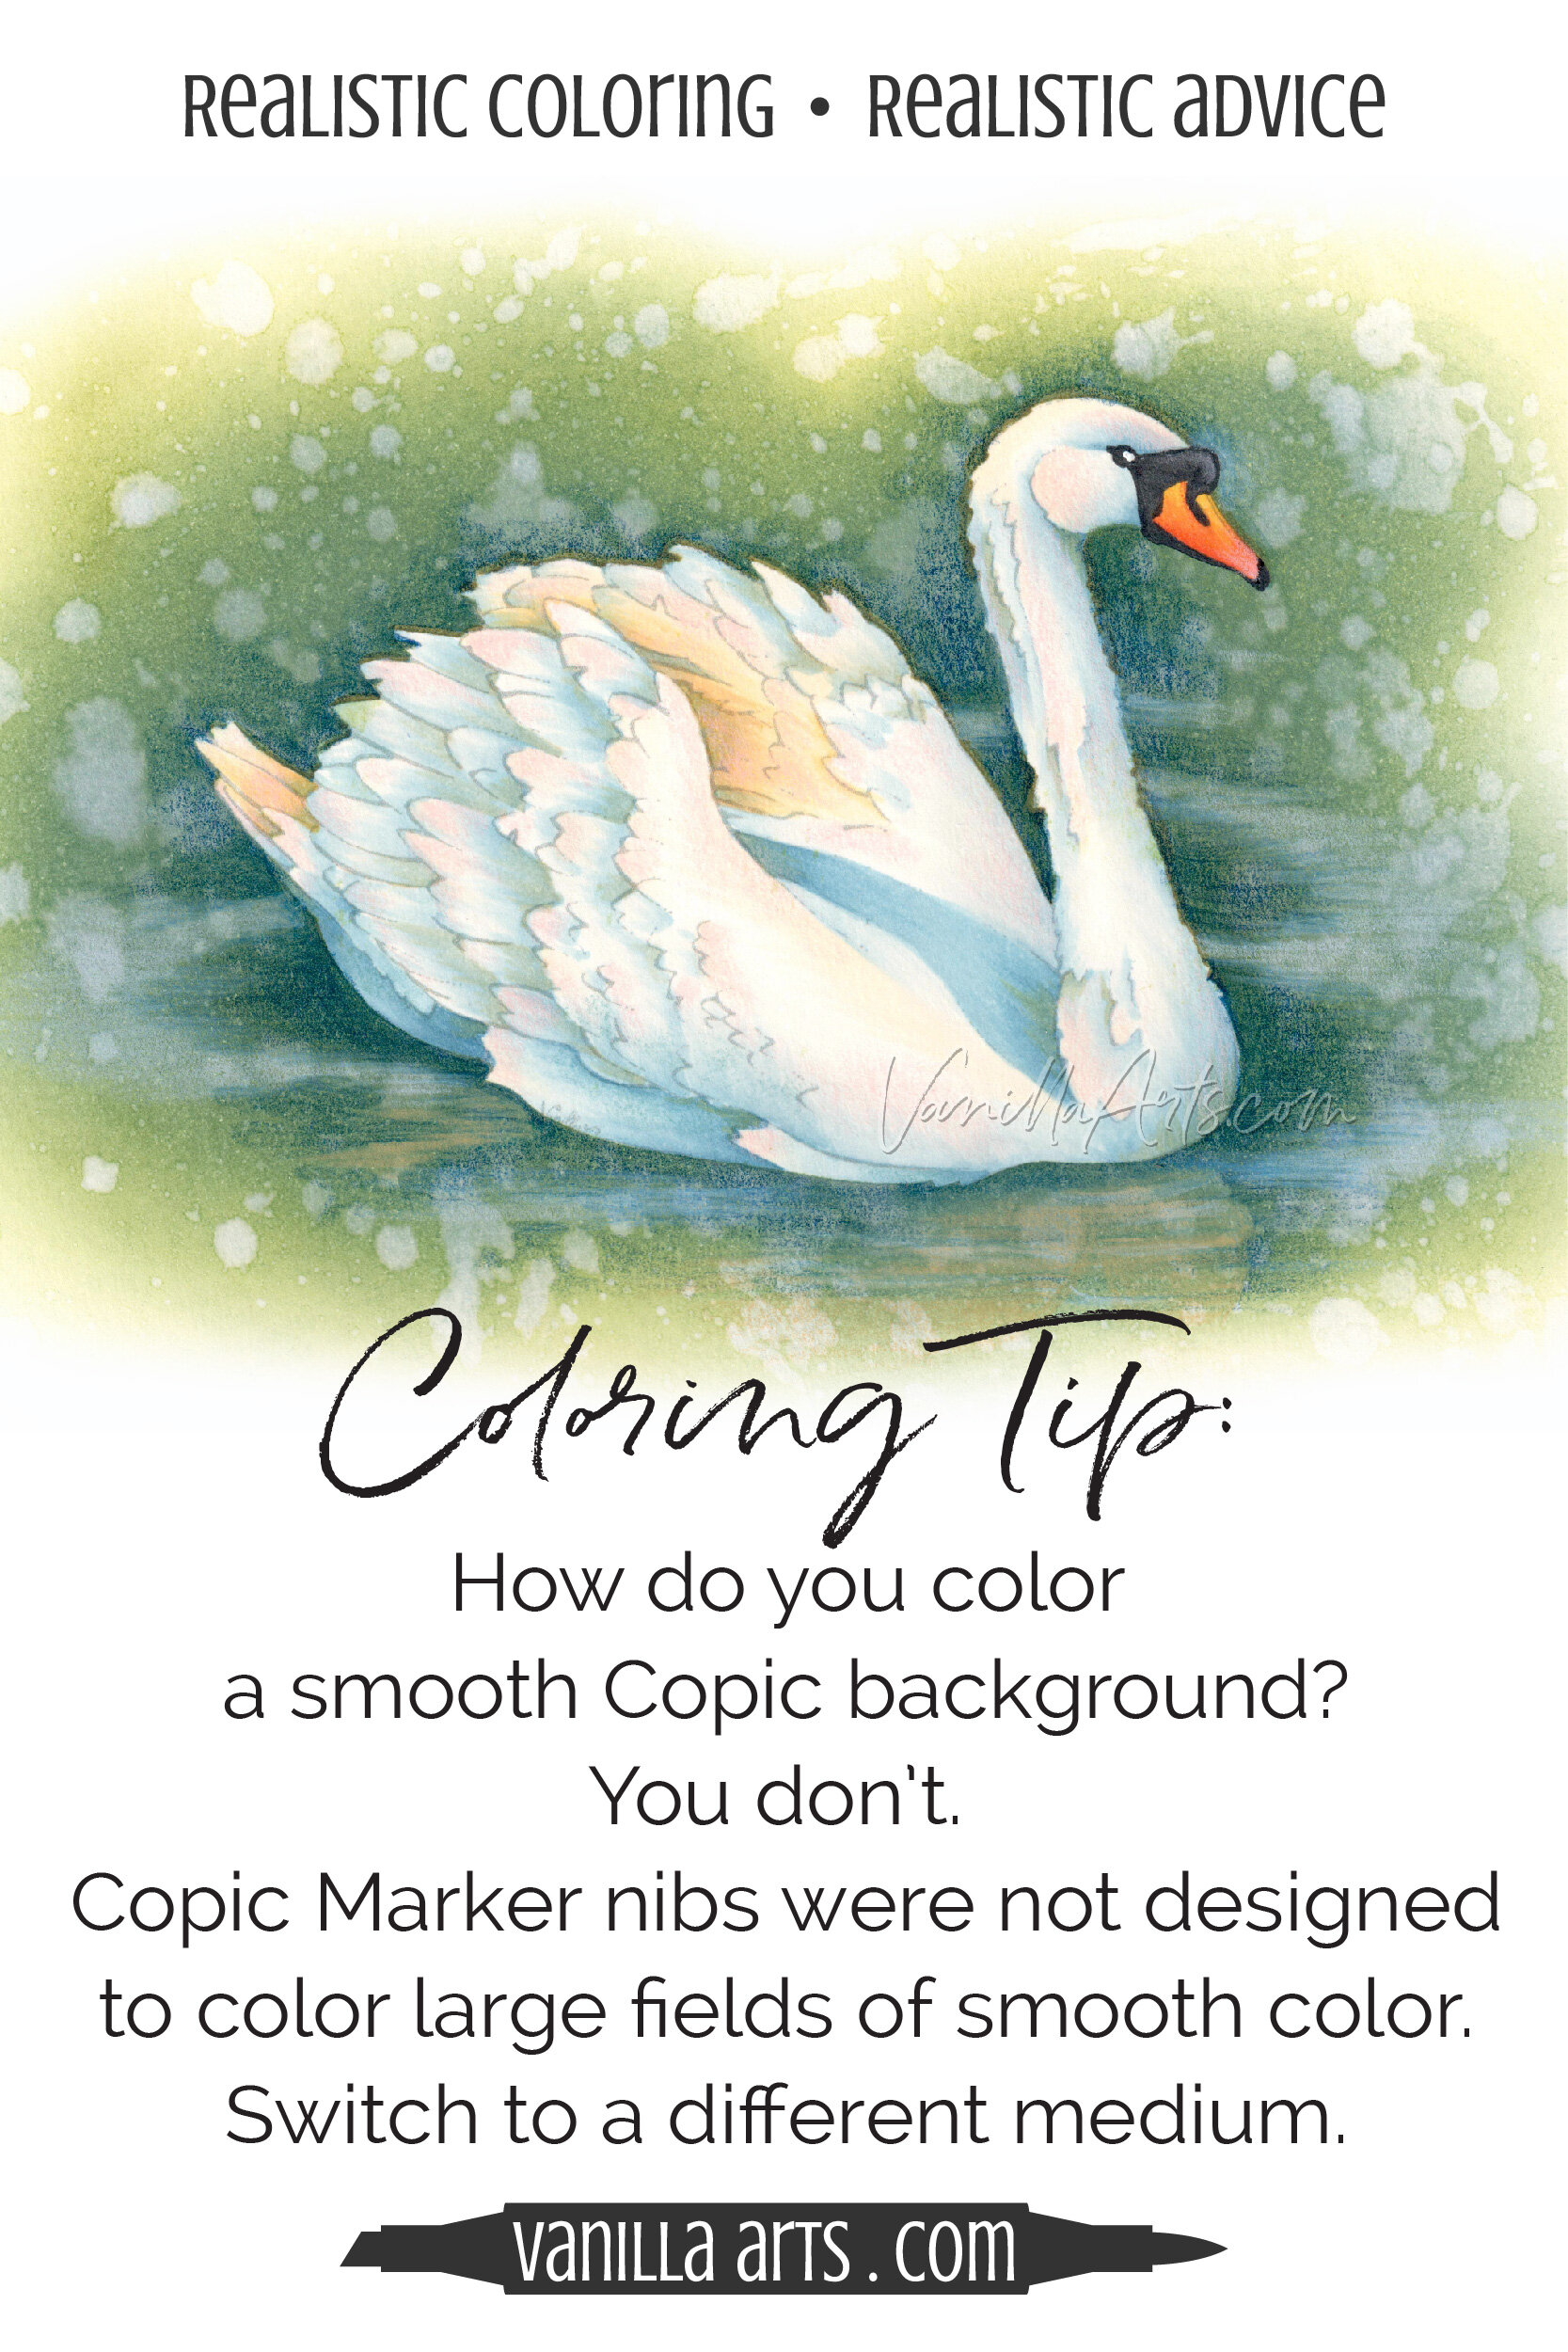
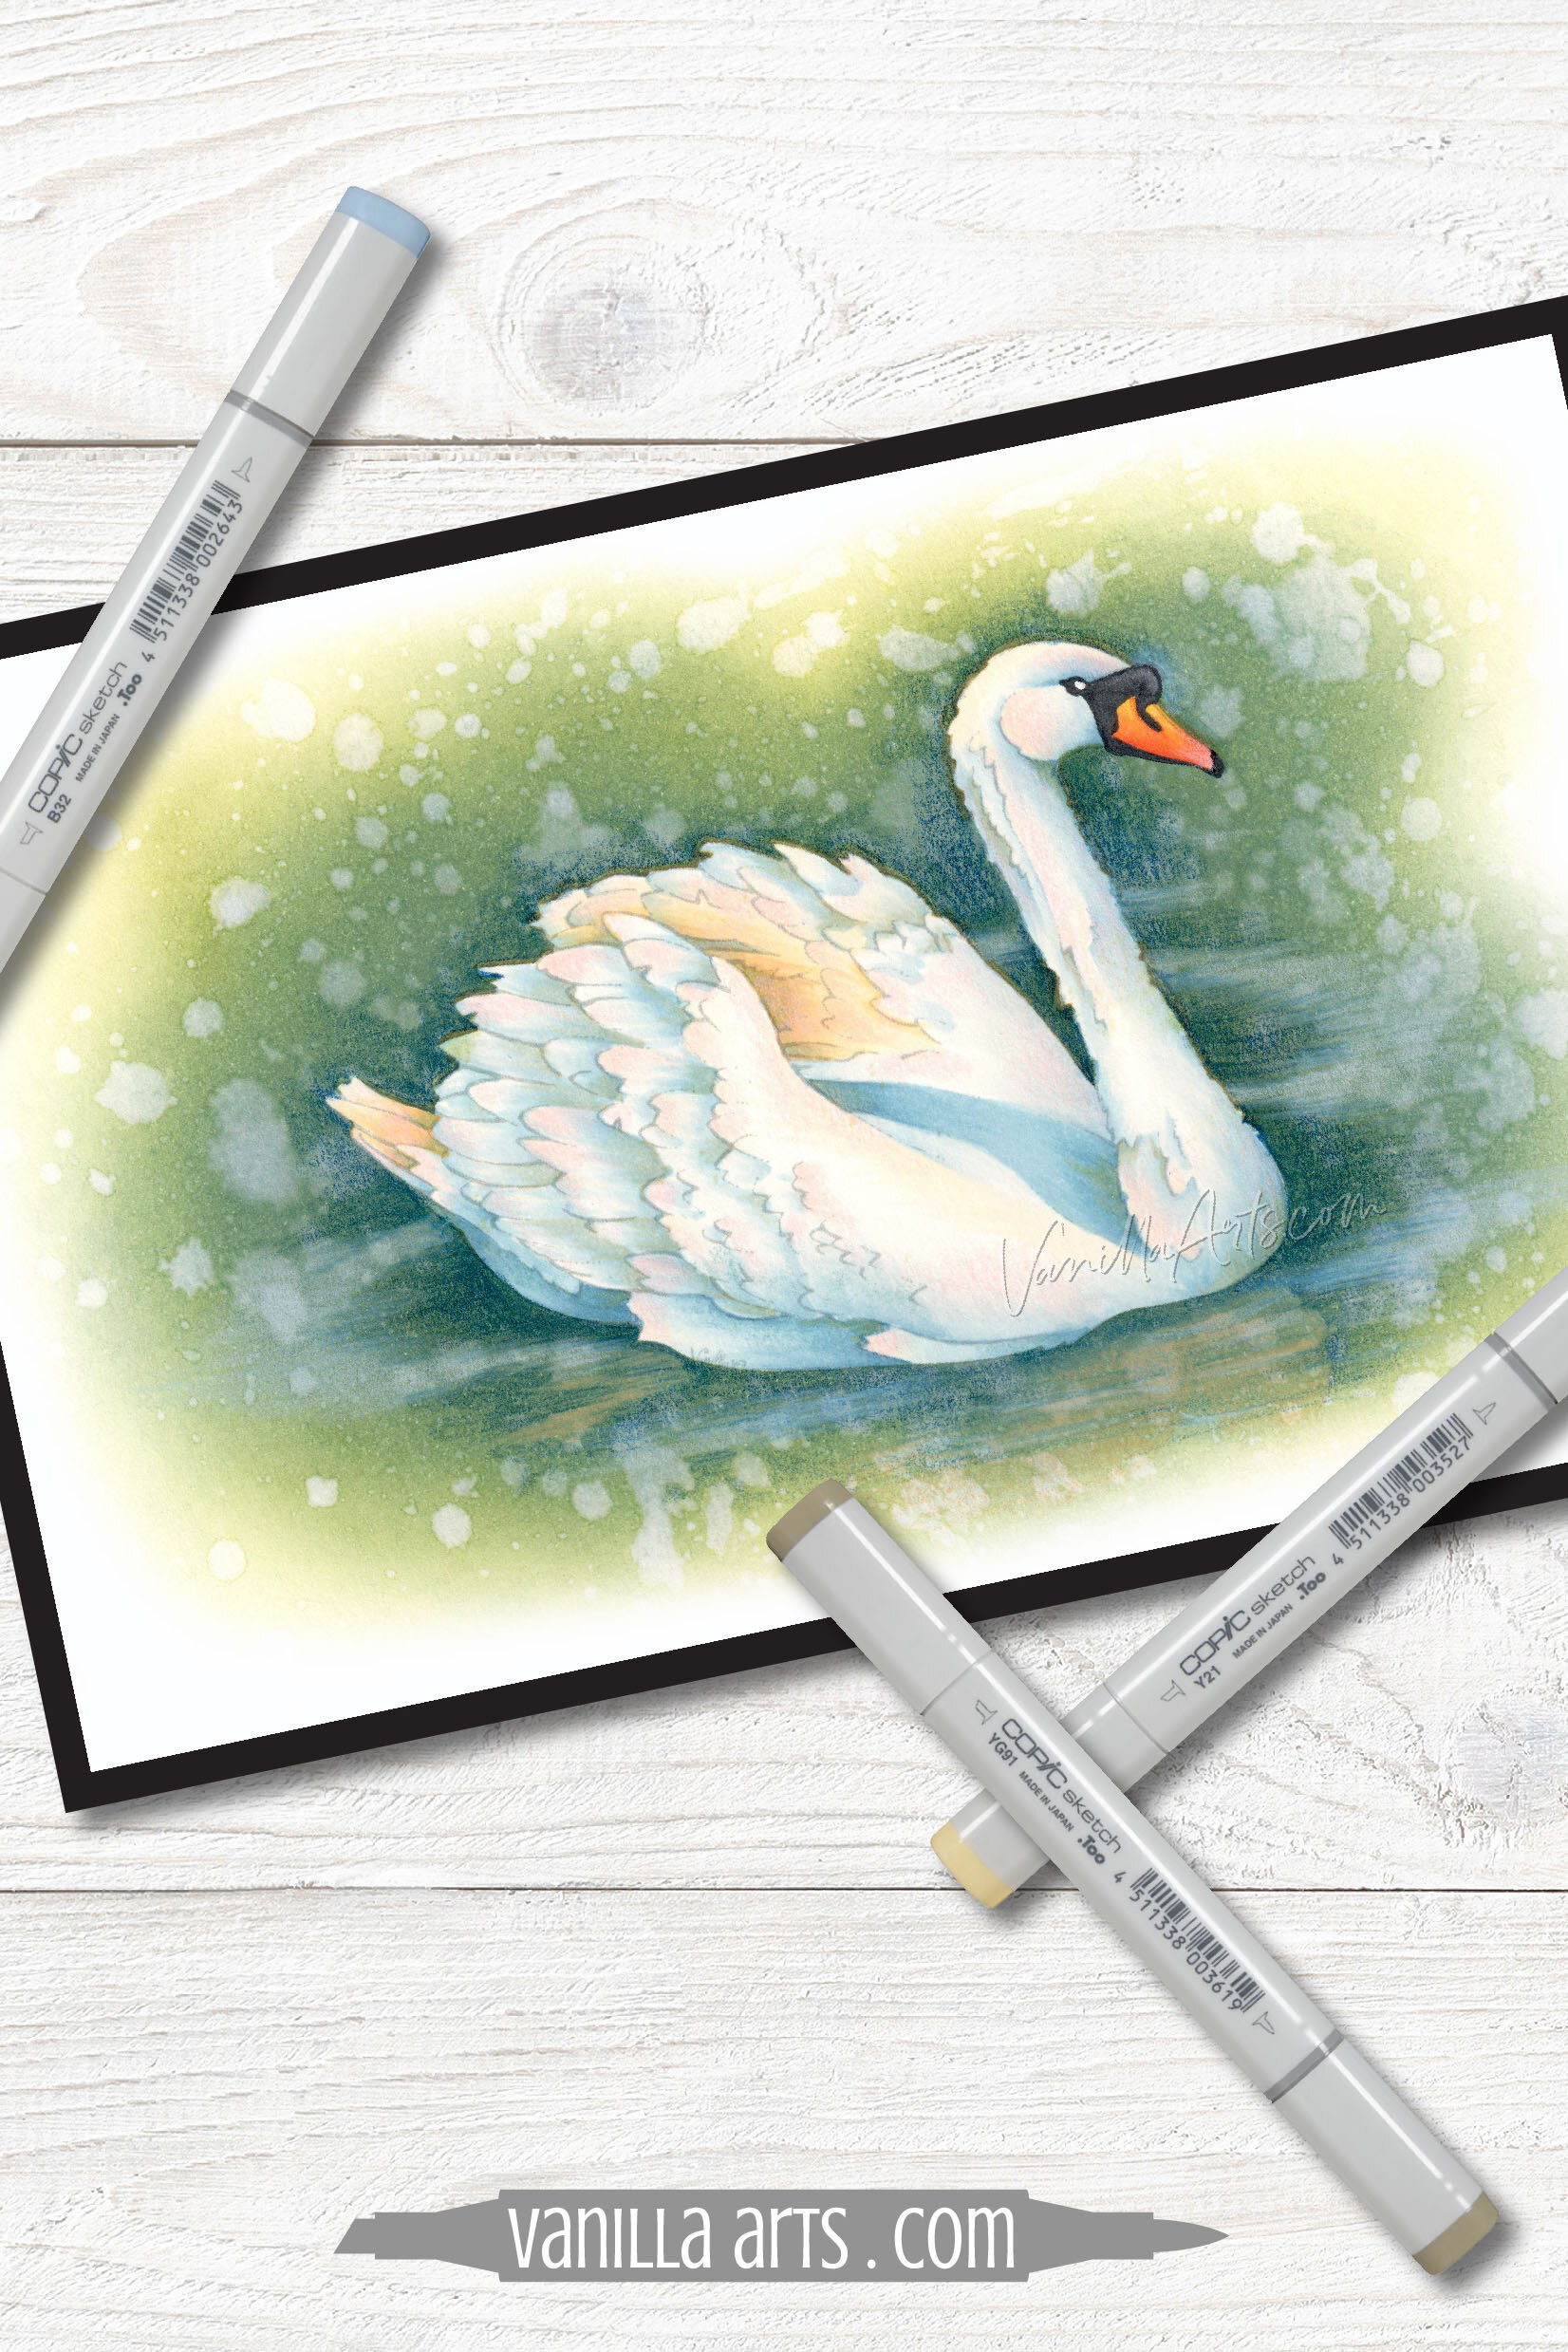
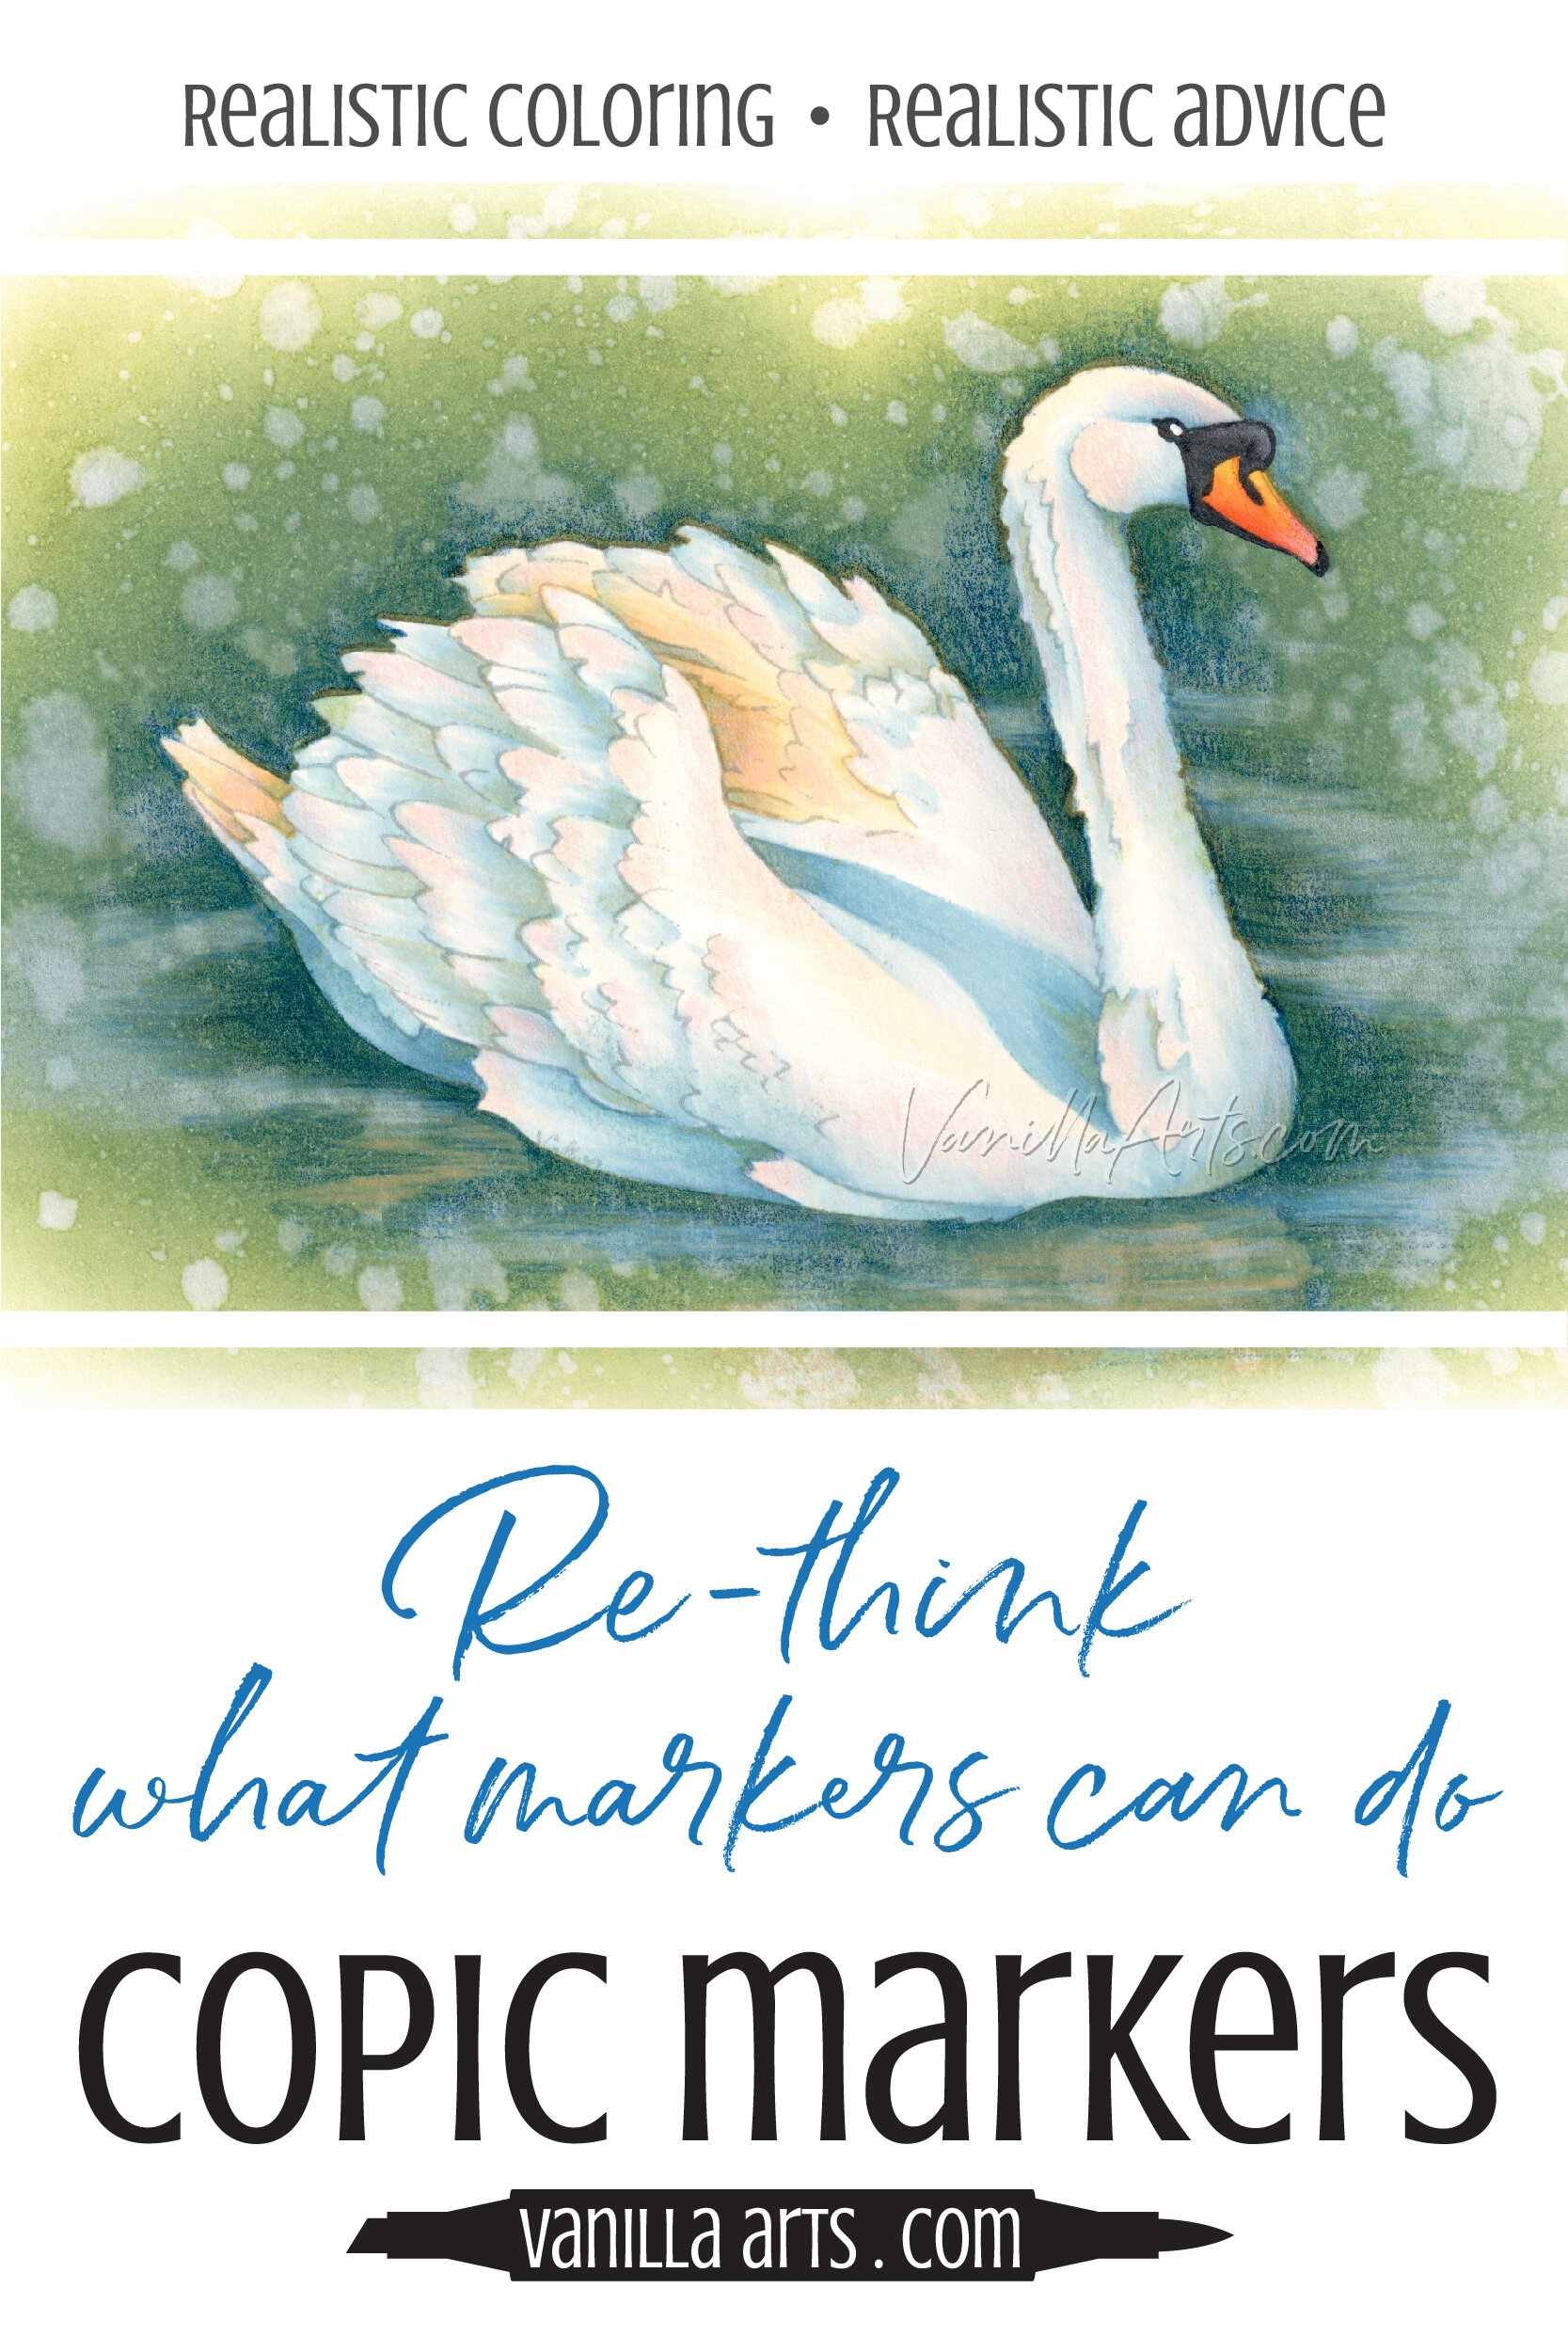
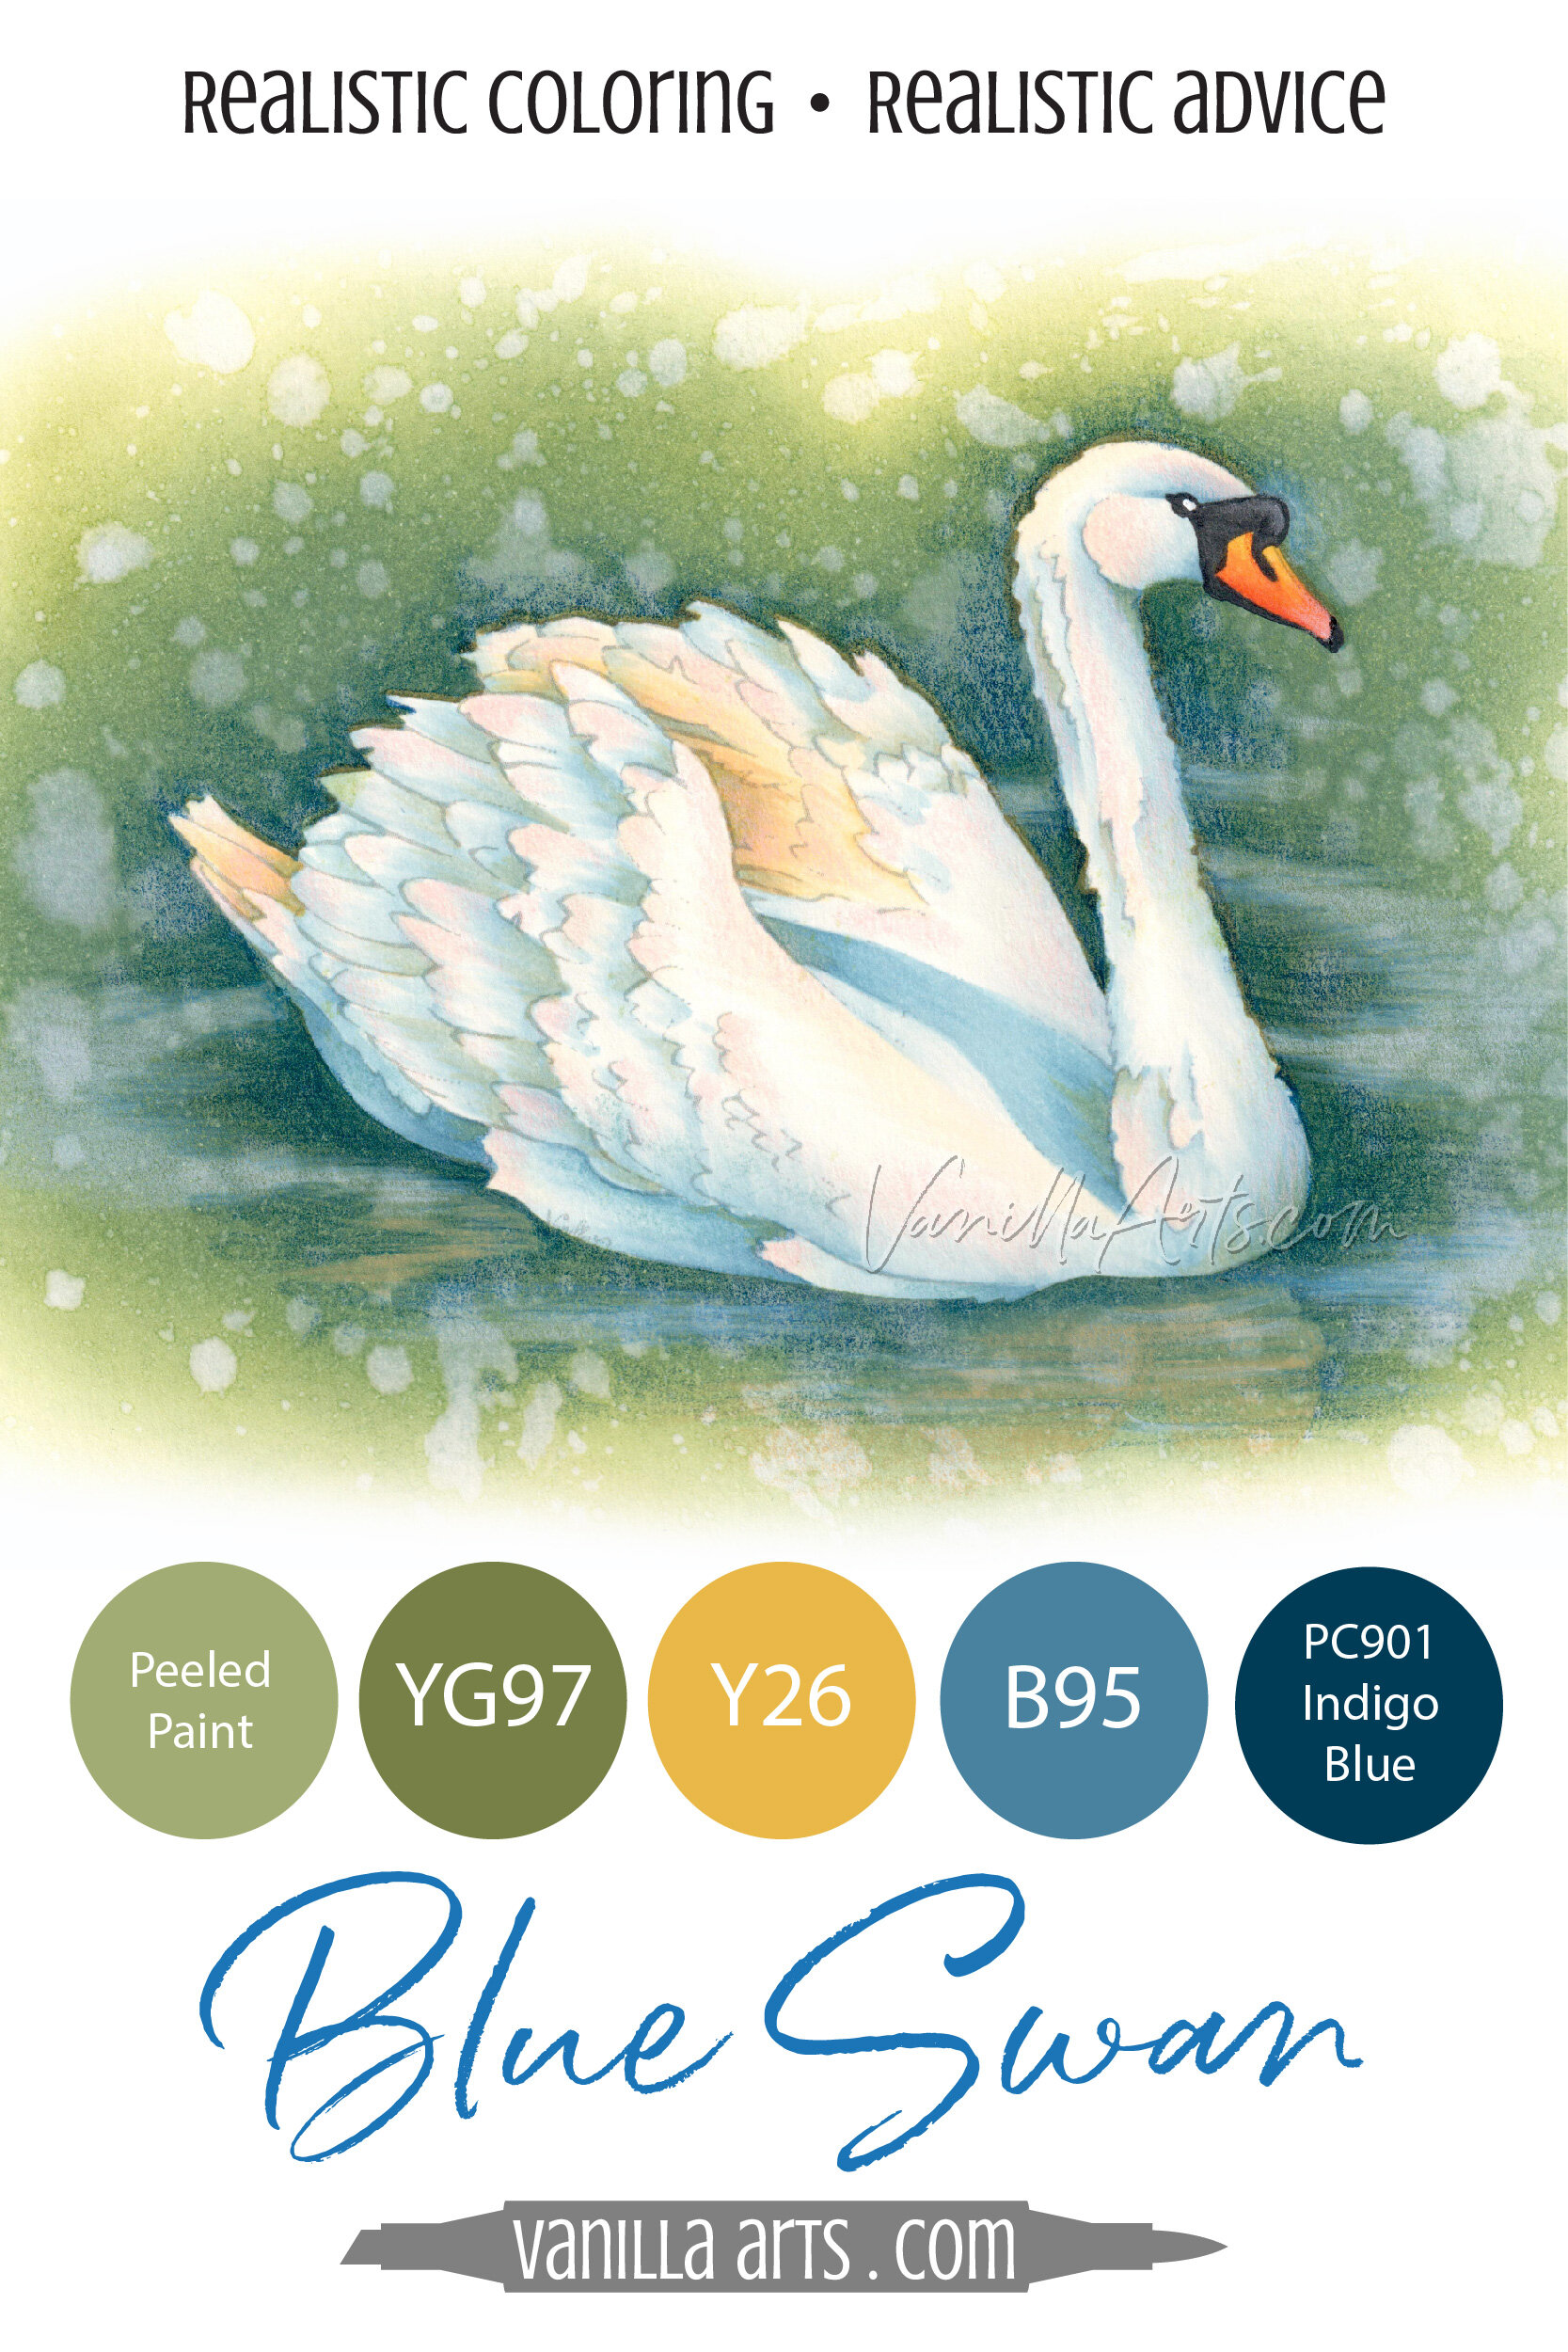
My Blue Swan project here is 11”x17”.
Hmmm, what size did you assume it was?
I color much larger than most people realize. You’re used to looking at your own projects, so you think every project online is the same size yours.
Au contraire mon frère.
My friends Mindy (My Creative Scoop) and Michelle (Copic in the Craft Room) both color cards and small images. They have no trouble using the tippy-tip-tip of a Copic Marker to color teensy-weensy details.
I think 8.5” x 11” feels cramped. I’m down on the side of my Copic nibs, pressing to get lots of juice into every stroke on oversized sheets of premium paper.
The techniques you use to color small do not always translate to large scale images.
But here’s the kicker: all of us, no matter what size image we’re working on…
We all hit limits where we can’t color an area smoothly because we’re trying to cover an area larger than a Copic Marker was designed to cover.
For Michelle and Mindy, it’s usually when they color a background. For me, too big can happen just about anywhere.
There’s a limit to what your marker can do. The nib limits how much area you can cover smoothly.
It’s not a coincidence that people with streaking issues are usually coloring backgrounds.
For many colorers, the background is the biggest thing they’ve ever colored. For the first time, they’re pushing the limits of what a Copic nib can cover well.
The smaller the image, the more likely you’ll be able to make a smooth, single color background.
But if you’re coloring giant sized images like my Blue Swan with a big ol’ background all around it?
A smooth Copic background just ain’t gonna happen.
It’s not about skill, talent, or the right technique. When you exceed the size limitation for your Copic nib, you will have smoothness issues.
How to color a smooth background for small images
Remember, this method will only work on small areas.
Quarter fold cards are 4.25” x 5.5” and remember, your object should be taking up most of that room.
A minimal background on a quarter-fold is about the largest I’d attempt.

Before we cover the method, let’s remember what I said earlier. “Copic inks are transparent and the color is buildable.”
In my Copics Uncapped testing series at MarkerNovice.com, I show how each marker layers or builds to create a slightly deeper color.
In the layering section, note how many layers it takes to hit maximum color. With some markers, it takes 4-5 layers. With others, it might be 2 layers.
B32 here takes four coats to make it to the maximum color level.
So to make a smooth Copic background with B32, you need to give the background at least 4 coats.
It’s also important to note, with many markers, as you add more layers, the paper starts to look oily or wet, even after it dries.
I explain about layering and oily sheen in the Uncapped article for each marker because every color gets oily at a different level.
Oiliness is a sign you’re in danger zone. Oily patches will never look smooth and if you keep adding ink to an oily area, the paper will become physically sticky.
For smooth single-color backgrounds on small images, choose a marker which builds easily in a few layers and doesn’t get oily fast.
You may also need to choose a lighter marker than you’d expect.
A smooth B32 background will be the color of layer #4. This may be darker than you intended. If you want the background to match the color of layer #1, you’ll need a different marker.
I like to use the brush nib because it’s juicier.
You can do this with the chisel nib but it takes longer because chisels are a dryer nib. Also, chisel nibs work best when they’ve been broken-in. Hard chisel nibs soften with repeated use, a fresh nib leaves uneven streaks while a broken-in softer nib leaves a beautiful line. Because very few people use their chisel nibs at all, few will have chisels soft enough to leave a consistent stroke. So if you’ve never used your chisel nib before, a background is not the time to start. Use the brush end.
Using the side of your brush nib (not the pointy tip), make small but fat circular strokes to fill in your background. Make circles that are about .25” or less in diameter.
Note, this is repetitive work and pretty darned boring.
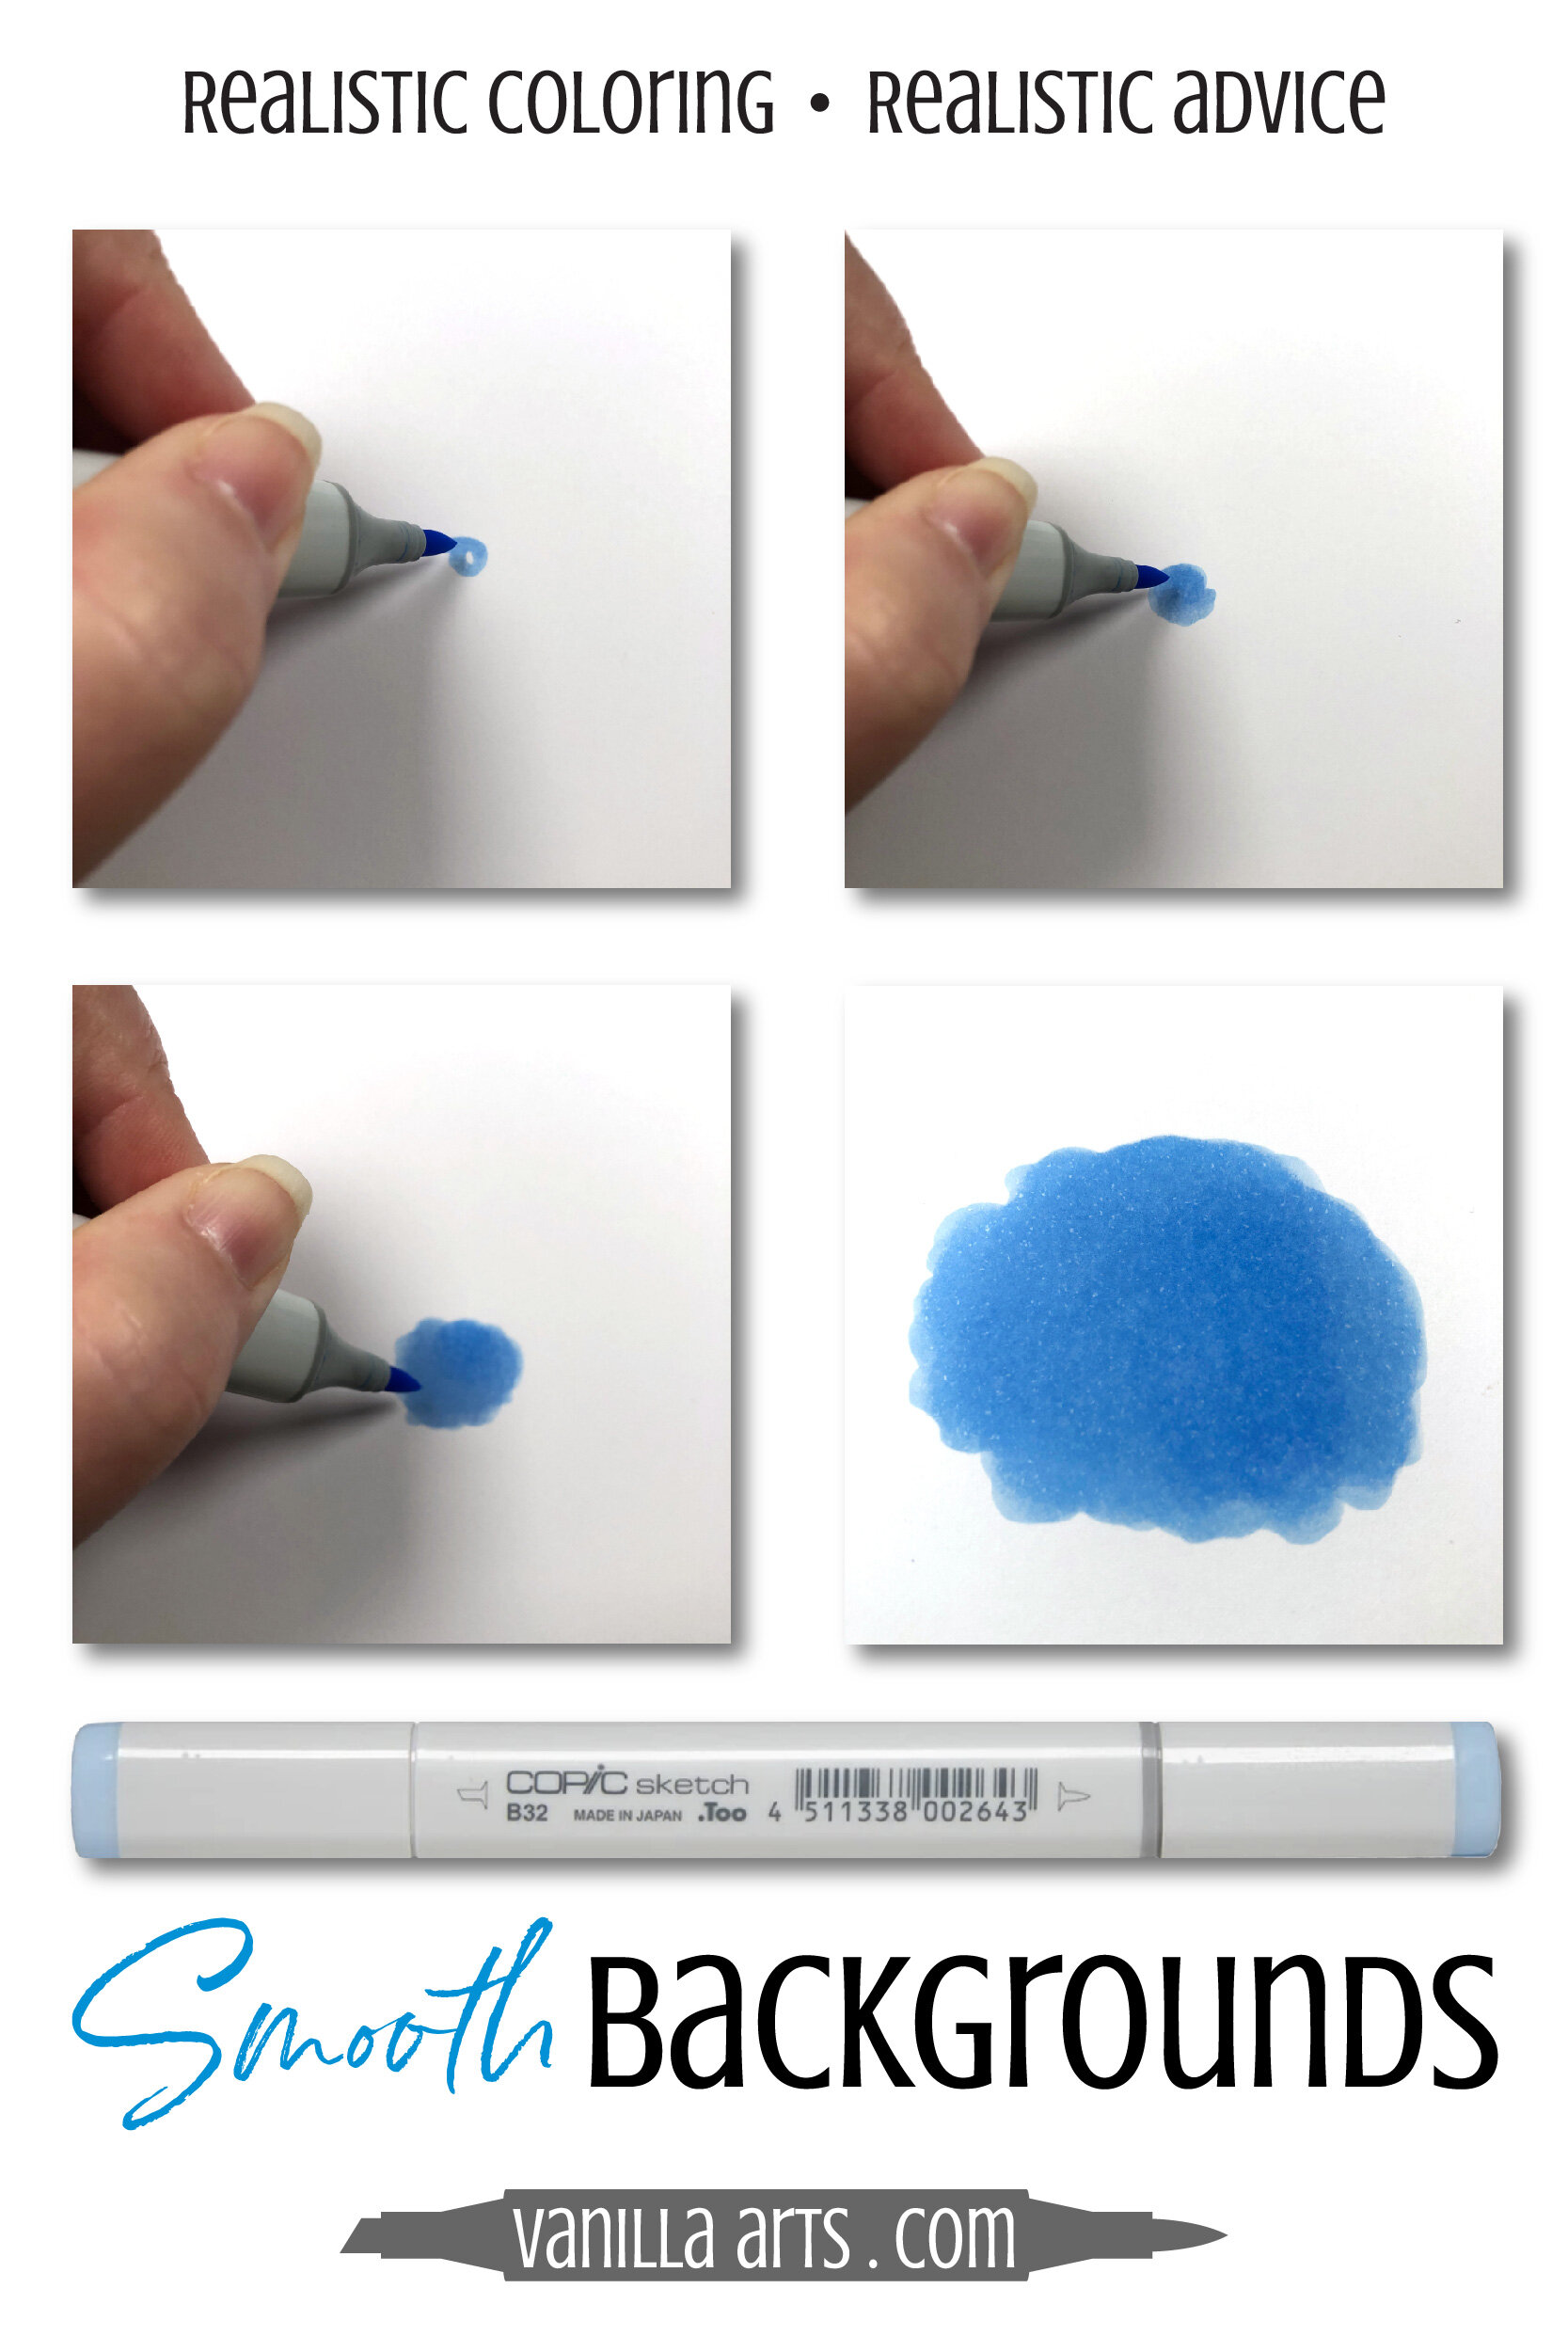
Ideally, the first circular stroke you make will leave a bit of a hole in the center, the second circle fills in the hole of the first, and so on. This is how you gradually build up layers— each circle overlaps several previous circles and the color gradually builds to the maximum depth.
Work fast but be thorough. Wet ink over wet ink will always look smoother than wet ink applied to a dried ink area
Now here’s the important part… try not to make long rows of circles. Some people naturally fall into this kind of organized stripe pattern. If you work in rows, we’re more likely to see those rows later. By the time you get to the end of a row and turn around to come back, the start of the row has already dried.
Instead, work in a blob shape and gradually grow your blob across the paper from one side to the other.
You may eventually butt up against some already dried ink. If you do, overlap the two sections, giving the junction between wet and dry a little extra juice to rehydrate the dried ink.
Once you’ve filled in the entire background, then come back with the point of your brush nib and fill in any spaces left around your objects.
Remember, each marker builds to a maximum depth at a specific number of layers. If you stop before you’re at maximum color, we will always see your strokes. Be patient and build the color generously but stop before you create oily patches.
PRO TIP: Not every Copic Marker is a good candidate for background colors. Check my Copic Uncapped tests at MarkerNovice.com or do your own layering experiments. If oily streaks appear before maximum color has been reached, I would not recommend using this marker for backgrounds.
PRO TIP: Use high quality card stock which has been developed especially for use with markers. Card stocks designed for markers stay wet longer. This allows ink to self-level as you work. Regular card stock for card making and any cardstock made for printers or copy machines will not dry as smooth! We recommend X-Press It Blending Card.
PRO TIP: Work on glass, acrylic, or other non-absorbent surface. Many colorers work with a sheet of scrap paper below their project or in a journal with other pages below their project. Paper below your project dries the ink faster. The longer we can keep your circles wet, the smoother they will dry.
Michelle Houghton from Copic in the Craftroom demonstrates her circular background technique here:
The link above joins Michelle’s video in-progress, at the point where she begins the background process.
Better Copic background options
Once you’ve tried a smooth background, you’re unlikely to want to do it again. It’s monotonous work for a very uninteresting background.
And remember that even on your very best day, with all the stars aligned, and your pockets full of lucky pennies and four leaf clovers… a Copic marker still will not give you perfectly smooth results.
Large smooth areas are NOT what a Copic Marker was built to do. Did you hear Michelle in the video?
All right… so that’s uh… pretty smooth…
A smooth Copic background is kinda almost sorta smooth. It’s smoothish, not smooth.
The only true way to get a super smooth Copic background is to use the Copic Airbrush System which is quite possibly the worst airbrush I’ve ever tried. It’s basically a grown up blow pen but with a steep learning curve and a tendency to toss out random blobs. I don’t recommend this airbrush to anyone.
The inabilty to get a perfectly smooth background is why so many creative Copic artists and colorers create alternative background techniques.
Many people create a halo of color around their objects to reduce the size of the background. A halo is easier to color smoothish than a whole page.
I teach several modified halo, modified pointillism, textural effects, and a splashy technique.
My friend Mindy over at My Creative Scoop has become the queen of creative background scenes. Notice that even when she uses an area of smooth color, she breaks it up with clouds, plants, or a faded gradient. She’s doing this because it’s very pretty and eye-catching.
But she’s also doing it because it’s easier than fighting with her markers to get them to do something they don’t naturally want to do.
Mindy makes simple methods look polished and professional!
How to make smooth colorful backgrounds for large projects
So how about those of us who color large images?
Unfortunately, you will always be limited by the size of your Copic marker.
At least until they start making Copic brush-nibbed Minis and Maxies…
So why insist on coloring backgrounds with the one product we know does not color backgrounds well?

Why fight with a Copic Marker when there are many other products specifically designed for coverage of large areas?
If you want a smooth background, switch to a smooth product.
There are no trophies and no national holidays named for the person who colors in 100% marker. God won’t smite thee if thou doest toucheth thine paper with something other than Copic.
The background for my Blue Swan project here is Distress Ink and colored pencil.
Distress Inks excel at coverage— you could cover the side of a building in Distress Ink if you wanted.
I applied the Distress with a large makeup brush designed for smooth applications.
By pairing a coverage medium with a smoothing tool, I get amazing results with zero anguish.
Many of you are sitting in craft rooms or art studios full of viable options. What’s holding you back?
Sometimes you have to fiddle around to find the best paper for this new medium but that’s easy enough. Maybe you end up modifying your technique a bit, but that’s how we innovate. That’s the artistic process.
An important question to ask yourself…
One more thing before we end this article about coloring smooth backgrounds.
As an instructor, I’m always very interested in why so many people make the same exact Copic Marker mistakes. I find many technique issues end up being more about what’s going on in your head rather than what your hand is doing.
So I have to ask…
Why do you feel it’s necessary to color backgrounds with just one marker?

Here’s what I see happen with a lot of colorers…
Well, the coloring doesn’t look so great and it didn’t turn out the way I envisioned, so I’m going to try sprucing it up with a nice background.
There’s also the kind of colorer who thinks…
A nice bright background will make my image pop!
Let’s be brutally honest:
A good background will not hide bad coloring.
And frankly, adding a smoothish background to a badly colored image only emphasizes your issues with marker technique and clumsy ink management.
Great coloring speaks for itself.
If the coloring looks good, you won’t need to fuss with extra details and more color behind it. Most of the time, I find backgrounds detract rather than add to the quality of the a finished project.
I do a lot of projects on plain white backgrounds. White, when done right, is a thing of beauty. Plain white makes your coloring the star of the show.
If you’re scrambling to add a background or if you always add a background no matter what, I think it’s time for a little soul searching and maybe taking some real classes.
What are you trying to hide?
Add Life to Your Whites
Ready to try challenge level coloring?
Blue Swan an Intermediate level Marker Painting Workshop
Learn to color whites with big, bold, and beautiful color. White is a magical color which adopts color from it’s surroundings. Colorful whites are easier than you think!
Real time coloring, recorded live
Live Workshops are unscripted demonstrations which provide students with a real look into the authentic coloring process. You’ll see mistakes being made and corrected. It’s just like visiting Amy in her home studio.
Class was recorded in April 2021 and featured a live student audience. Amy answers questions from the students and offers many tips for better colored pencil art.

Select supplies used in Blue Swan

Vanilla Arts Company is a participant in the Amazon Services LLC Associates Program, an affiliate advertising program designed to provide a means for use to earn fees by linking to Amazon.com.


