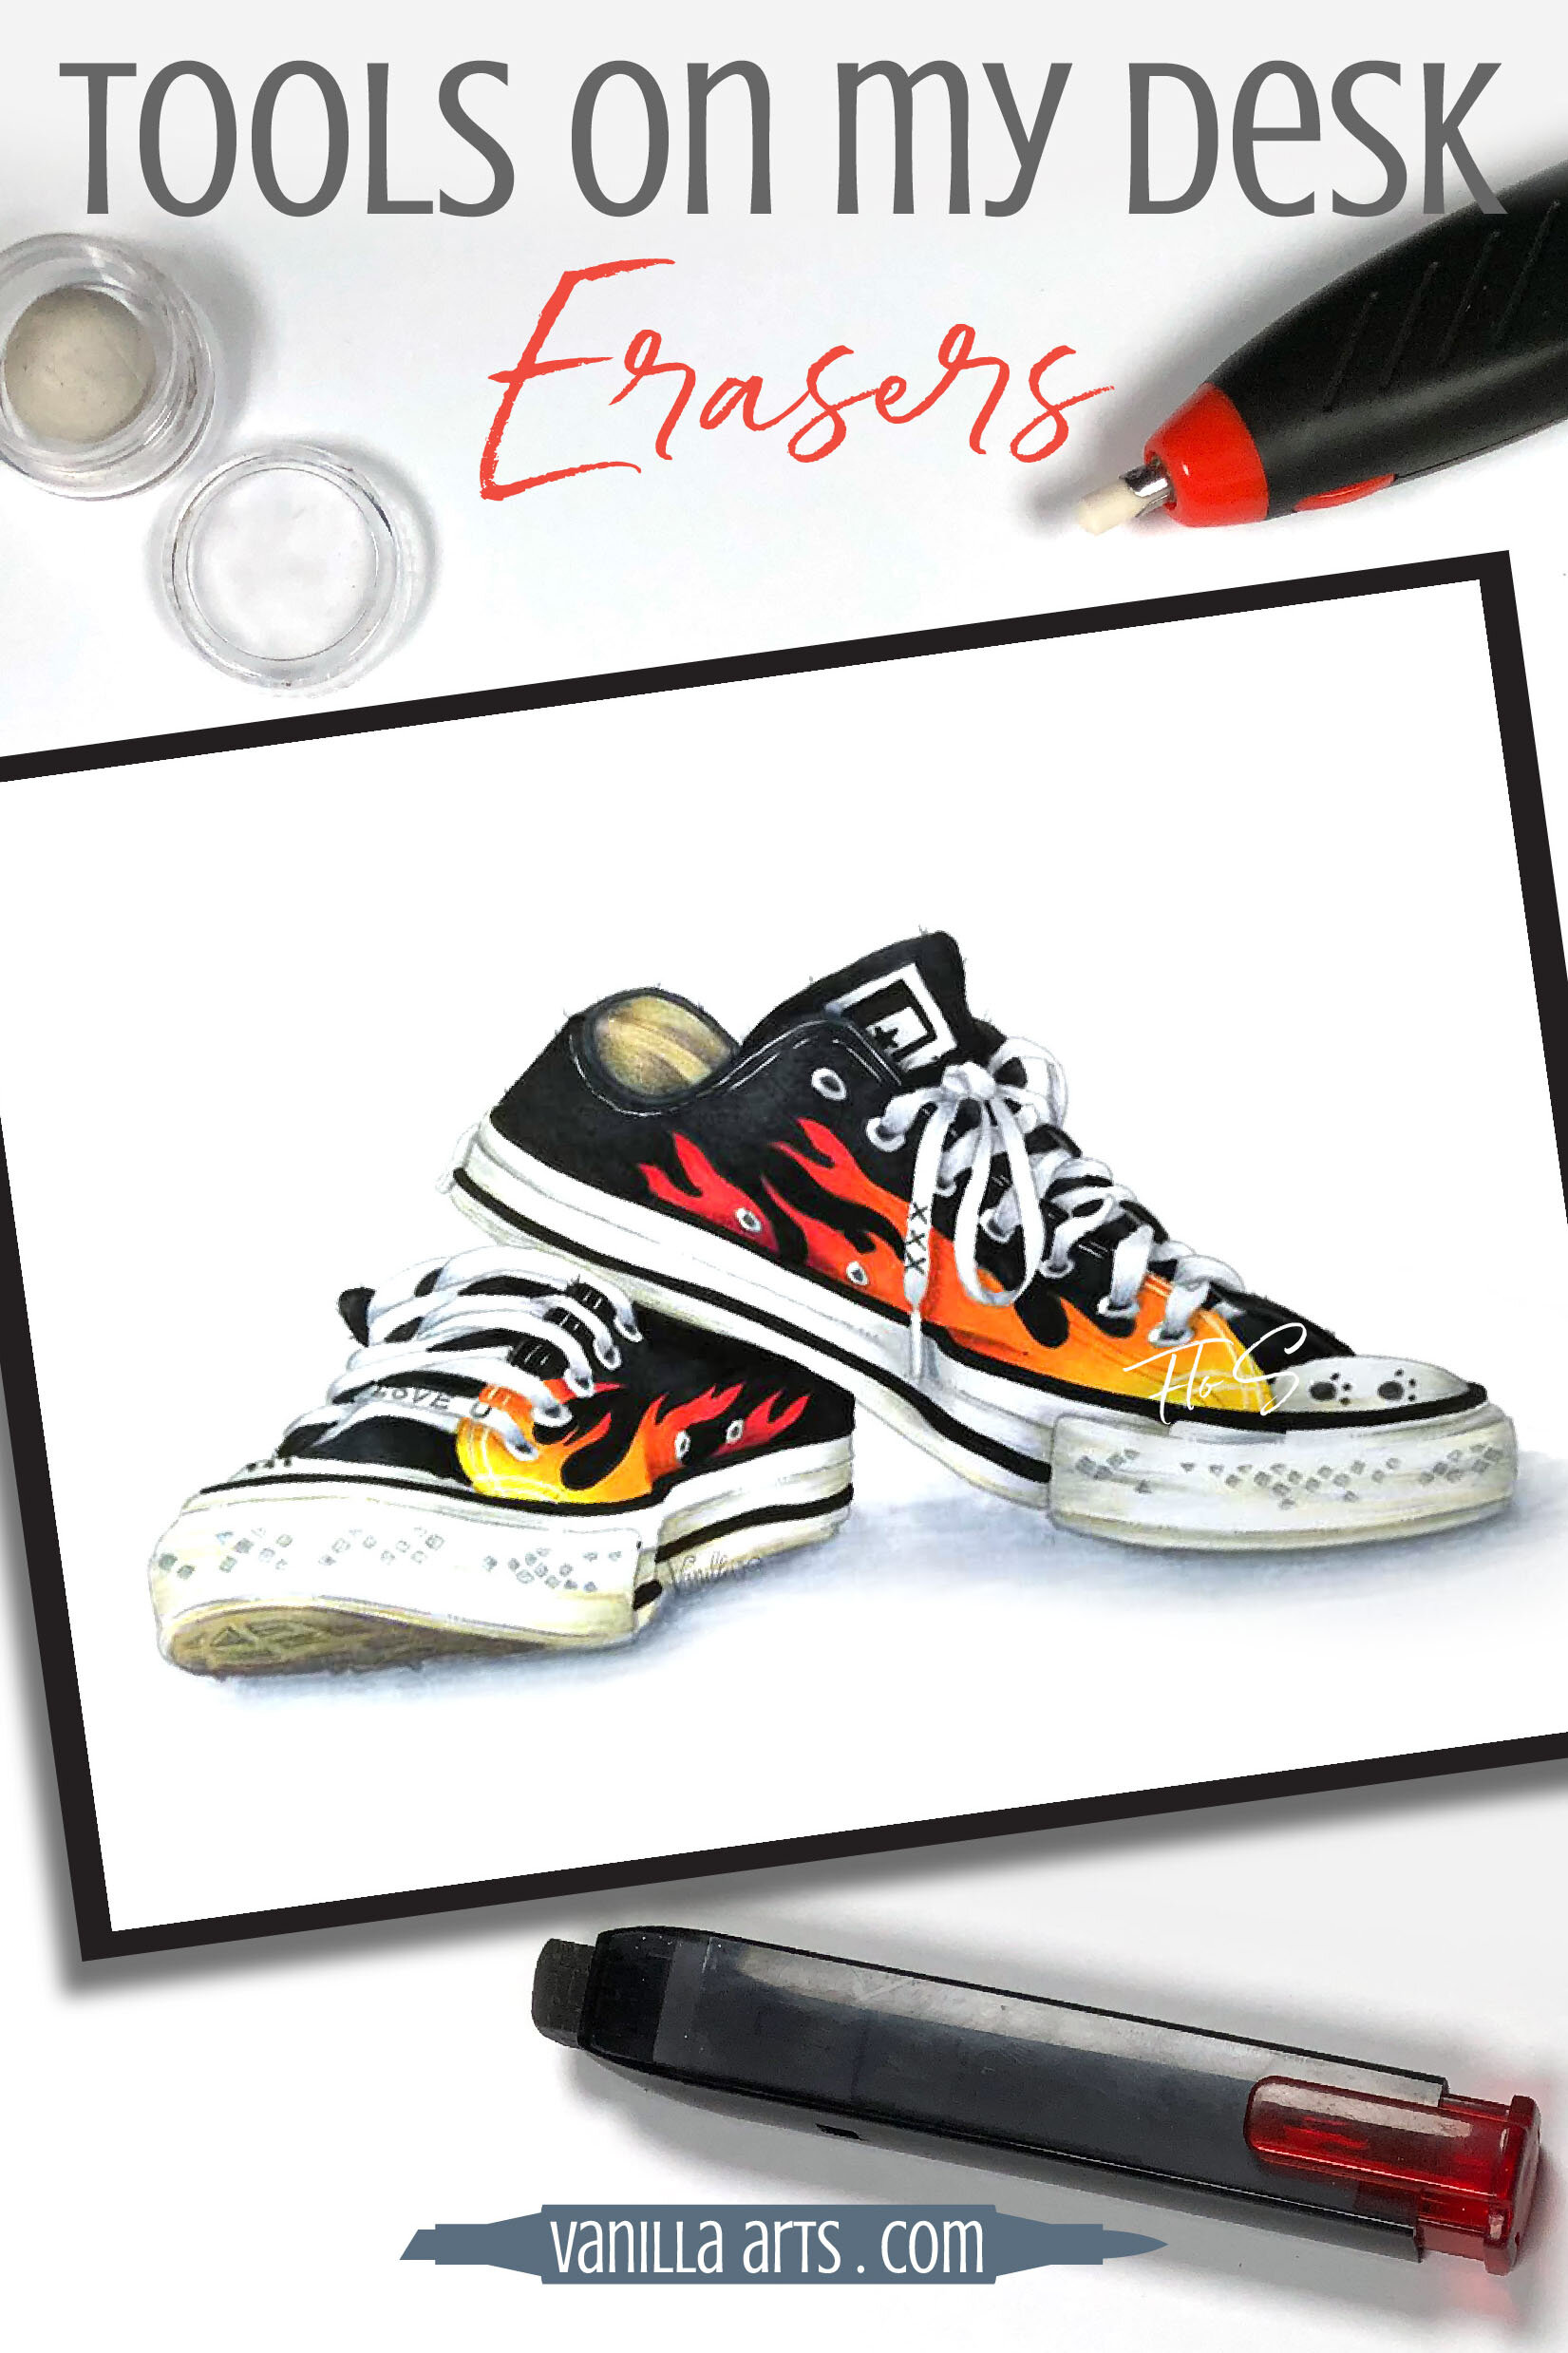
Tools On My Desk: Best Erasers for Colored Pencil
Is colored pencil erasable?
Maybe you strayed a bit too far outside the lines? Perhaps you selected the wrong the color? And there’s always the accidents— dropping your pencil and leaving a big ‘ol mark in the most inconvenient place possible.
I picked up my first Prismacolor colored pencil in 1985 and over the years, I’ve made thousands… actually, millions of mistakes.
Today, let’s look at my favorite erasers for colored pencil and how I erase mistakes.