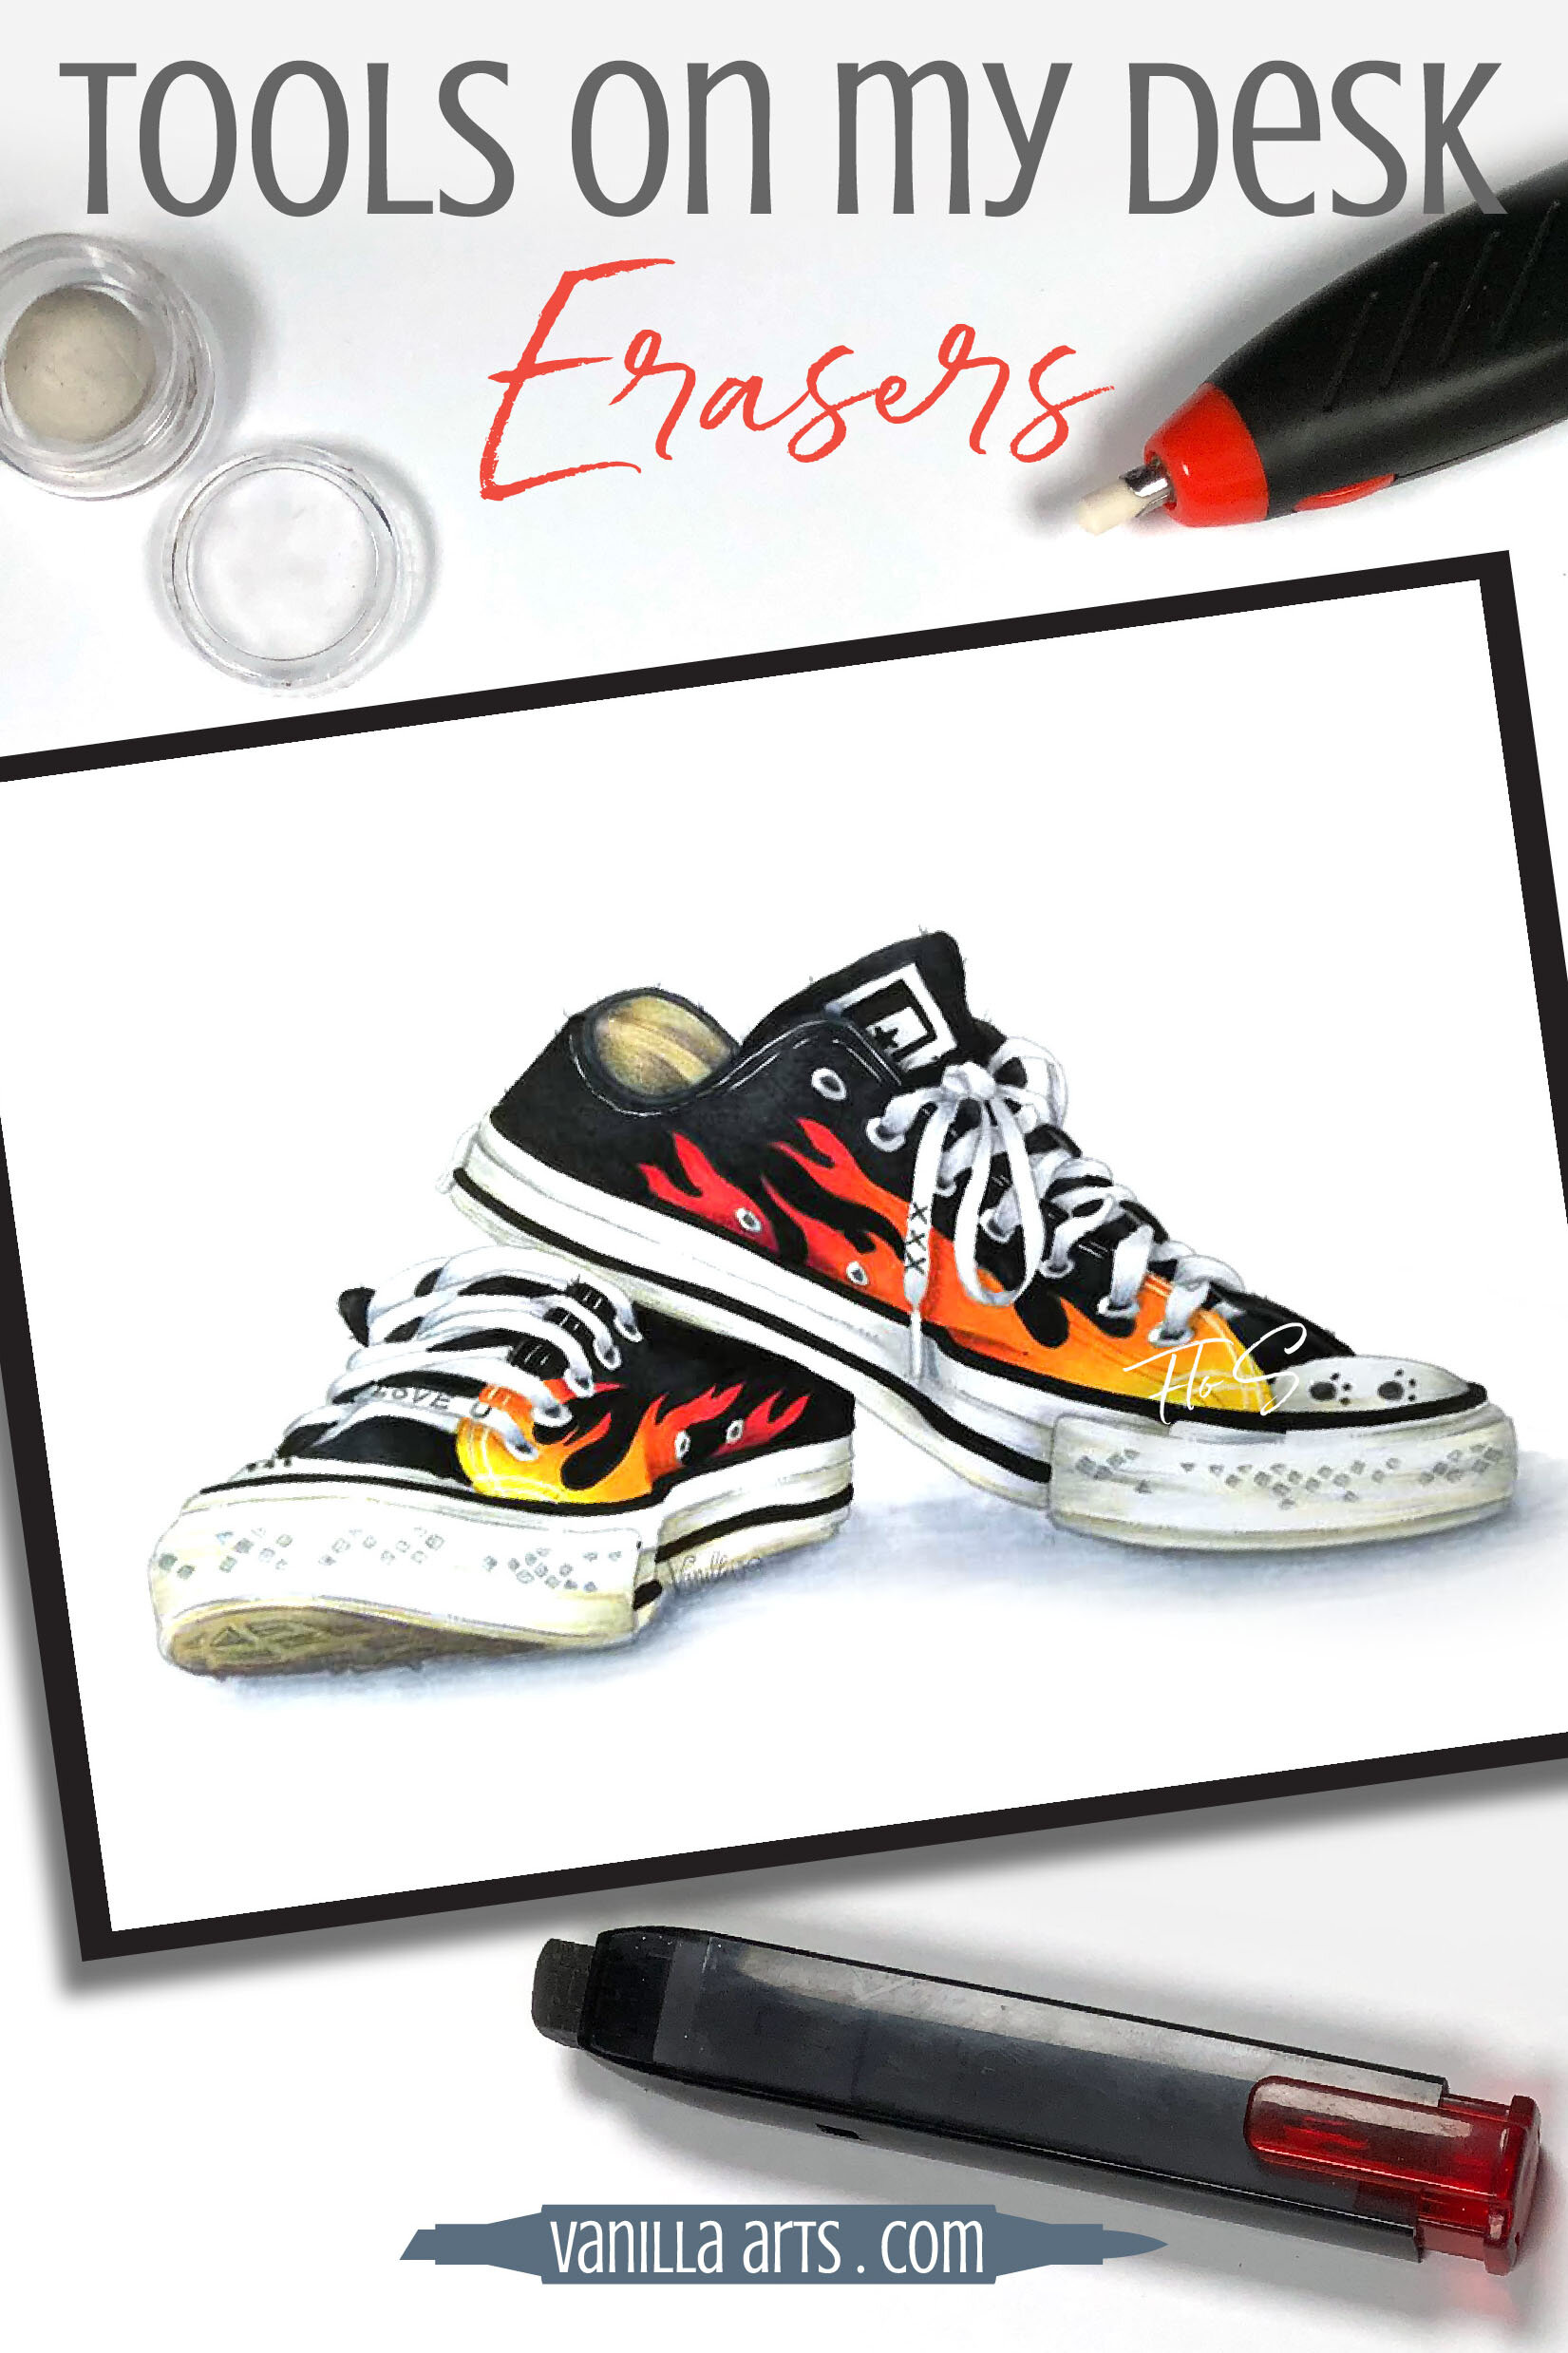
Tools On My Desk: Best Erasers for Colored Pencil

Is colored pencil erasable?
Maybe you strayed a bit too far outside the lines?
Perhaps you selected the wrong the color?
And there’s always the accidents— dropping your pencil and leaving a big ‘ol mark in the most inconvenient place possible.
I picked up my first Prismacolor colored pencil in 1985 and over the years, I’ve made thousands… actually, millions of mistakes.
Today, let’s look at my favorite erasers for colored pencil and how I erase mistakes.
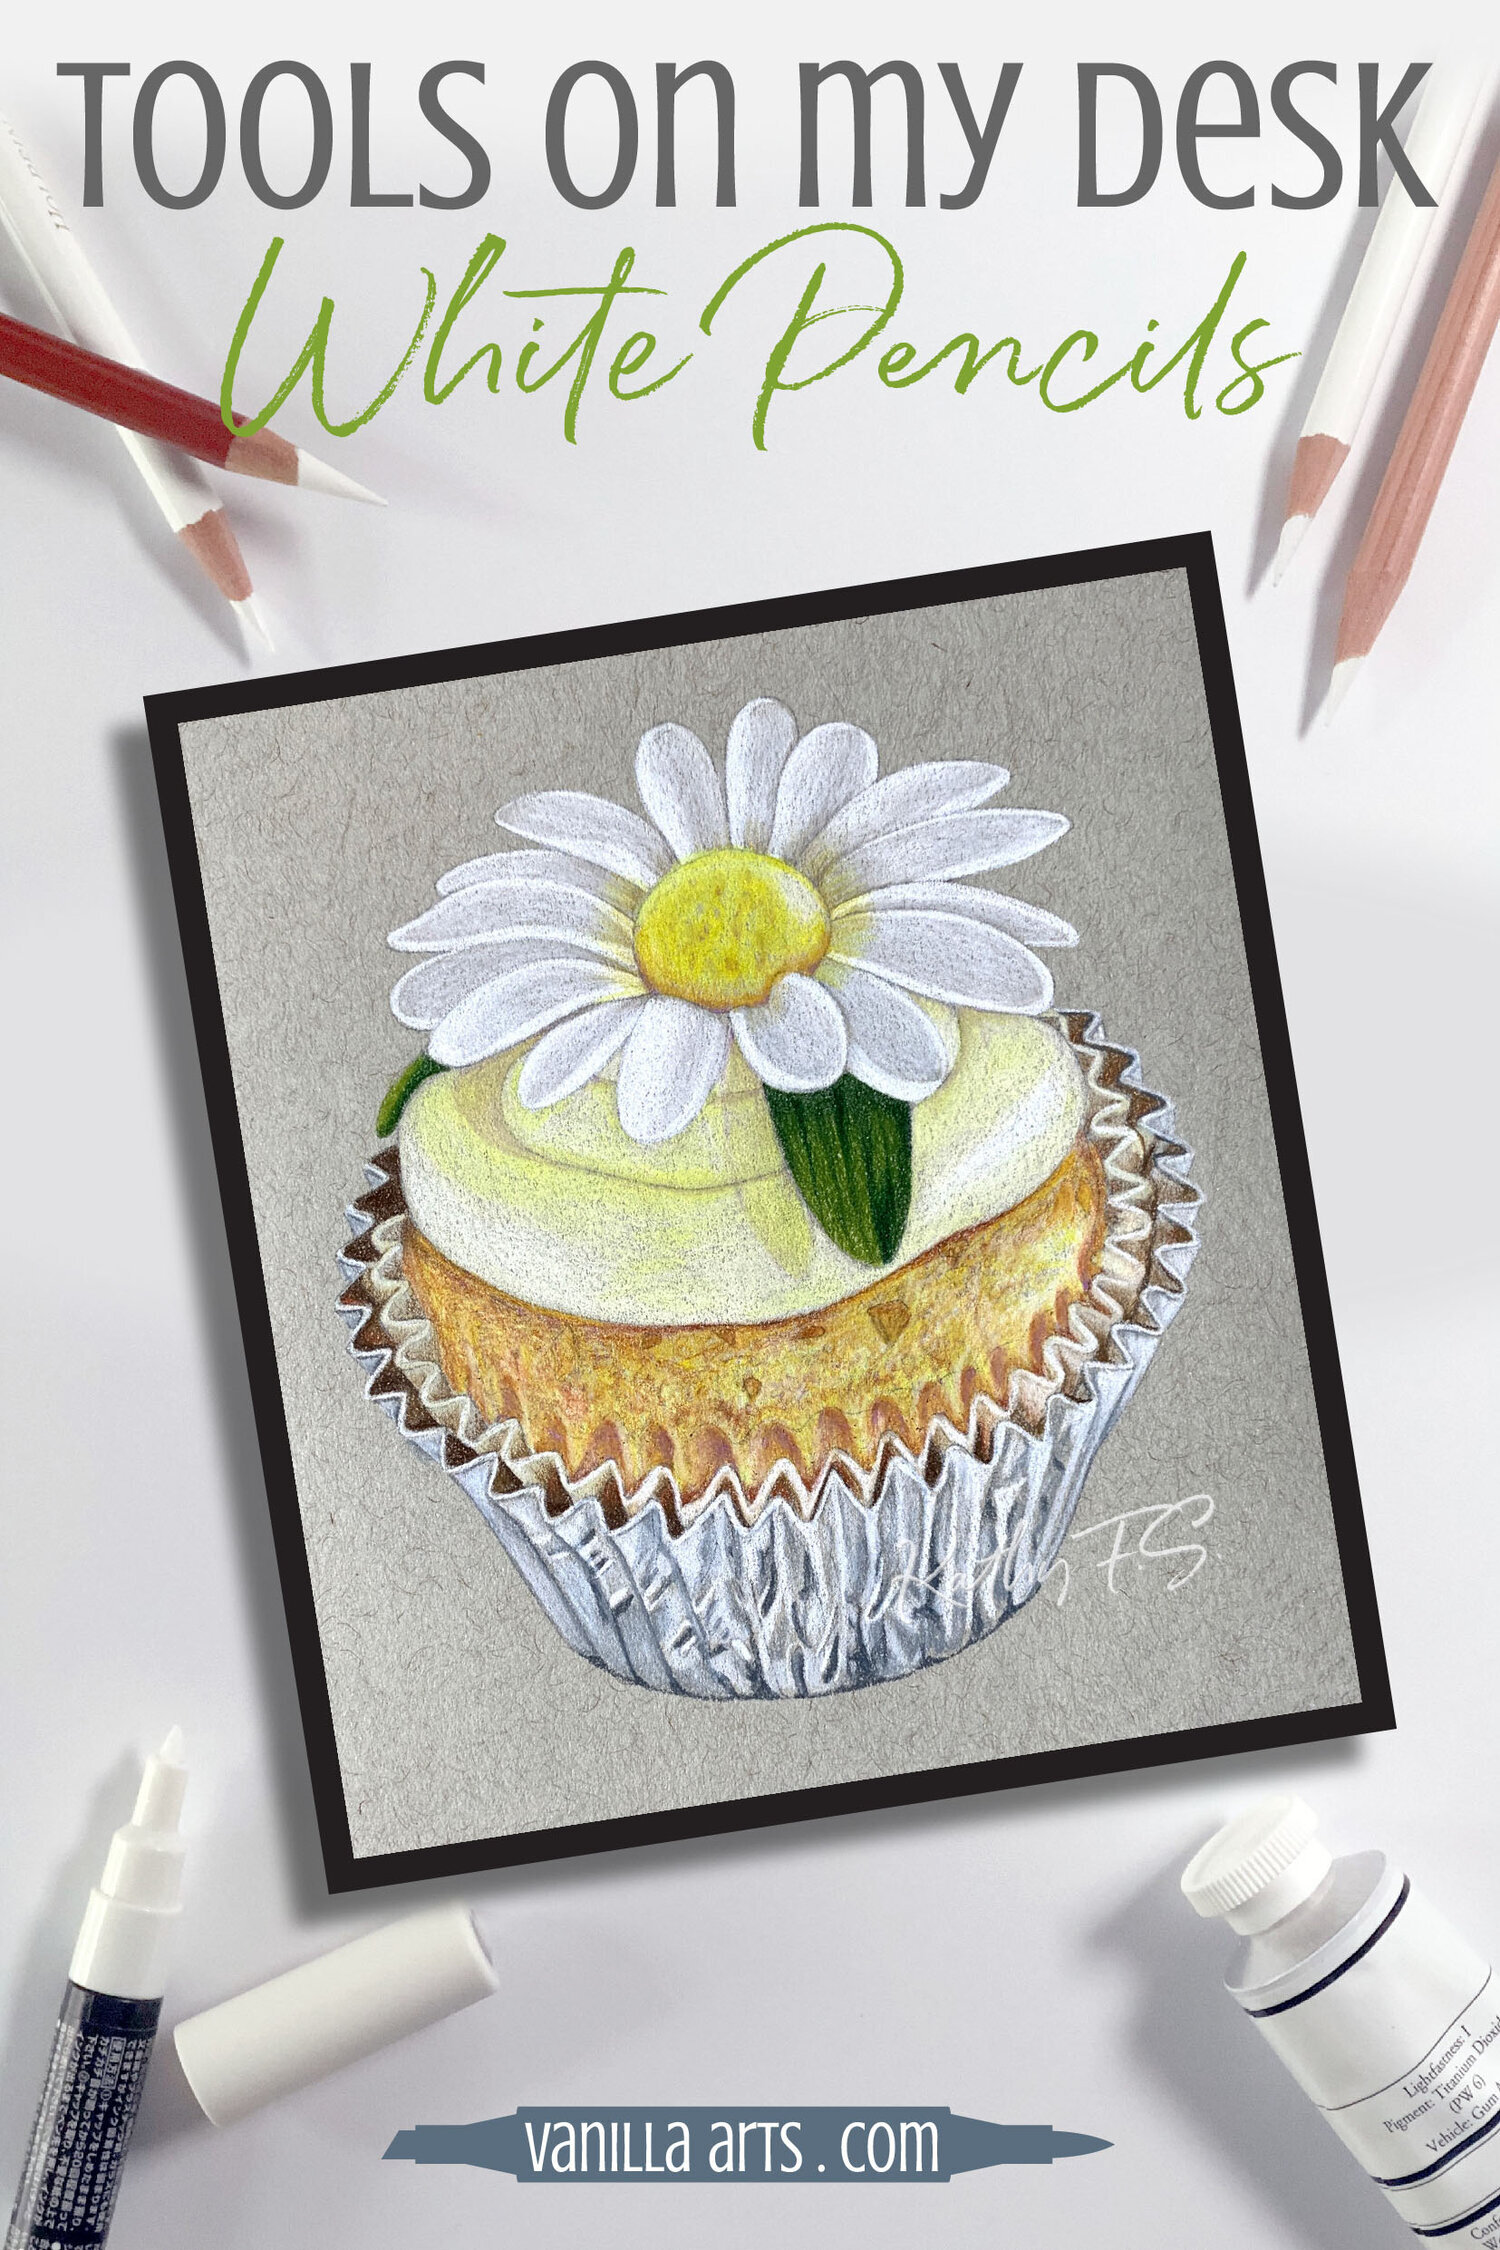
Erasing colored pencil is not as easy as erasing graphite. Colored pencil contains fine pigment which embeds into the paper fibers and wax which forms a protective covering on top. We lift & lighten rather than erase color. I recommend starting with non-abrasive erasers, moving to abrasives if needed.
The Vanilla Team shares their favorite eraser options and how to use them.
Erasing colored pencil mistakes
I’m not going to lie, erasing colored pencil isn’t as easy as you’d think.
You’re accustomed to regular #2 pencils which eraser easily with the built-in pink eraser.
Pencils for writing and drawing are made with graphite. Graphite is a dark gray mineral which can be easily lifted because graphite sits on the surface and doesn’t stain or bond with the paper. Graphite lines are basically loose grit waiting for an excuse to fall off the paper.
Graphite is so loose, the first erasers were just a piece of bread. If you’re feeling desperate, the WonderBread trick still works today.
Colored pencils are a completely different beast.
Colored pencils are made with vibrant pigment particles, milled much finer than graphite. The lead (called a core) is a sticky mixture of pigment plus wax, oil, and long-named chemical binders which have been baked (or cured) into a potent crayon consistency.
The combination of pigment, binders, wax, and oil is fiendishly hard to erase.
Pigment particles are tiny enough to work their way deep into paper fibers. Good colored pencil technique actually encourages this embedding.
The binders then bond the pigments to the paper fibers, then the wax seals it all up tight.
And if you burnish the color, you make the color almost permanent by smashing the paper tooth down over the top.
In colored pencil, it’s rare to be able to fully erase anything but the faintest of marks. The best you can hope for is to lighten the area enough to camouflage the mistake.
But it’s not hopeless.
I erase several times in every project— sometimes because I’ve made a mistake but often I use an eraser to ease transitions or artfully smudge color.
Erasers are a standard tool in my colored pencil art and I’d be lost without my favorite erasers.
More Tools:
Looking for reliable supplies? Click to read more Vanilla recommendations.

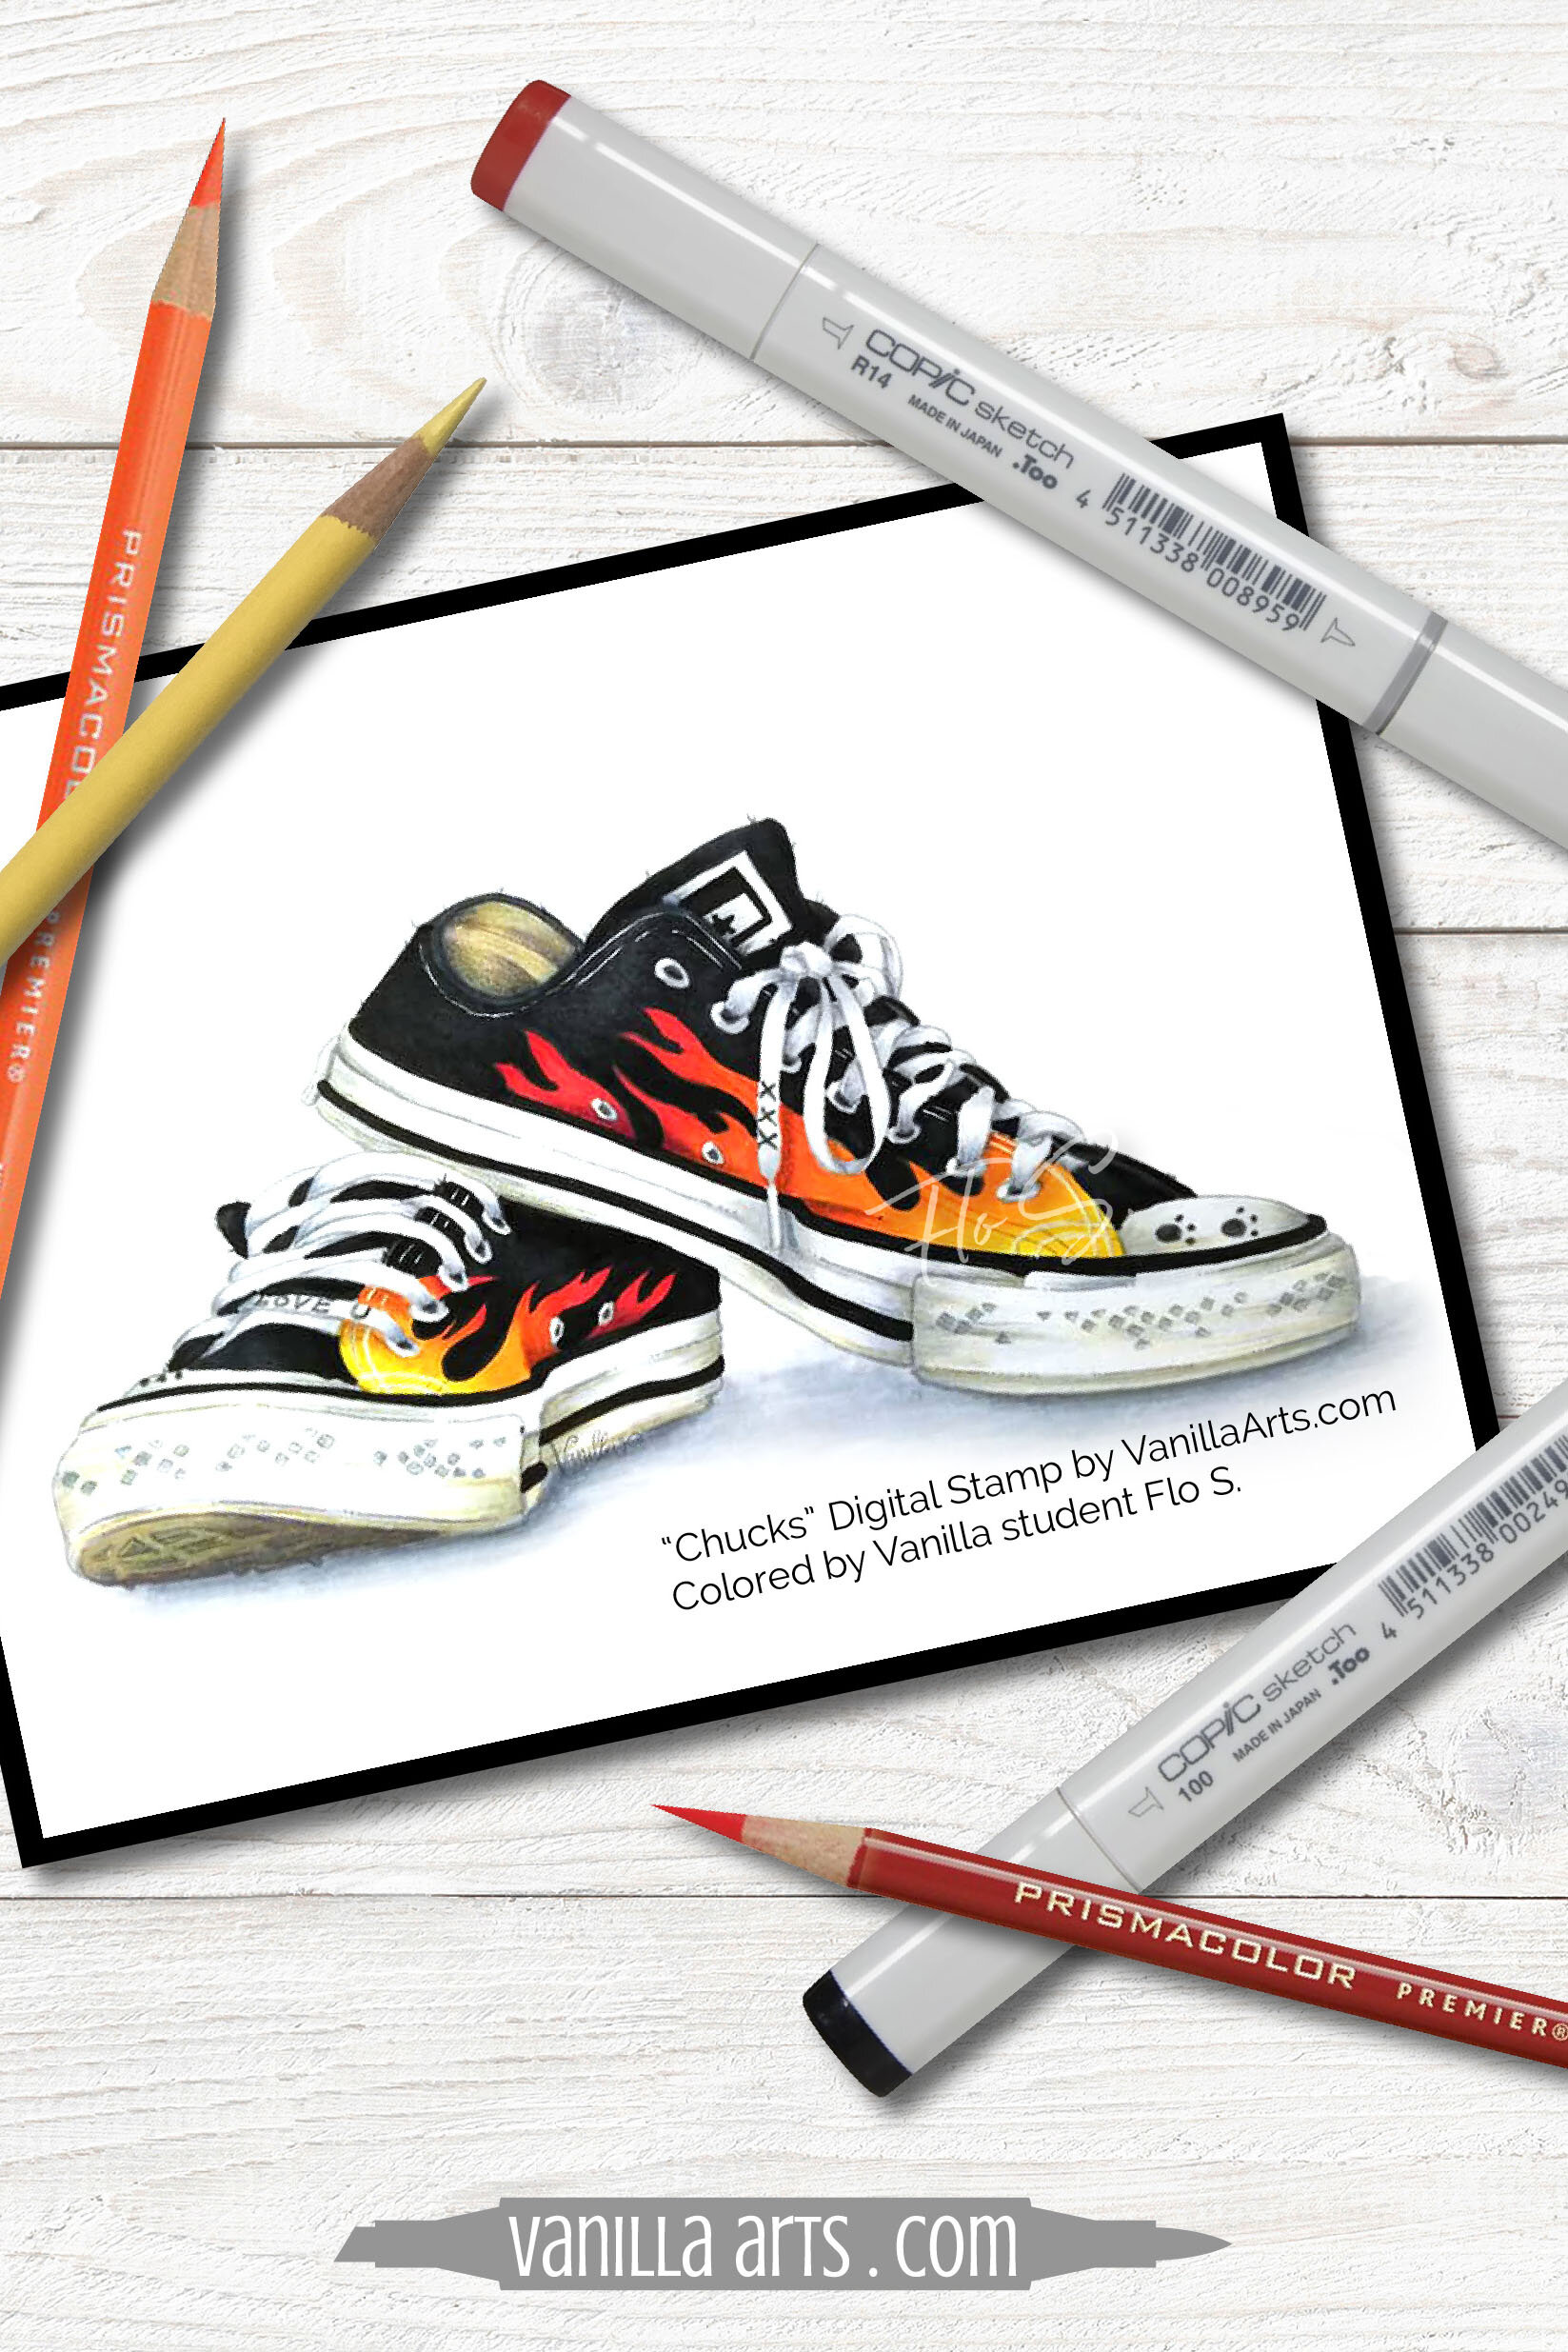
Hot Kicks
Flo S. is a graduate of the Marker Painting Foundations course here at Vanilla Arts.
The Chucks project is week #10 of the twelve week course and most students color these shoes using the class supply list with turquoise markers.
Flo always went the extra step in each lab, modifying each lesson with her own twist— she peeled back the foil on the chocolate kiss project, she stacked up a rainbow of ribbons, but she’s most remembered for her flaming Chucks!
We salute Flo for her amazing version of “Chucks” and for inspiring other students to color with realism & flair.
This article contains affiliate links to trusted retailers like Blick.com and Amazon.
Vanilla Arts Co. is a participant in the Amazon Services LLC Associates Program, an affiliate advertising program designed to provide a means for use to earn fees by linking to Amazon.com.
The Vanilla Team’s Favorite Erasers for Coloring:
“Hey team, what’s your favorite eraser?”
It’s a simple question until everyone in responds with seven answers.
There are different erasers for different situations— if you’re erasing a single light layer you don’t need an eraser with a built in nuclear warhead and nobody wants to clean-up four inch side margins with a itty-bitty-teeny-tiny eraser.
Different tasks, different erasers.
Every artist has 3-4 favorite erasers plus a handful of other erasers for special one-off jobs.
Let’s look at the Vanilla Team’s favorite types of erasers plus specific brand recommendations for each purpose.
What’s the best eraser for Copic Marker?
If you’re here at Vanilla Arts, you probably came for the Copic information. So let’s get this question out of the way quickly.
You can’t erase Copic Marker.
Nope. Nein. Nyet. Nuh-uh.
The internet lies. You can not erase Copic Marker.
Not even with a Colorless Blender pen. Colorless blender is a snow shovel, not an eraser. The best a #0 marker can do is push the ink particles to a less noticeable spot. You can’t make permanent ink magically disappear.
But, but, but…
No. Movin’ on, okay?
The first rule of erasing:
When you scrub a mistake, you’re also also rubbing away paper fibers and mowing down the paper tooth. Erasers are not nice to your paper.
All erasers damage paper.
Remove the mistake, not the paper.
The goal is to remove the mistake with as little damage as necessary. Start with a wimpy eraser. If that doesn’t work, try a stronger eraser. If that doesn’t work, try an even stronger one.
Don’t pull out the flamethrower unless you need it.
I’ve grouped our favorite erasers by strength. We’re starting meek and working our way up to the big boys.
Best Kneaded Erasers for Colored Pencils:
The gentlest eraser is a kneaded eraser.
Please, don’t go pulling out that nasty piece of gray goo that’s been sitting in your drawer for the last decade. Gray or blue kneaded erasers are made for graphite and charcoal; they’re low tack, designed for the easy to erase stuff.
I know, I know, I know… many colored pencil manufacturers sell gray kneaded erasers, some even put these erasers into gift packs with colored pencils. I don’t know why. I can say that 25 years ago, these gray erasers were sold in the drafting aisle with drafting pencils and in the charcoal section with the other sketching tools. They were NOT displayed with the colored pencils.
For colored pencil, I recommend sticky tack.
Poster putty. Fun tac. You know, the playdough looking stuff you used to steal off the elementary school walls.
Oh, that was just me? Sorry.
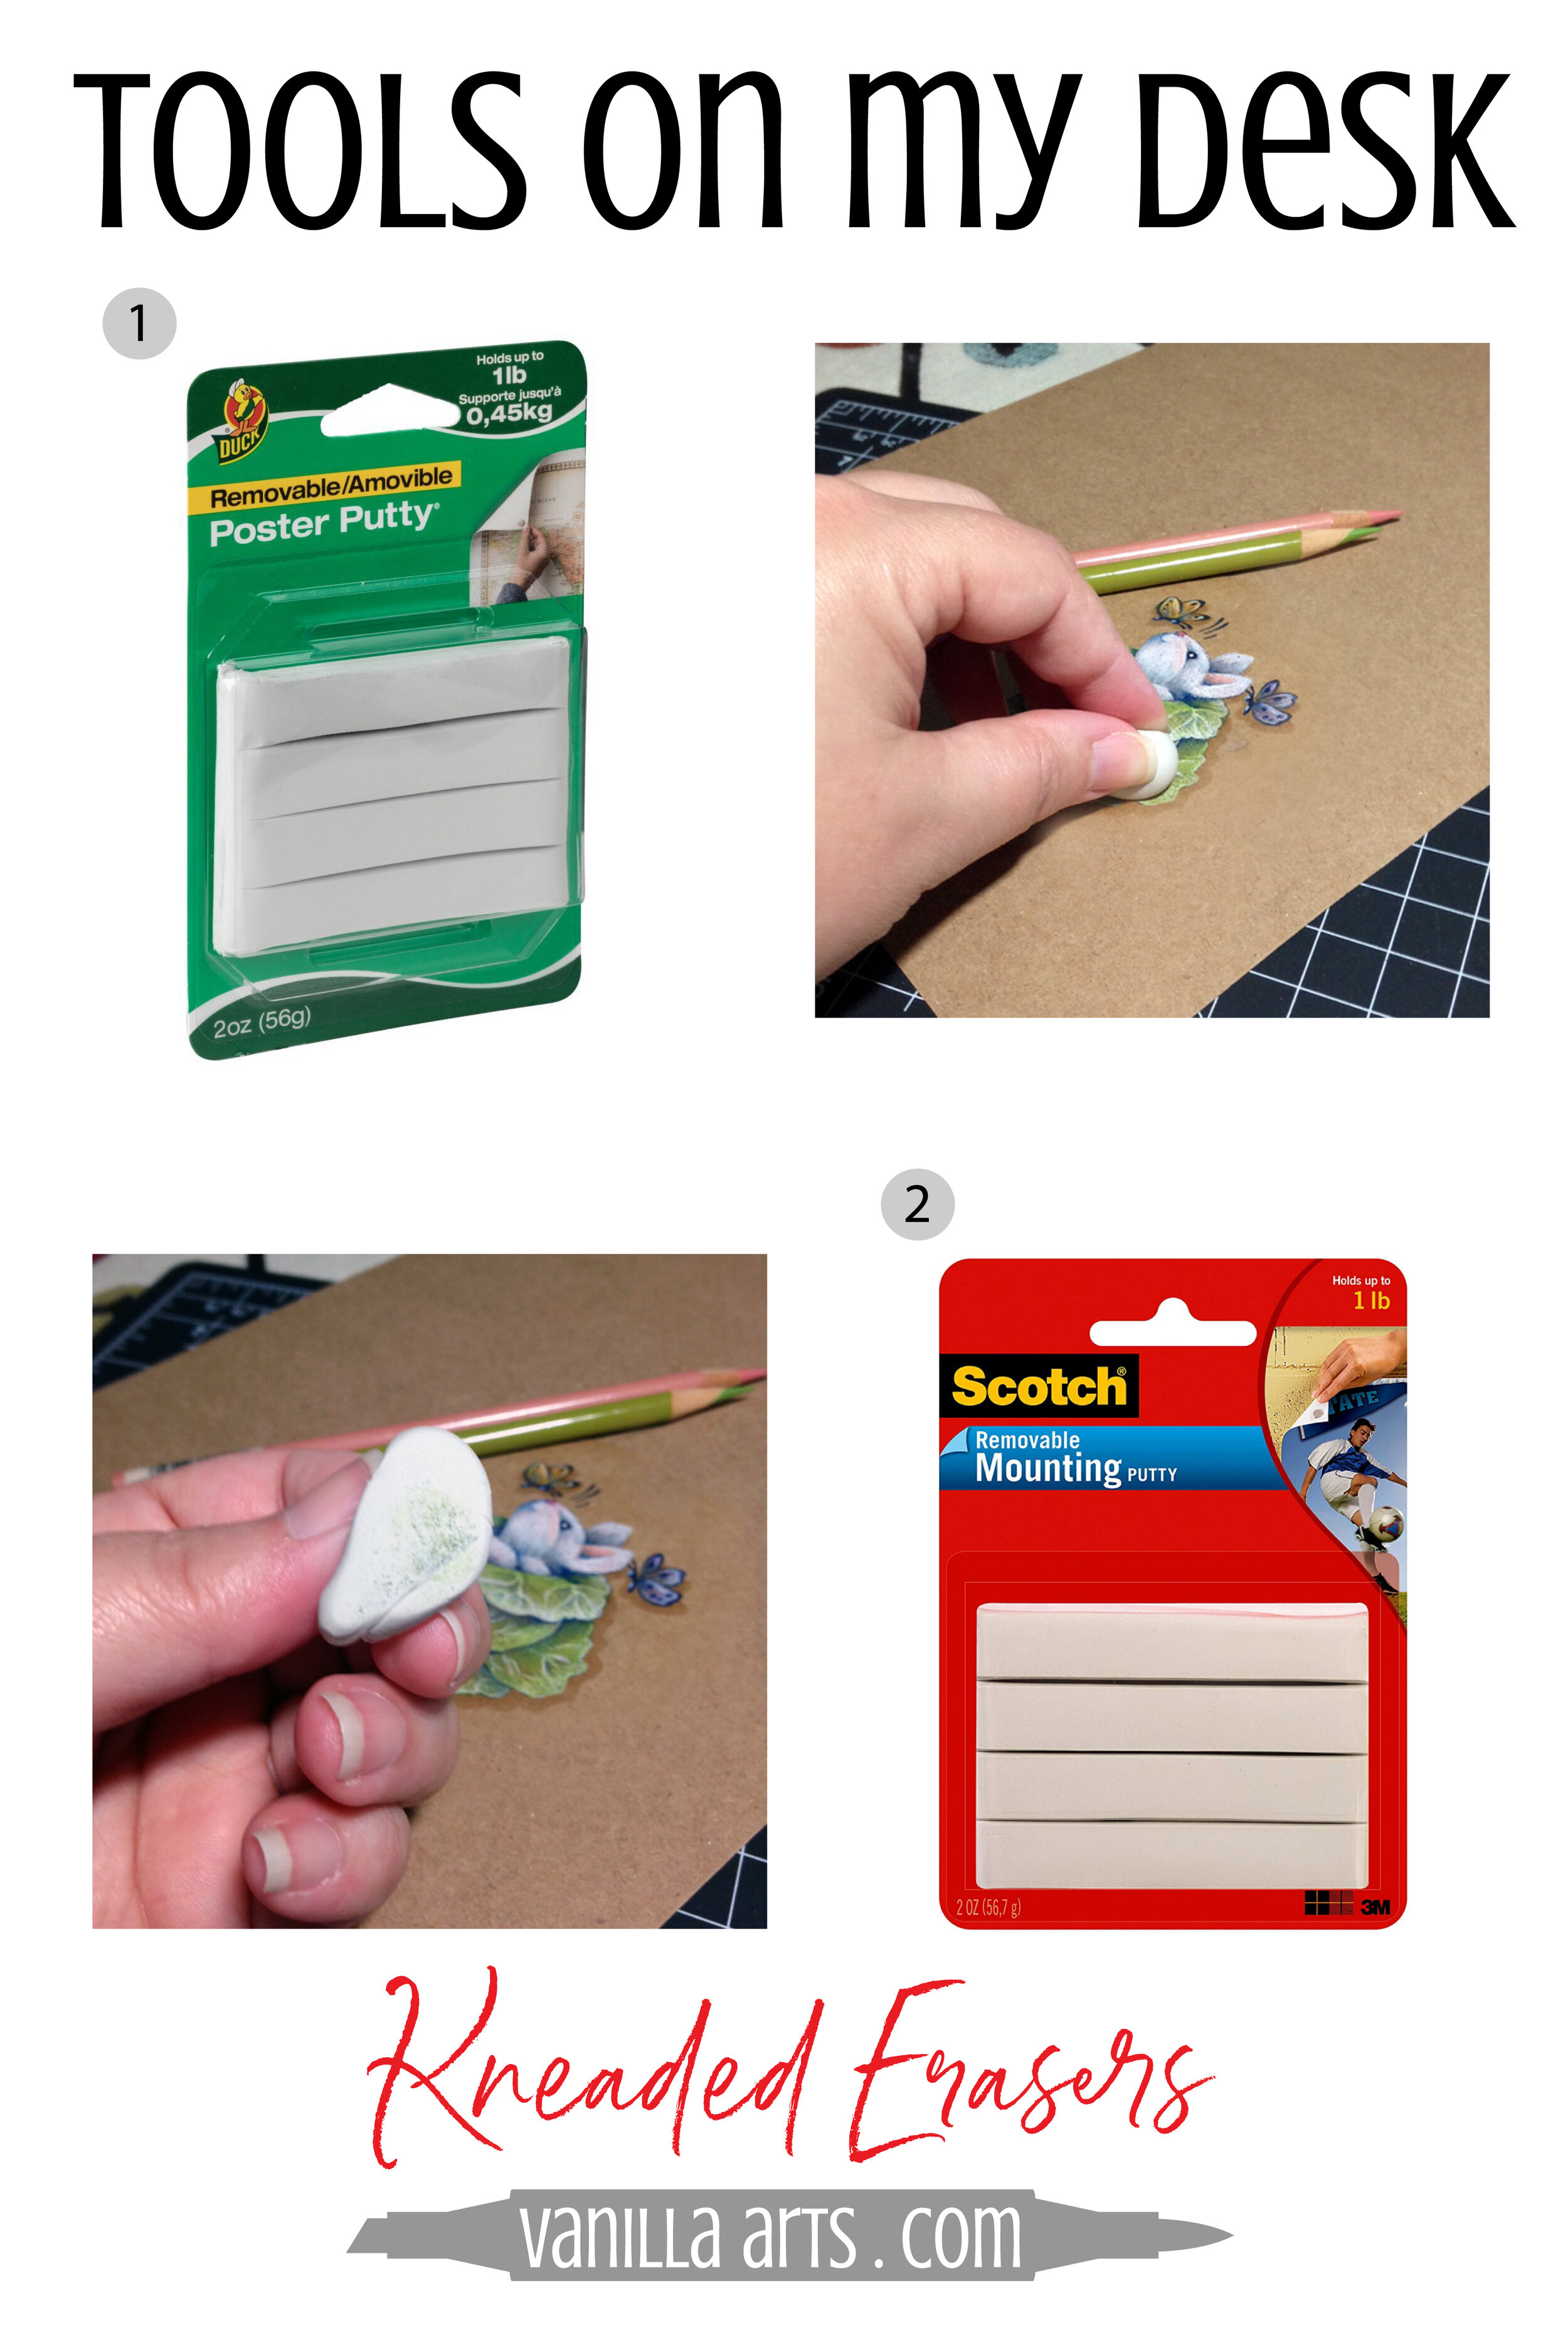
Poster Putty.
I’m not kidding. It’s got slightly more sticky power than standard kneaded erasers. Sticky tack is more effective against the waxy binders in colored pencil.
Do not rub with a sticky tack eraser— press it gently into the surface of the mistake and lift. Press and lift. Press and lift.
It’s the softest way to remove excess wax and pigment.
Recommended Brands of Poster Putty:
1. Duck Brand Removable Poster Putty
An excellent sticky tack. Many hardware stores carry this brand.
Another excellent brand, usually found in the office supply department.
WARNING: Avoid the novelty colored putties, they tend to be softer. Also, do not buy dollar store sticky-tack; many leave weird residue.
Best Non-Abrasive Erasers for Colored Pencils:
As much as we love sticky tack, it’s not strong enough to lift multiple layers of colored pencil and it will never get you back to almost-white paper.
If the mistake can not be lifted with sticky tack, it’s time to try a white polymer eraser.
Don’t start with a white eraser, try the sticky tack first.
Sticky tack is gentle on the tooth because we press with it. White erasers are rubbed over the mistake. Anytime we rub, we’re damaging the tooth, no matter how soft we work.
White erasers come in dozens of brands and hundreds of shapes or sizes. You’ll see them in blocks, sticks, and specialty dispensers, plus lots of novelty shapes. They go by many names— PVC, vinyl, polymer, plastic, some are “dust-free” and several are latex free.
Essentially, they’re all the same kind of non-abrasive eraser.
We recommend having a few styles on hand, match the size and shape of the eraser to the surface you want to cover.
Recommended Block or Brick Style Erasers:
These are rectangular brick shapes, great for covering large areas.
3. Pentel Hi-Polymer White Eraser
4. Staedtler Mars Plastic Eraser
Both the Pentel and the Staedtler are easy to find, excellent quality, and economically priced. Beware of premium branding. It’s an eraser; don’t pay extra for the glamour of a matching your pencils to the eraser.
Amy and Lisa use both brands interchangeably.
NOTE: Keep the cardboard jacket on the eraser! The jacket keeps the eraser clean and extends the lifespan by preventing cracks or breakage during the rubbing process. As the eraser gets shorter, slip off the jacket and trim it shorter with scissors, then slide it back on.
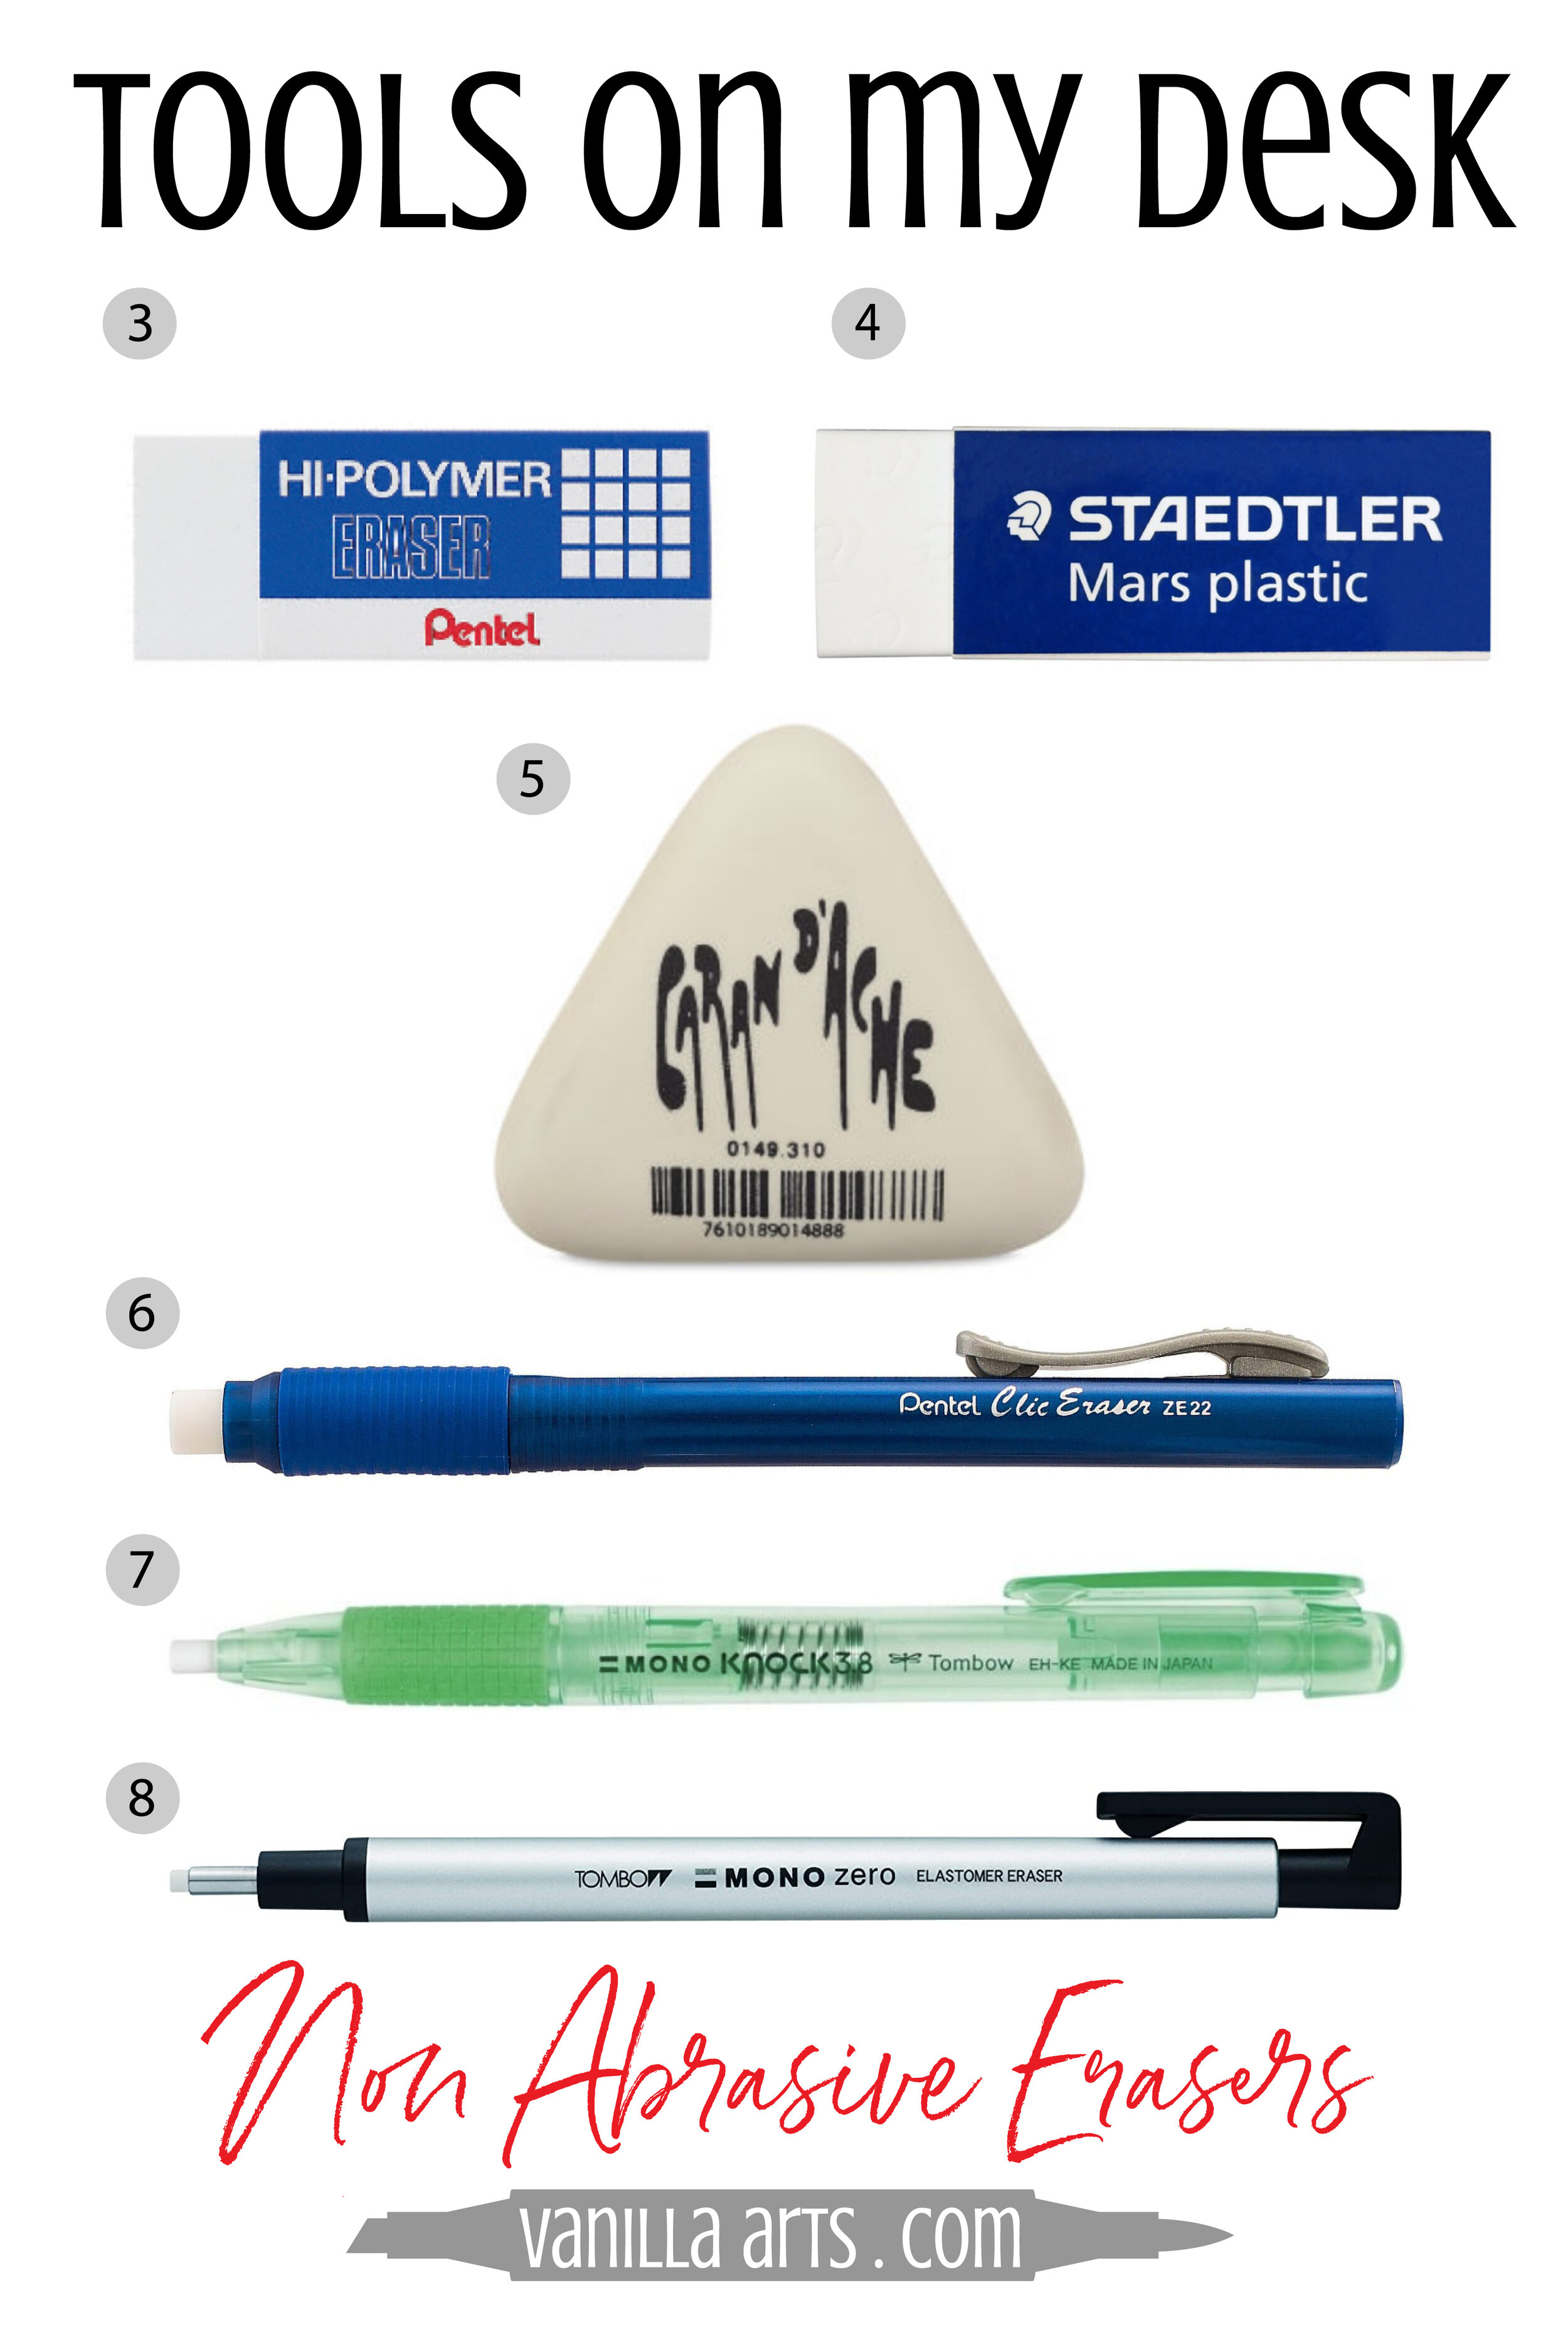
Recommended Ergonomic White Eraser:
5. Caran d’Ache Triangular Eraser
If you need to hug up close to the coloring, a tapered blade-edge can provide greater accuracy. Lynne actually trims her erasers with a craft knife to get the same thin-corner effect that comes standard on this triangle.
This eraser fits nicely into the hand and can be rotated when you dull an edge. Once completely dull, the remaining eraser works like a brick for large areas.
Recommended Stick Style White Erasers: (largest to smallest)
6. Pentel Clic Eraser, Retractable
This is the eraser which replaced the Peel-Off style and it’s far more convenient. It’s easily available at major stores and they’re inexpensive. Amy finds them a bit wasteful because the eraser often splits or simply falls out before she gets to the end. This is the most common eraser students bring to Amy’s classes.
This eraser is half the diameter of the Clic and nicely fits into tiny areas. The Knock gives you more eraser than the Tombow Mono Zero so it lasts longer between refills.
Amy also notes that the bright color of the Knock eraser makes it easy to locate in a mug full of pencils or a deep drawer.
8. HIGHLY RECOMMENDED! Tombow Mono Zero White Round (2.3 mm)
The Vanilla Team universally agrees that this is their can-not-live-without eraser. The tiny surface size is perfect for removing only the mistake and not everything around it.
Amy and Lynne both use the Zero for smudging color, an easy way to smooth a colored pencil blend.
NOT RECOMMENDED: Amy doesn’t see much value in the other shapes and sizes of white eraser. Many have rounded edges- it seems silly to pay for a rounded edge when you’re going to rub them rounded anyway. Some of the modern key-chain or flip cases are wasteful because the eraser will crack and fall out long before you get your money’s worth.
Remember, it’s not worth paying extra for a premium brand. Pentel erasers perform as well as those sold by fine art companies.
WARNING: All white erasers must be kept clean. With use, they tend to collect colored pencil pigment on the end which can then be accidentally smeared on other areas or transferred to later projects. Get into the habit of wiping it off on scrap paper or a rough cloth to prevent heartache.
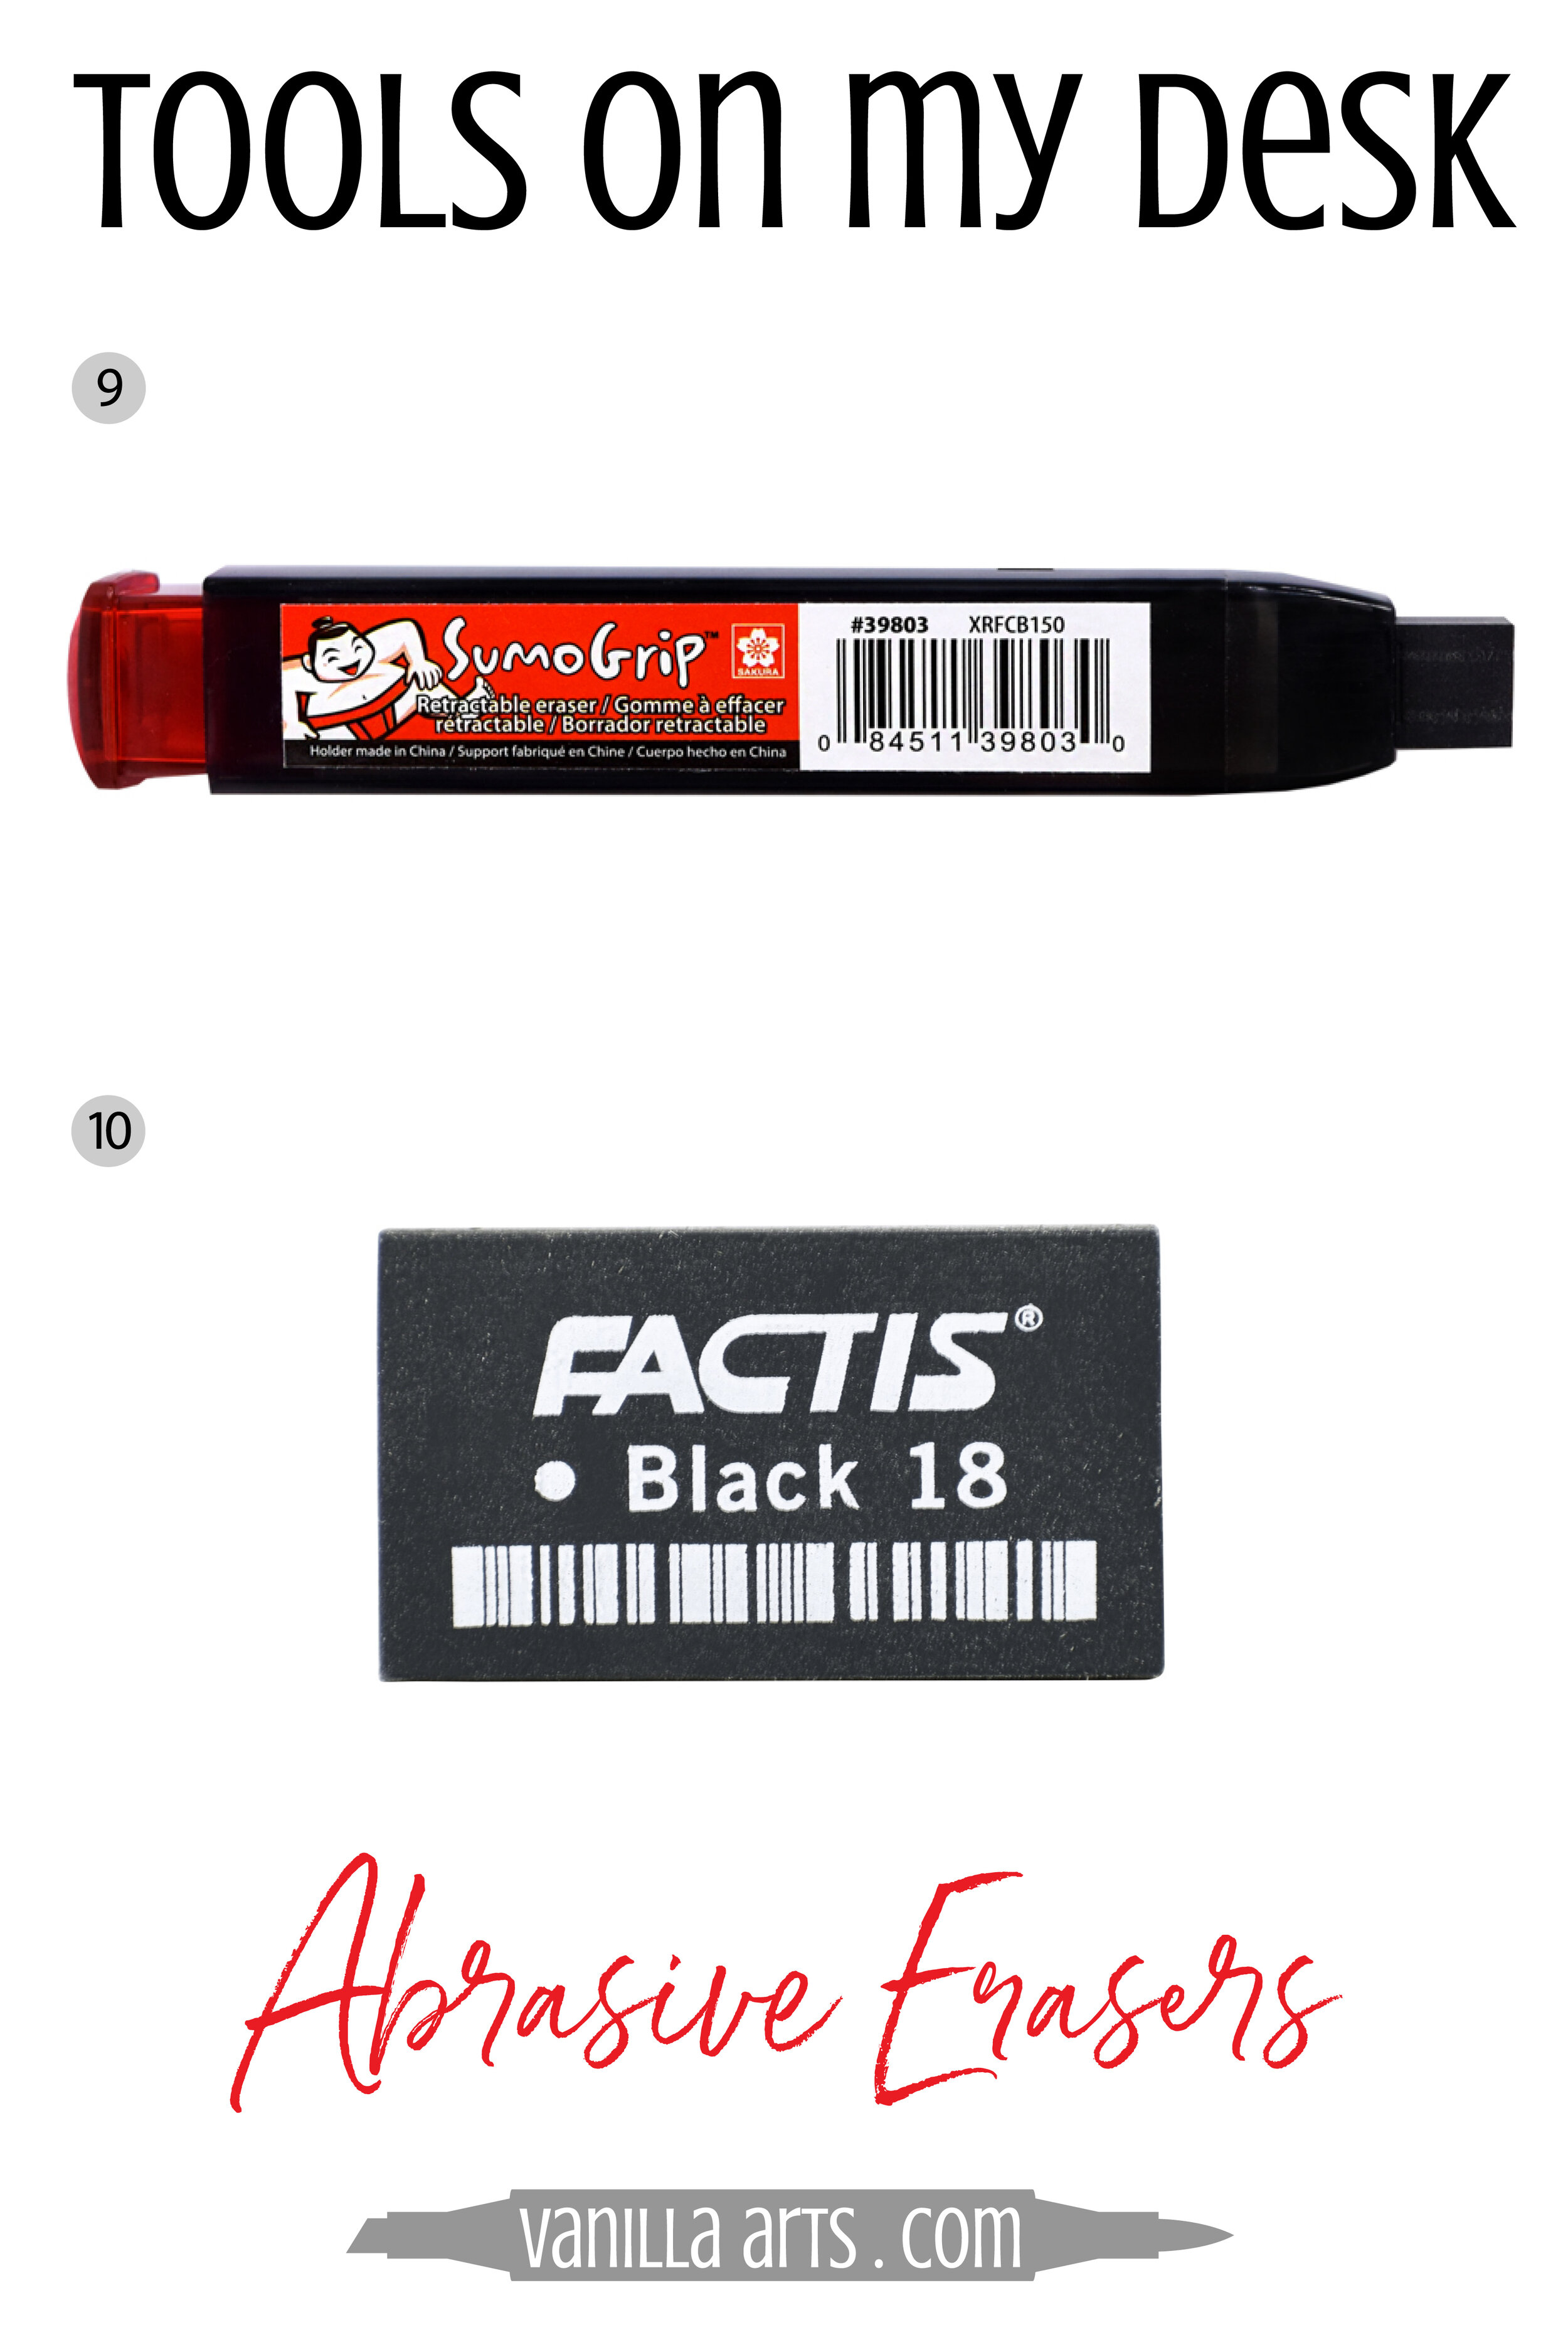
Best Abrasive Erasers for Colored Pencils:
Abrasive erasers are your last resort.
If the sticky-tack doesn’t work, try a white eraser. If the white eraser doesn’t work, try an abrasive eraser.
But please note: Our recommended abrasive erasers are still gentle.
We do not recommend high grit, super-abrasive erasers because the damage they cause is visible even after coloring over it.
Wearing away the tooth means pencil will never stick to the worn area as well, plus the area can look shiny or burnished, even when it’s not.
Recommended Abrasive Erasers:
9. HIGHLY RECOMMENDED! Sakura SumoGrip Retractable Black Eraser
Amy has recommended the Black Factis brick for years. The problem is that like white erasers, a brick eraser splits and breaks long before you’ve used even half the eraser. The SumoGrip solves this issue by putting the same great eraser into a click-pen housing and building in small break points, to protect all but the immediate working surface.
This has been the longest lasting black eraser Amy has ever owned!
The red end also makes the SumoGrip easier to find on your desk than a small black brick.
Still a great eraser and the entire team owns at least one! They’re cheap so we don’t mind when they split into 2 unusable sized chunks. As long as you have a replacement on hand, pitch the pieces and start over.
NOTE: It’s a myth that black erasers are for black paper and white erasers are for white paper. A quality eraser will not leave color behind, no matter what paper you use it on! Both the SumoGrip and the Factis can be used on white paper.
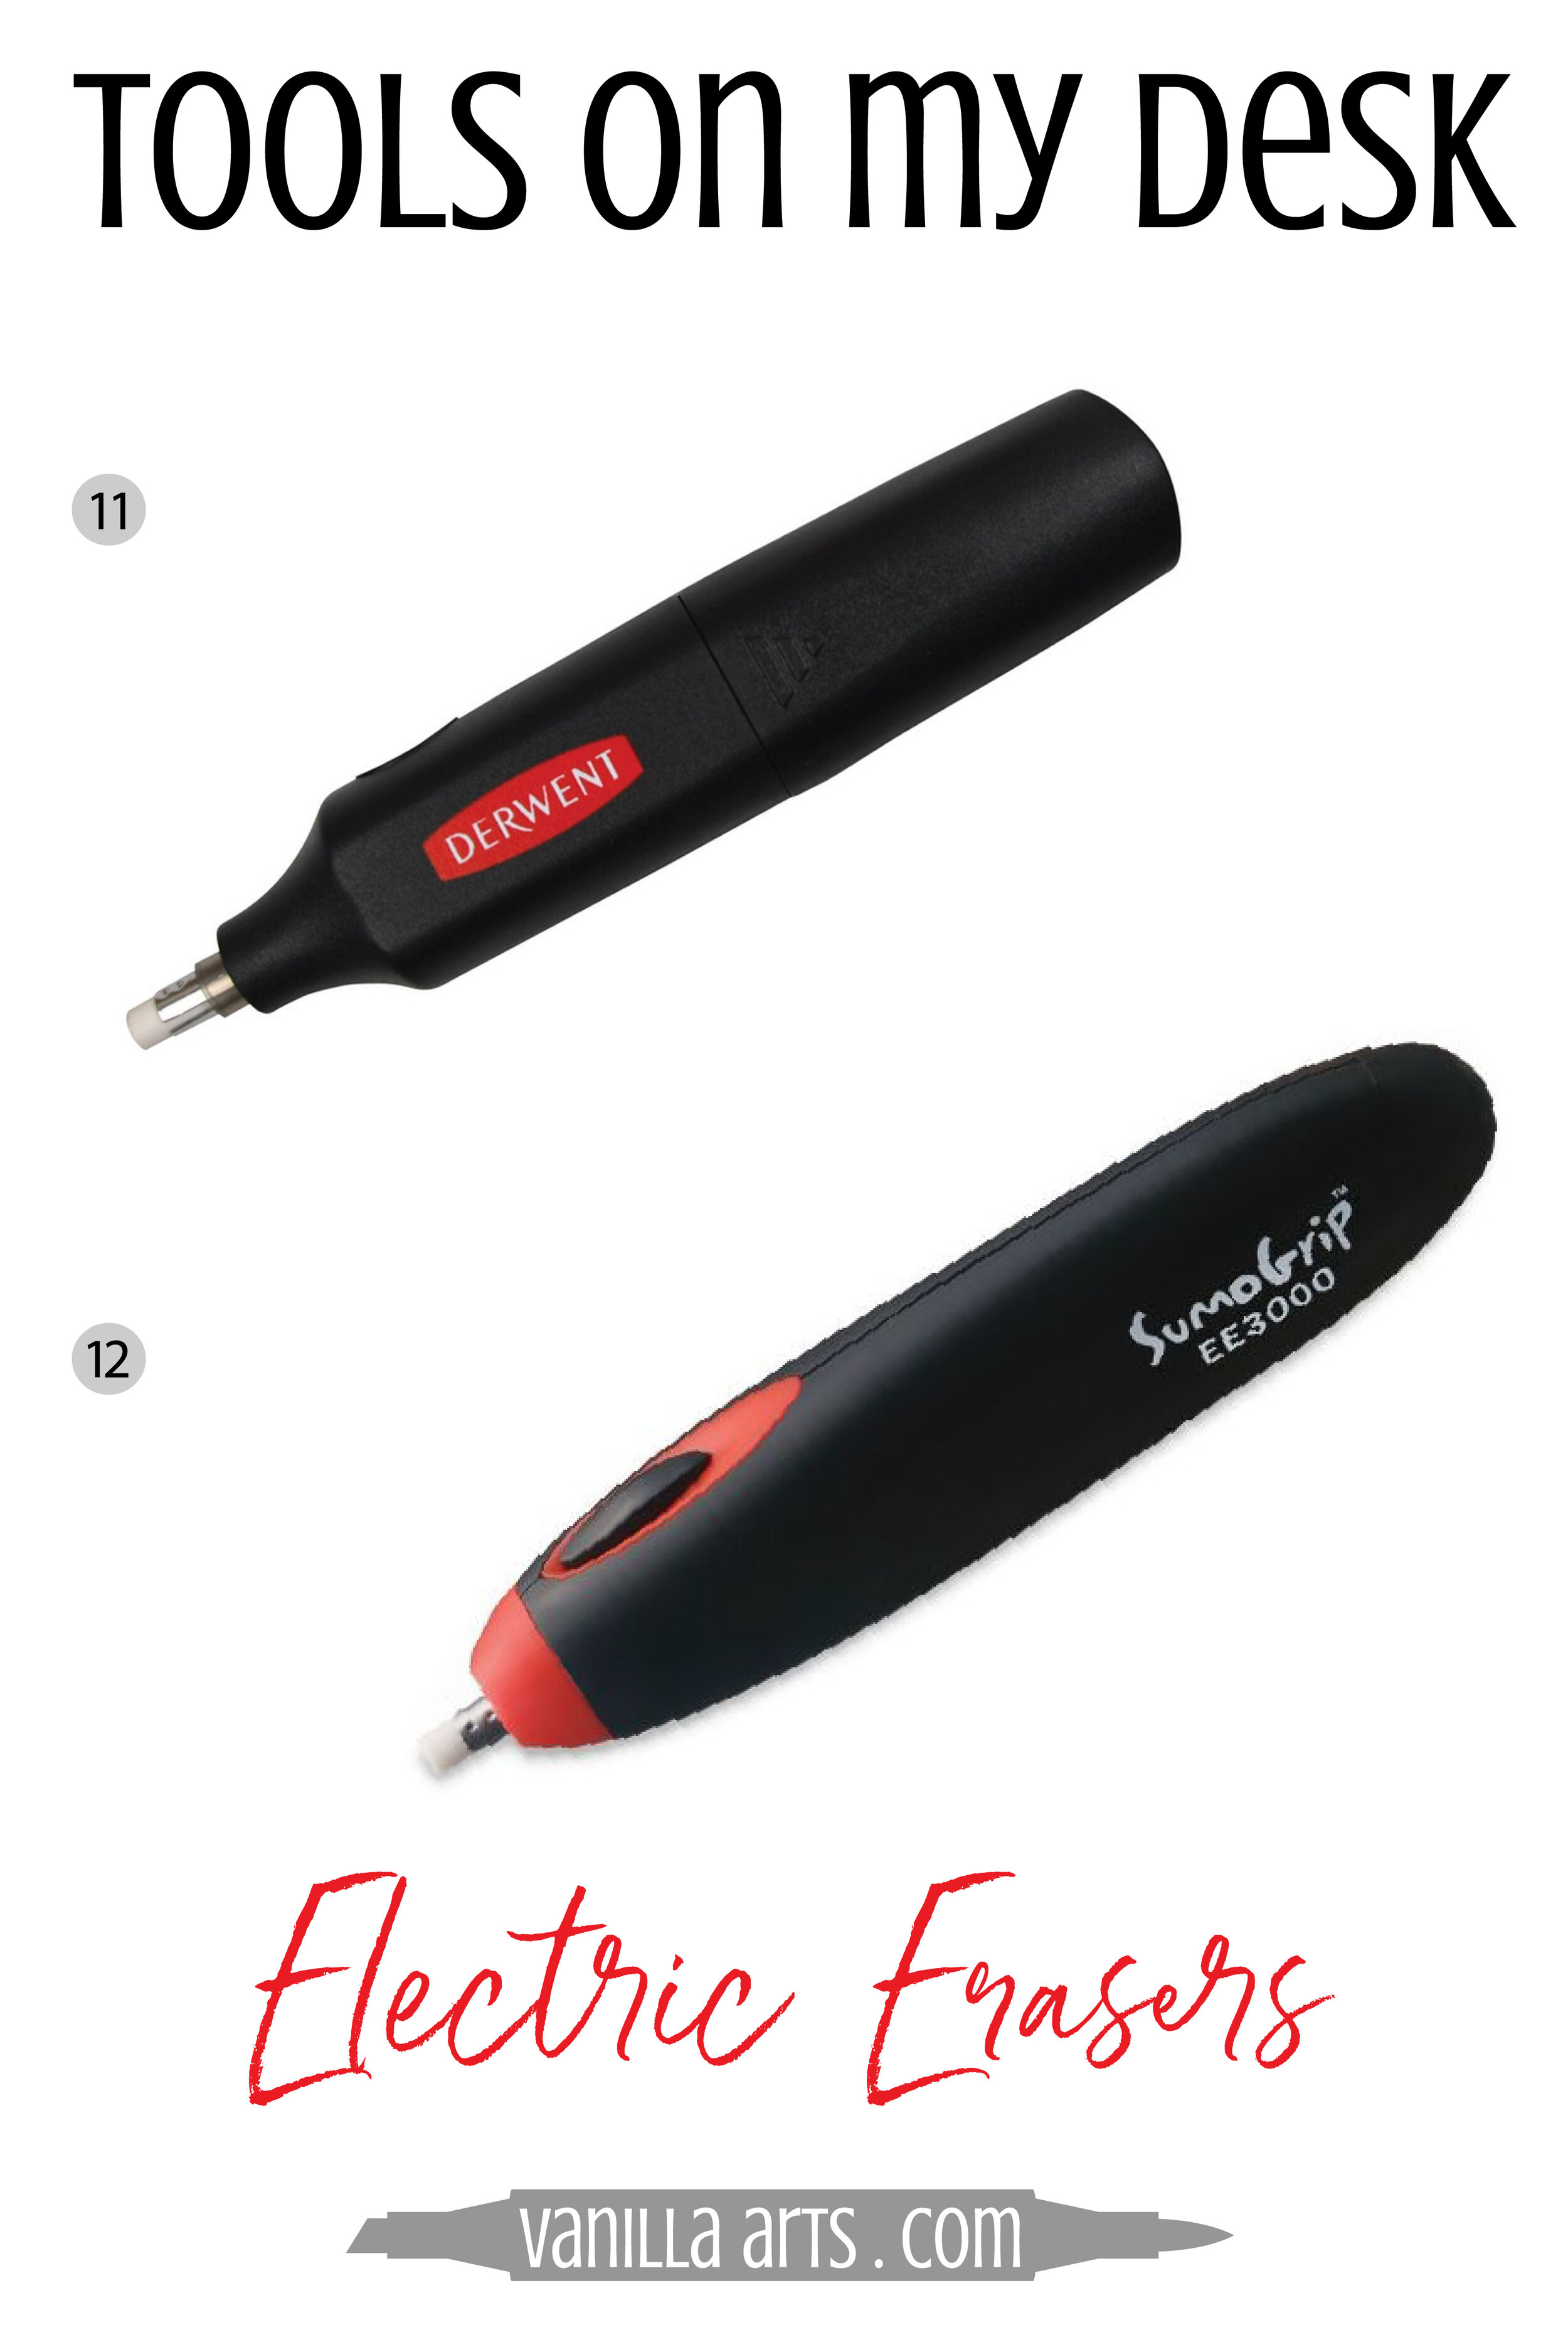
Best Electric Erasers for Colored Pencils:
Electric or battery powered erasers combine the gentleness of a non-abrasive white eraser with spinning action for more complete erasure. It does damage the tooth a bit but they sure are handy!
Electrics are a favorite tool of portraiture artists and animal illustrators. With a sharp edge or by sanding a point on the eraser, you can carve white whiskers, long highlight hairs, or white highlights in eyes by removing heavy layers of colored pencil plus a bit of the paper.
BUYER BEWARE: You get what you pay for!
Vanilla Team member Lisa purchased an inexpensive odd brand battery eraser. The eraser wobbled so badly that it was unusable. Our recommended brands are pricier but that’s because the housing is perfectly centered for a smooth spin.
Recommended Electric Erasers:
11. Derwent Battery Operated Eraser
This is a good eraser at a reasonable price. Some versions do not come with replacement erasers but they are available in refill packs.
12. HIGHLY RECOMMENDED! Sakura or SumoGrip Cordless Electric Eraser
More expensive than the Derwent model but Amy thinks it’s worth the extra cost. Both the Sakura and the slightly more ergonomic SumoGrip remodel are quiet and well centered with wonderful red finger trigger for precise control. Comes with several replacement erasers AND extra collets. Refill packs also available.
Best Specialty Erasers for Colored Pencils:
Non-standard erasers for unique tasks
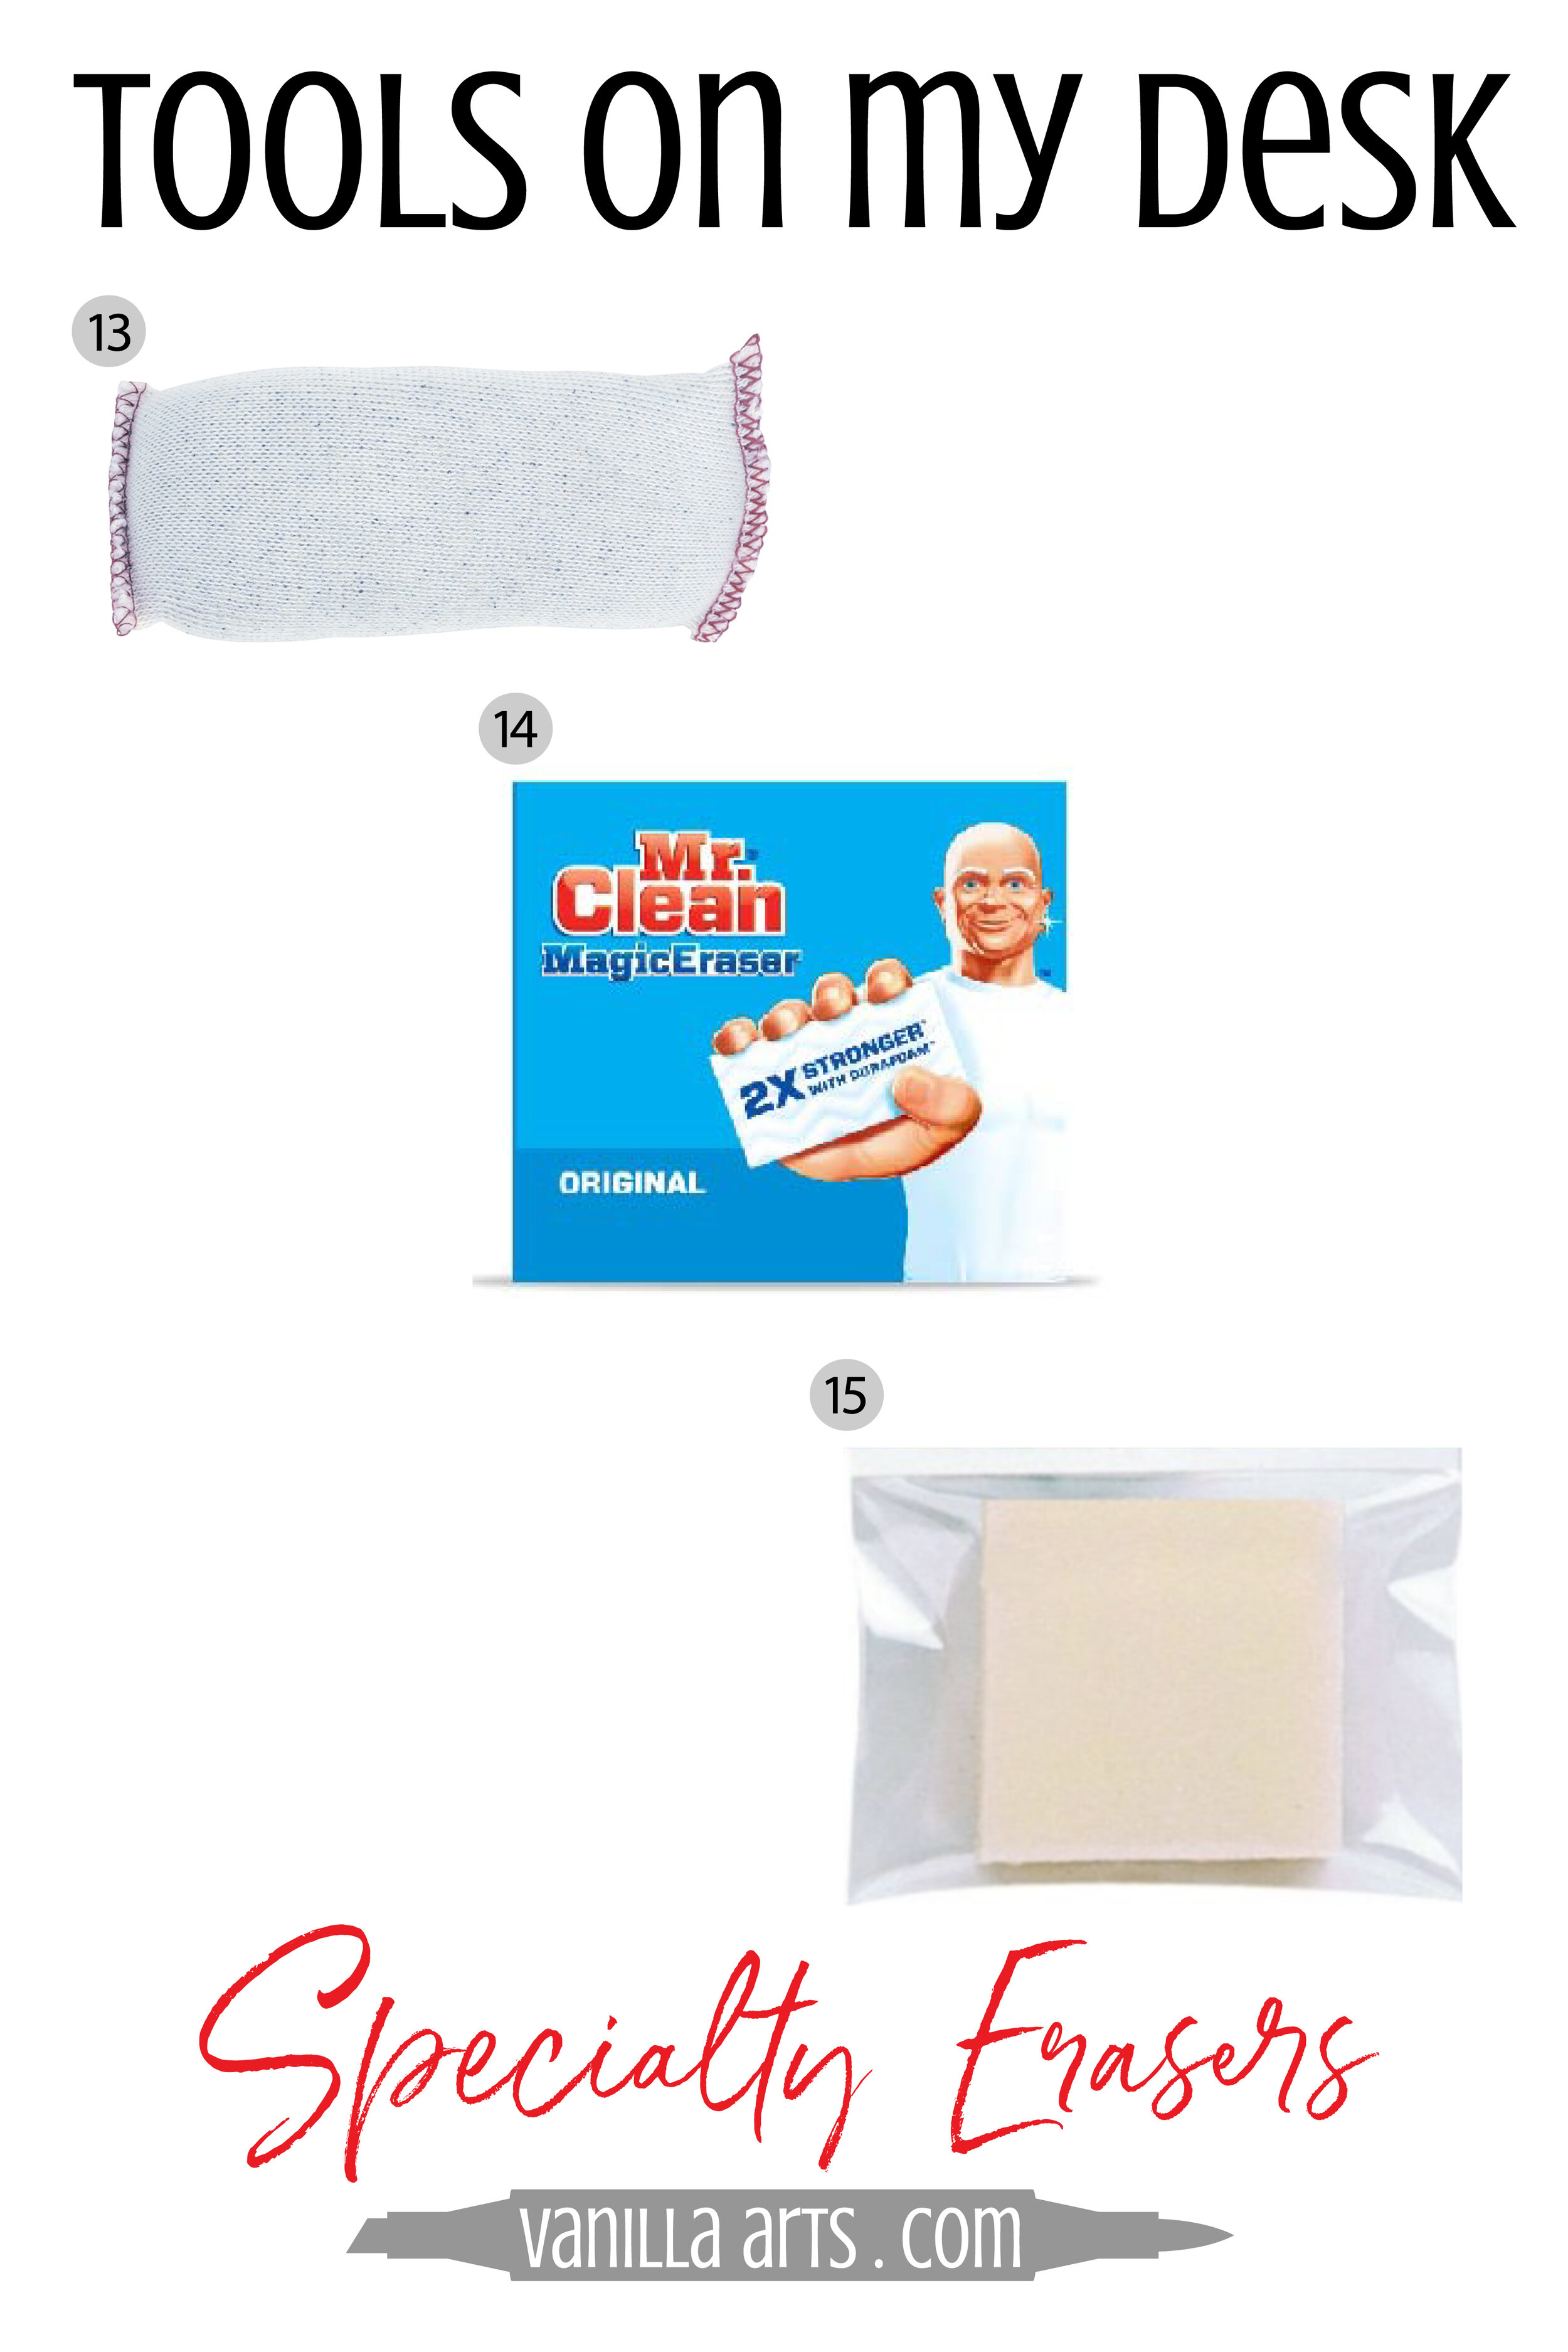
13. ProArt Dry Cleaning Pads (dead mouse)
This is an old-school tool left over from the days of drafting schematics with pencils but Amy loves it. This eraser looks like a small pillow; it’s a stretchy porous fabric bag filled with eraser powder. Pick one up and you’ll understand why they’re called a dead mouse.
Eraser pads work best on graphite but they’re also very effective at removing hand oil or greasy smudges from the margins of your art work. They won’t make a dent in colored pencil but Amy uses one at the end of every project. Pounce the bag to release eraser granules, then scrub with the bag to work the powder into the paper, then brush away the dust with a brush.
Alvin & Co. used to make most of these erasers but they went out of business in 2020. Amy has not tried the Staedtler version but assumes it works the same.
14. Mr. Clean Magic Eraser/Melamine Sponge
After Amy cleans the margins of her finished project with the dead mouse, she then whitens and brightens the margins with a melamine sponge. Use dry, DO NOT USE WET.
Amy has also used this kind of sponge to fully erase marks left by a dropped pencil (why do they always land on the outer white margins?). Start with the black eraser and then shift to the melamine for almost complete removal of drop-marks. Amy also uses this generic brand of melamine sponges.
15. Rubber Cement Pickup or Glue Eraser
If you get something sticky on your project, DO NOT use a regular eraser. Eraser debris will turn the goo to a funky gray color which is often more noticeable than the original smudge. Instead, start with a rubber cement pickup, first by dabbing and then gentle circular rubbing to remove sticky spots.
Also excellent for removing the adhesive left behind from drafting or masking tape.
Not Recommended For Use with Colored Pencils:
Ink Erasers
These seem to work fairly well for removing ball point pen marks. We’ve seen them recommended for use with colored pencil. Perhaps we’re not using it correctly but in Amy’s testing, she damaged the paper AND the eraser left an off-color gray zone. Maybe this eraser will help in an extreme situation but we’d never recommend this for everyday use.
Eraser Pencils
These are often sold by colored pencil companies and frequently feature a useless brush on the opposite end. The team has tried several brands, nobody liked any of them. We’ve seen crafters and a few artists rave about them but they’re not as effective as our recommended erasers.
Amy also notes that the brush can actually damage your art, especially if you use a soft brand of colored pencil. The bristles are hard enough to leave scratches plus they can drag color, leaving thin brush marks.
Art gum erasers
Another old-school eraser but several colored pencil companies sell them. You could use them in place of a white eraser but they’re not as effective. These erasers really work best on graphite.
Pink Erasers and other highly abrasive school/office erasers
These are highly abrasive and will easily damage your paper.
Plus, the pink erasers leave pink streaks and the black version leaves black streaks— who wants that?
Are Natural Rubber Erasers Better than synthetic erasers?
We don’t object to natural rubber erasers but we certainly wouldn’t pay extra for one.
They perform about the same as standard white erasers on colored pencil but natural rubber crumbles, leaving a lot more eraser dust in their wake.
Amy also had one which shed constantly in her travel tool box. Everything else in the box (sharpeners, other erasers, mini dusting brush) had a coating of rubber dust on it. YUCK!
Are dust-free erasers worth the extra cost?
Faber Castel makes a lot of erasers marked “dust free”.
They’re not dust free; instead, think of them as “clumping”. As you erase, the debris clumps itself into long thin strings of rubbery waste rather than the usual small crumbles.
We’re not sure why this is a benefit; it all gets brushed into the trash can anyway. And frankly, it’s harder to brush away long sticky strands than brushing away small crumbles.
Amy particularly dislikes clumping erasers because the long strands get trapped under the eraser as you rub back and forth. So for all your effort, you’re not really erasing, you’re just log-rolling over the strands until they break apart and get out of the way.
Dust free erasers are softer and yet more brittle than standard brick erasers. Some crack and split with the first use.
Are erasable colored pencils good For art or coloring?
No.
Colored pencils marked “erasable” are meant for geography class, not art.
To be erasable, the pencil core contains very little pigment. They’re usually hard pencils which combined with the low pigment-load, means your coloring looks pale, no matter how many layers you build up.
The other danger of low-pigment pencils is that people try to press harder to get more color on the paper. You’ll carve valleys and dig ditches as you color which is not good for the paper.
By the way, when you see illustrators drawing with colored pencils, they’re usually using Prismacolor Verithins, not cheap erasable pencils.
Skip the erasable brands. They’re not for adults.
How to Erase Colored Pencil:
Remember, when you erase colored pencil, you’re never going to restore the look of fresh white paper.
You can lift the color but there will always be stray pigment buried in the paper fibers.
So be realistic about your expectations.
PRO TIP: Always preserve as much of the tooth as much as possible. The only time I try to fully remove color is if the mistake is in a white area or in the outside margins.
If the mistake is in the middle of a color zone, I only use sticky tack. There’s no point in trying to erase everything because your new layers will mask most of the mistake. It’s better to preserve the tooth than lift the mistake completely.
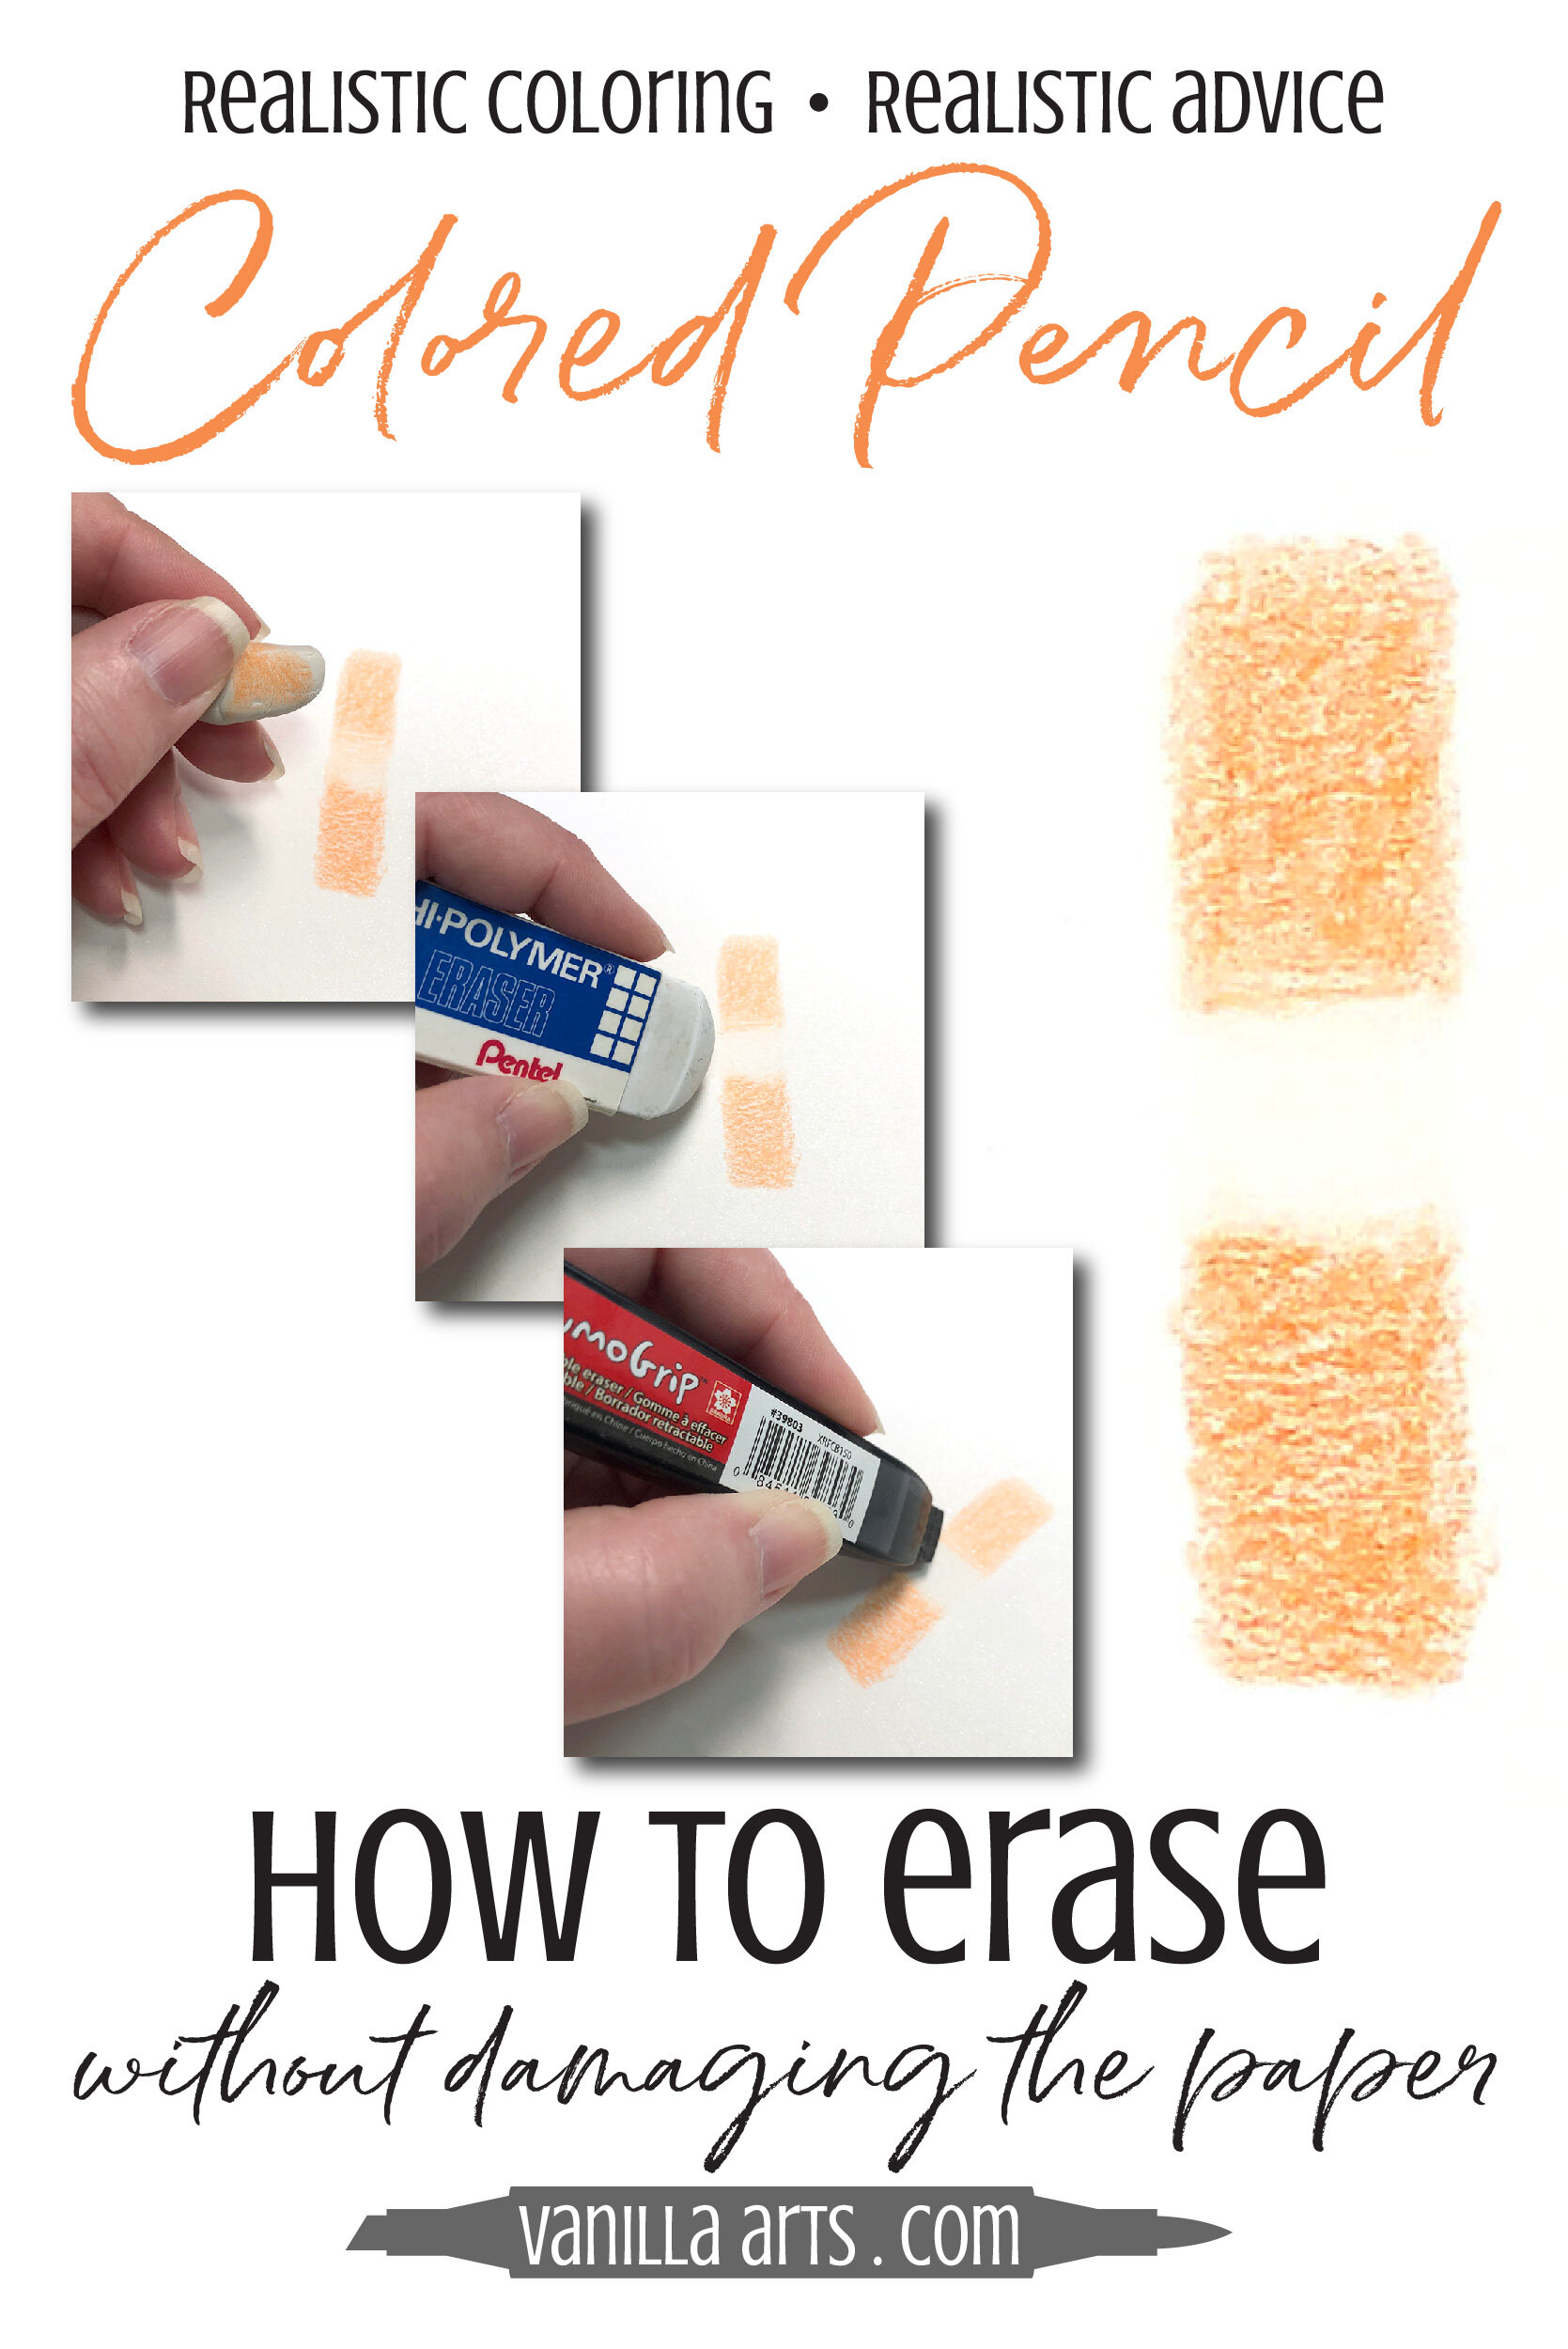
How to safely erase colored pencil:
Soften a small ball of sticky tack by kneading it for at least 30 seconds until warm and pliable.
Press the sticky tack directly into the mistake area, then lift. Press and lift several times, rekneading the sticky tack as necessary to create a clean surface on the ball.
If further lifting is absolutely necessary, switch to a white eraser. First make sure the end of the eraser is clean with no color residue from previous usage. Wipe clean on a cloth until residue is gone.
Gently rub back and forth a few times over the offending mark. If necessary, continue rubbing with slightly more pressure. Try not to rub more than a dozen times. Brush away eraser debris as needed with a soft brush.
If the color needs to be lightened further, move to a black low-abrasive eraser and repeat the same process for the white eraser. Try not to rub more than a dozen times and start soft before increasing pressure.
PRO TIP: Use a soft brush like this or this to wipe away debris rather than using the side of your hand or blowing.
Brushing with your hand can often drag loose pencil pigment from the area creating streaks which then need to be erased.
Blowing can accidentally propel droplets of spittle onto your project.
There you go! This was a long article but chock full of good advice from the Vanilla Arts Team.
Best eraser recommendations plus good erasing technique.
We hope this makes removing your next colored pencil mistake easier.
Shop for 0ur favorite erasers:
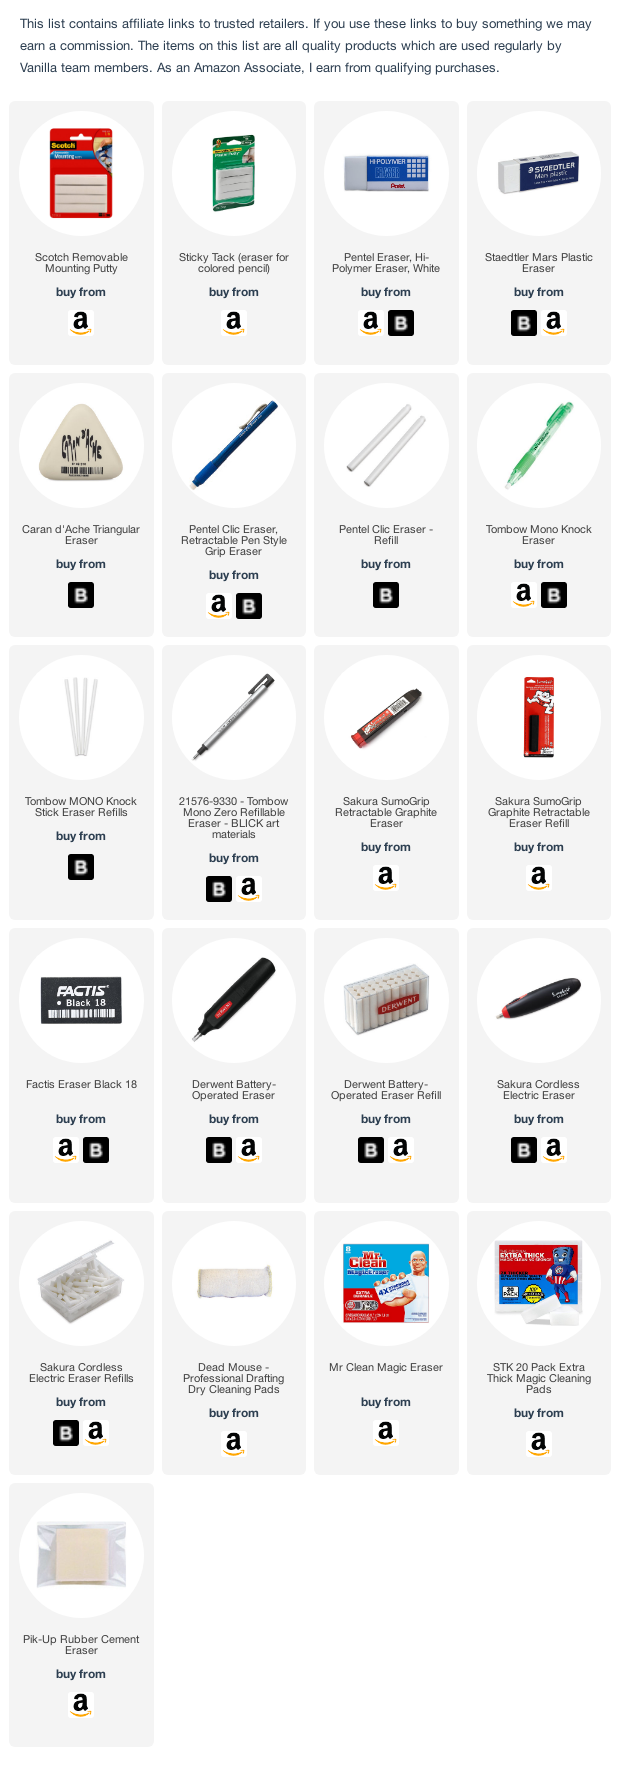
Vanilla Arts Company is a participant in the Amazon Services LLC Associates Program, an affiliate advertising program designed to provide a means for use to earn fees by linking to Amazon.com.