6 Tips for Left-Handed Colorers: Copic Markers or Colored Pencils
Do you color left handed?
Most readers here are likely right handed.
Southpaws like me are in the minority. We’re the few, the proud, the backwards.
Today’s article contains Copic and colored pencil tips for lefties.
But hey, even if you’re right handed, keep on reading. While these coloring tips are aimed at the counter-clockwise folks, the thought processes behind them can help anyone improve their coloring!
Righties can flip these tips cattywampus the way we keck-handers do every day!
What's all the fuss about left handed coloring?
Ha! Spoken like a true right hander.
You may not think it makes a difference but hoo, boy... being left handed is like living in MirrorWorld where all your natural instincts work against you.
Coloring demonstrations are especially tough because we have to mentally flip everything.
Right handed demonstrations do not look anything like what we see when we glance down at our own paper. It’s really easy to miss tiny but important details like finger position or directionality. We're so busy converting the big stuff that we miss the little stuff.
So for all the lefties out there, let's discuss a few tips which are never mentioned in right handed tutorials and demos.
They're never mentioned because right handed teachers simply don't think about lefties very often.
Mirroring, or doing the same-thing-backwards isn't always enough. Sometimes there are real adjustments and modifications lefties must make in order to improve our technique and stroke quality.
So let's get right into it...
Or should I say, let's get left into it!
1. Stop trying to write
Most of what we do with a marker or colored pencil is based on writing technique.

We learn how to hold a pencil in kindergarten and that childhood grip translates into a life-long habits.
But you'd laugh at me if I attempted to hold a golf club like a pencil, right?
And I'm pretty sure you don't stir cake batter with a perfect three finger writer's pincer grip.
So ask yourself: why do you color as if you're trying to write your name?
Writing and coloring are completely different tasks!
Different goals, different motions, even the size of what you're doing is different.
Writing is teeny-tiny precise motions meant to convey specific words, thoughts, and calculations.
Drawing and coloring is bigger and swooshier, meant to be seen as attractive, unique, and emotional.
Writing and coloring are not the same.
Yet you're forcing yourself to hold your markers and colored pencils as if you’re itemizing your taxes?
This doesn't make sense.
And here's the crazy thing... No one told you to do this! You've done it to yourself.

A coloring grip is looser and higher up on the pencil or marker than the grip used for neat penmanship.
Ditch the writer's grip for a more casual grip.
In drawing and coloring, there is no stern faced teacher waiting to correct your penmanship!
Experiment and play with where your fingers feel best on the marker or colored pencil. Move your hand up and down the barrel and see how finger position changes your stroke quality.
And most importantly, release the vise-grip you use for writing.
The marker isn't going to run away. Loosen your fingers.
Writing is tight and controlled. You’re making teeny loops and jots in precise directions for the words to be legible.
But coloring is not so precise. It doesn't require the same kind of finger-muscle force.
When you color with a death grip, it shows in your line quality.
Muscular coloring doesn't look artistic; it looks constipated.
2. Uncurl your hand
Hey, remember a minute ago when I said to stop writing?
This includes that funky hand-curl thing which so many left-handed children are taught in school.

Approach your project from below with a straight wrist rather the traditional lefty over-the-top curled hand. This allows your wrist to move with greater ease and agility.
I was lucky to escape that lesson. Nobody ever made me curl my hand up and over the top of the paper to write from above.
This made my conversion from writing to drawing a lot easier!
Coloring has more in common with drawing than it does with writing.
Think about the difference in the size of a marker flick versus the flick you use to cross a lower case t. Even a small marker flick is gigantic compared to the letter t!
Lefty hand-curl positions only work for tiny movements. The curl limits the size of the strokes you can make by putting your arm, wrist, and hand in a fixed weight-bearing position.
You'll get bigger strokes which look looser and more artistic when you approach the coloring from below with a straight wrist rather than from above in the curled position.
We'll talk more about this in tips #4 and #5 so hang on!
3. Rotate the paper as you work
Lefties who don't learn the hand-curl method usually develop an odd tendency to turn the paper.
I'm not a hand-curler so when I write, the paper is turned 90 degrees clockwise and I basically write downhill or towards my body.
This means I can also read sideways. A lot of lefties can do the same thing. We can read off-kilter, upside-down, and some of us can even read backwards without even thinking about it.
Reading sideways gives lefties a mental advantage in art, so make full use of it!
Because the lefty brain is not completely oriented to "right-side-up" and "upside-down", we can draw or color with the artwork pointed in any direction.

Coloring upside-down or sideways can give you better access to tight areas. Left-handed brains are not as worried about "up" or "down" and can better visualize what they're doing at these odd angles. It's a gift! Use it!
I notice this in classes a lot. I teach students to rotate their paper as they color because the most efficient strokes are always made by pulling the marker or pencil towards your body.
Pssttt… Rotating the paper is much easier than moving your chair around the desk!
My right hander students usually turn their paper back to normal after they're done with each section. They're constantly re-orienting the page in order to check their work.
Lefties don't usually do this. Left-handers can visualize it sideways. I've even caught a few happily coloring upside-down for long stretches of time.
If you're in a class where the teacher doesn't teach paper rotation, do it anyway! Everyone, both right handed and left handed should be turning their paper.
But if you're a lefty, don't feel obligated to double check it constantly in the way righties do. Your brain doesn't require the same mental reorientation, so keep doing what feels comfortable no matter what your neighbor is doing.

4. Start on the right side of your project and work leftward

Now I know, the average lefty has heard this a million times but it's always presented as a way to avoiding smudges or streaks.
"Stay neat and tidy by working right to left so you aren't dragging your hand across wet ink or loose pigment!"
And every lefty in the world knows this doesn't help a bit.
We've dragged our hands across everything. Our ink stained pinkie fingers are a badge of honor.
My advice here has nothing to do with cleanliness.
Working right to left is all about your anatomy.
Human muscles contract.
Contraction is the only motion a muscle can make. You think of your arm as "bending" and "unbending" at the elbow but in reality, you have two sets of muscles doing the bending. Both sets of muscles pull. Your bicep set contracts to bend the arm and the tricep set contracts to unbend the arm.
Muscles can only contract. Muscles can only pull.
Therefore, a pulling stroke is always more efficient than a pushing stroke. By pulling, you are working with your strongest muscles instead of against them.
By working right to left, you use more pulling strokes than pushing. Unlike writing, there are no rules demanding that you work left to right. Stop writing and start coloring the way nature intended!
One of the reasons most cultures write from left to right is because writing is easier when you pull the pencil towards the body rather than pushing it away. A righty moving from left to right across the page is doing far more pulling strokes than pushing strokes. Writing left to right is designed for right handers.
This is why most left handed penmanship stinks. Lefties are forced to push the pencil across the paper like Sisyphus rolling a rock uphill.
So as a leftie, when I color from right to left, it has nothing to do with keeping the side of my hand clean. Instead, I'm increasing the ratio of pull strokes to push strokes.
Right to left is simply more efficient for left handed people.
By making your strokes more comfortable and ergonomic, you can improve your stroke quality and the look of your lines and flicks.
5. Use an artist's bridge
One reason why artists use easels and stand as they work is that drawing should be a whole-body movement.
I know it sounds strange if you’ve never taken a drawing class, but trust me: Drawing is not a finger motion. The hand doesn't actually move as much as the wrist, the elbow, the shoulder, and even the waist.
Coloring is closer to drawing than writing.

A bridge moves your hand off the table and allows your elbow to swing freely. Use of a bridge over time teaches you to color with whole-body strokes, the same way artists paint at easels.
We've been taught as writers to press the forearm, wrist, and the side of our hand into the desk, moving just our fingers.
This provides stability and control.
But as I keep hinting, drawing and coloring require more freedom of movement than penmanship does.
There are two main tools which painters can use to elevate the hand, getting it off the surface of the paper or canvas. There’s a stick version called a mahl which has been in use for hundreds of years but a more recent tool is the artist's bridge (Amazon affiliate link).
Like the lefty hand-curl, mahls and bridges are designed to keep us from dragging our hand and arm through wet paint.
But here's the cool part, a bridge gives your hand some support but also allows you to float your arm and fingers over the artwork. The use of a bridge can teach you to color with more arm motion and torso motion because you're not gluing your body to the table.
Whole body coloring simply looks better.
And you don't have to be a lefty to benefit from this tip. Bridges work for everyone!
6. Use your non-dominant hand
Okay, this last tip isn't specifically for lefties...
But lefties have a built in advantage and they'll rock this tip easier than right handed folks.
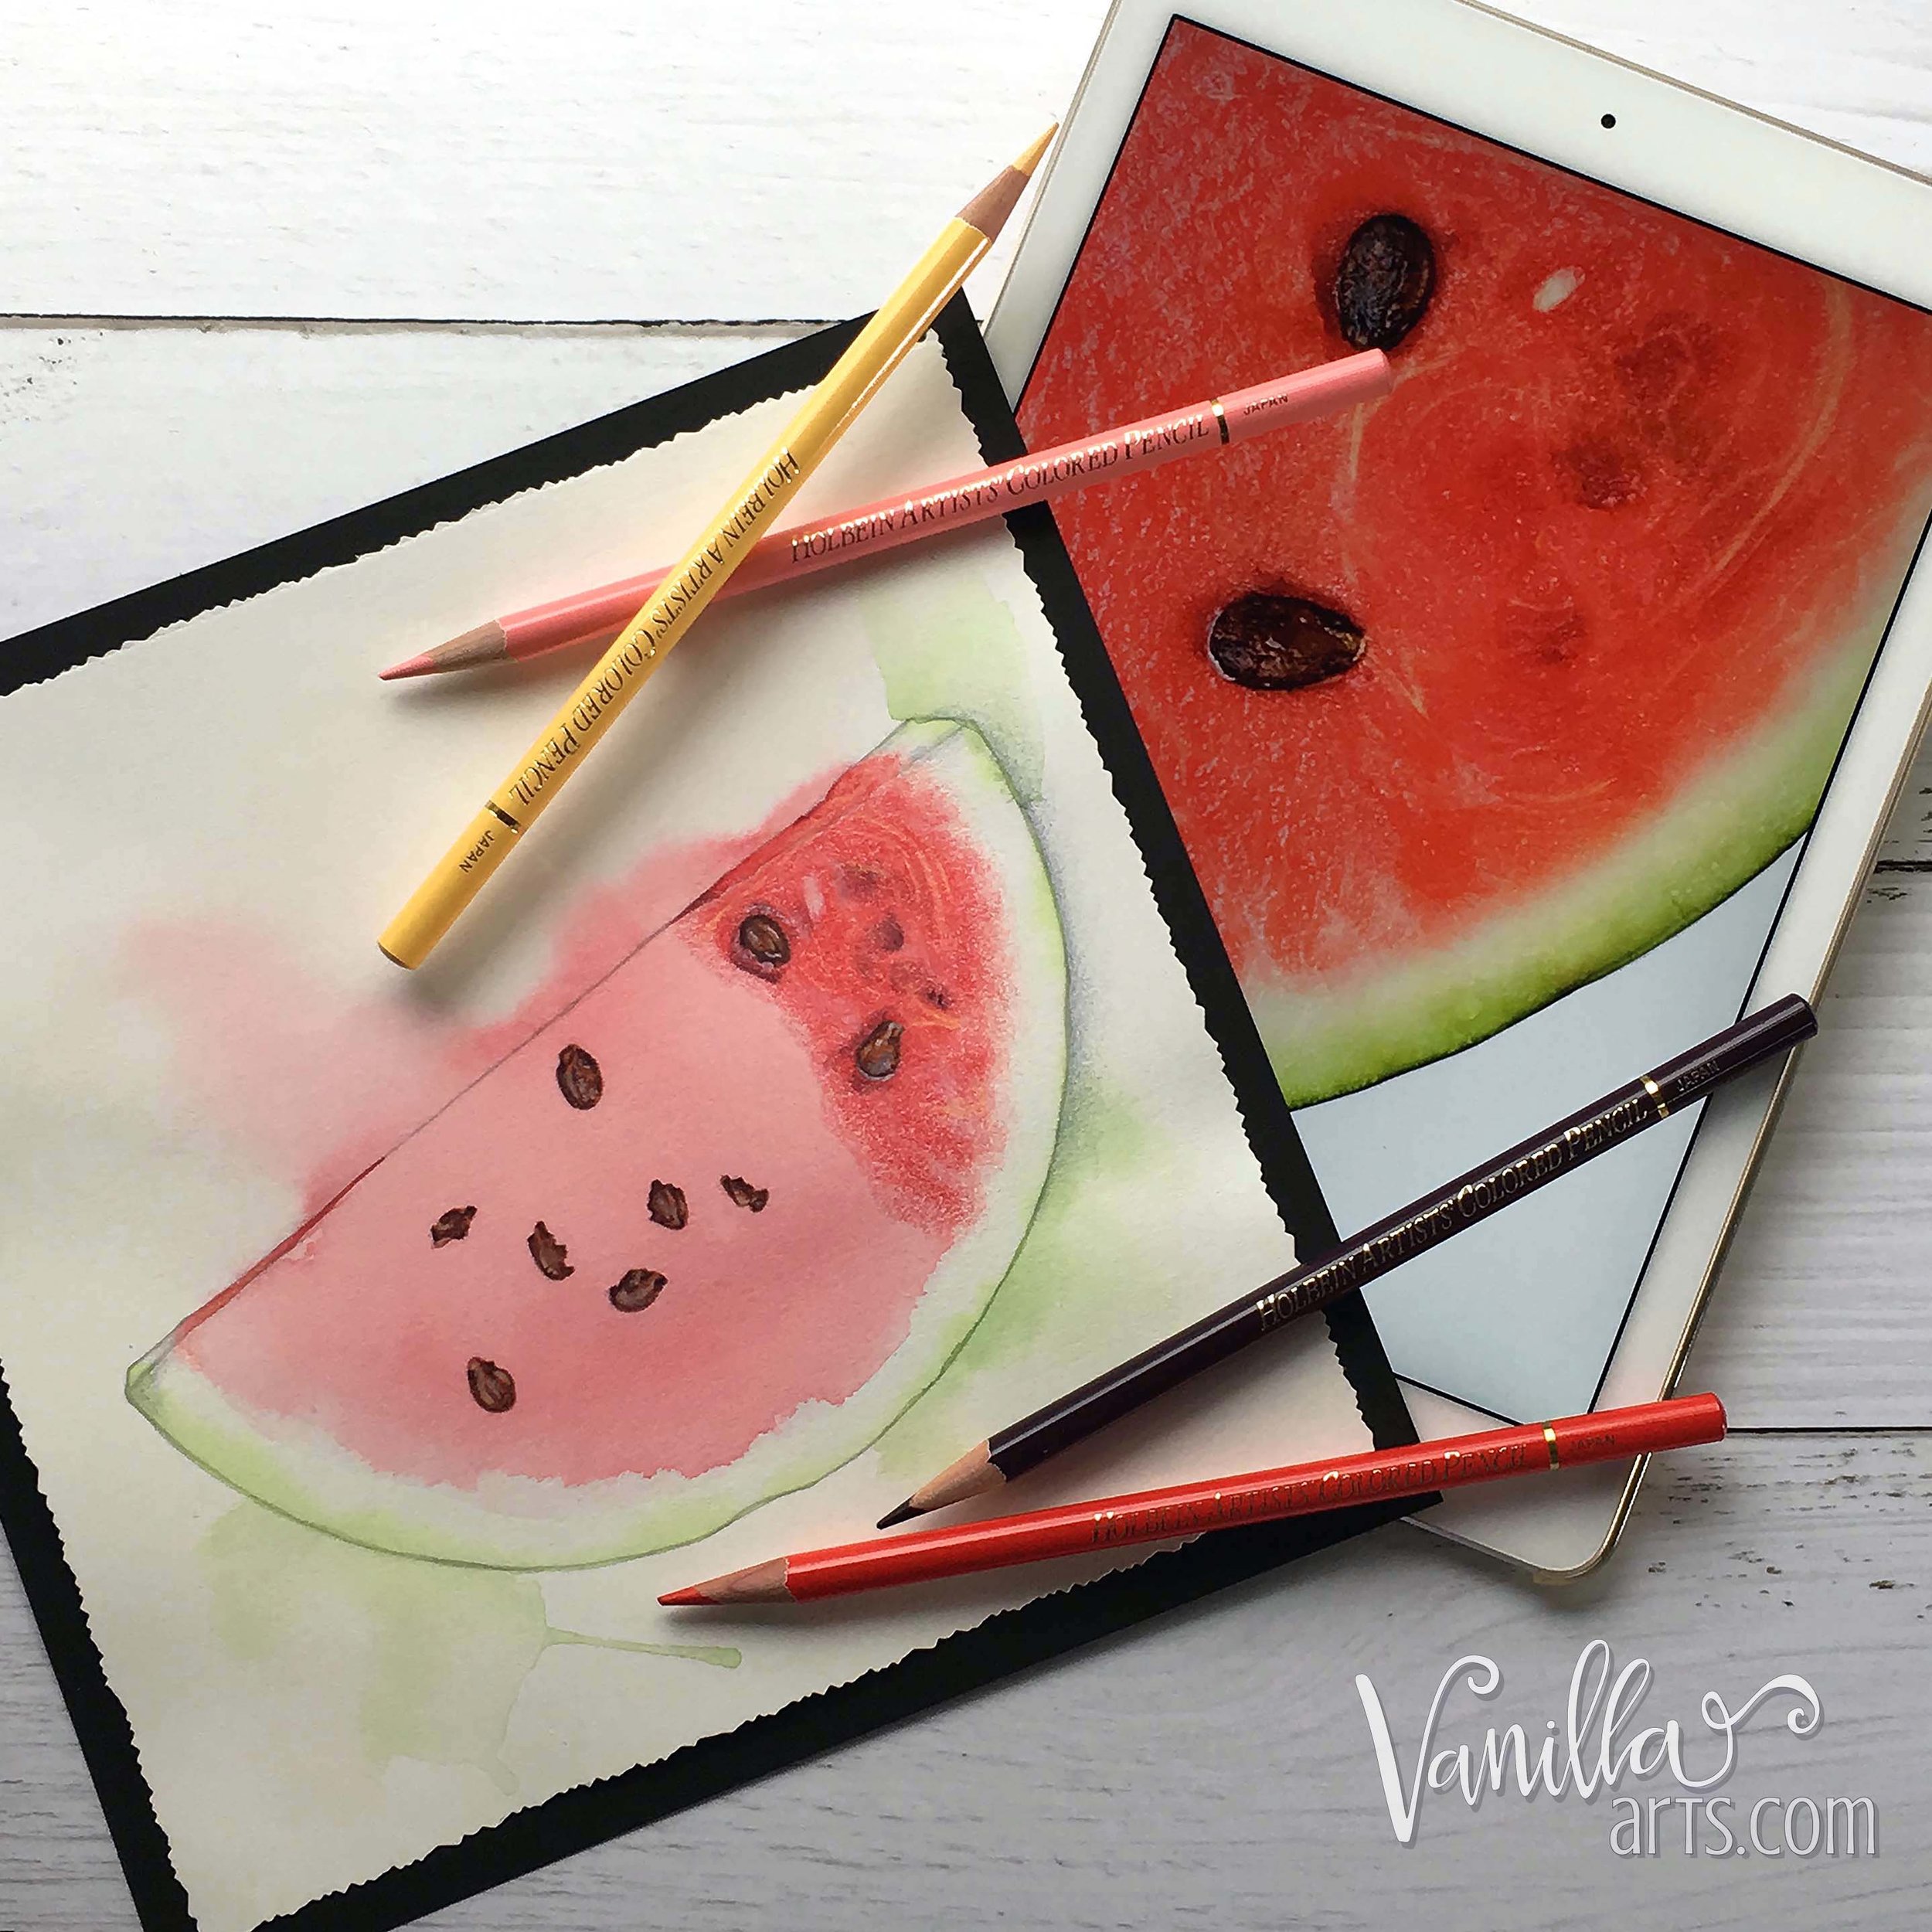
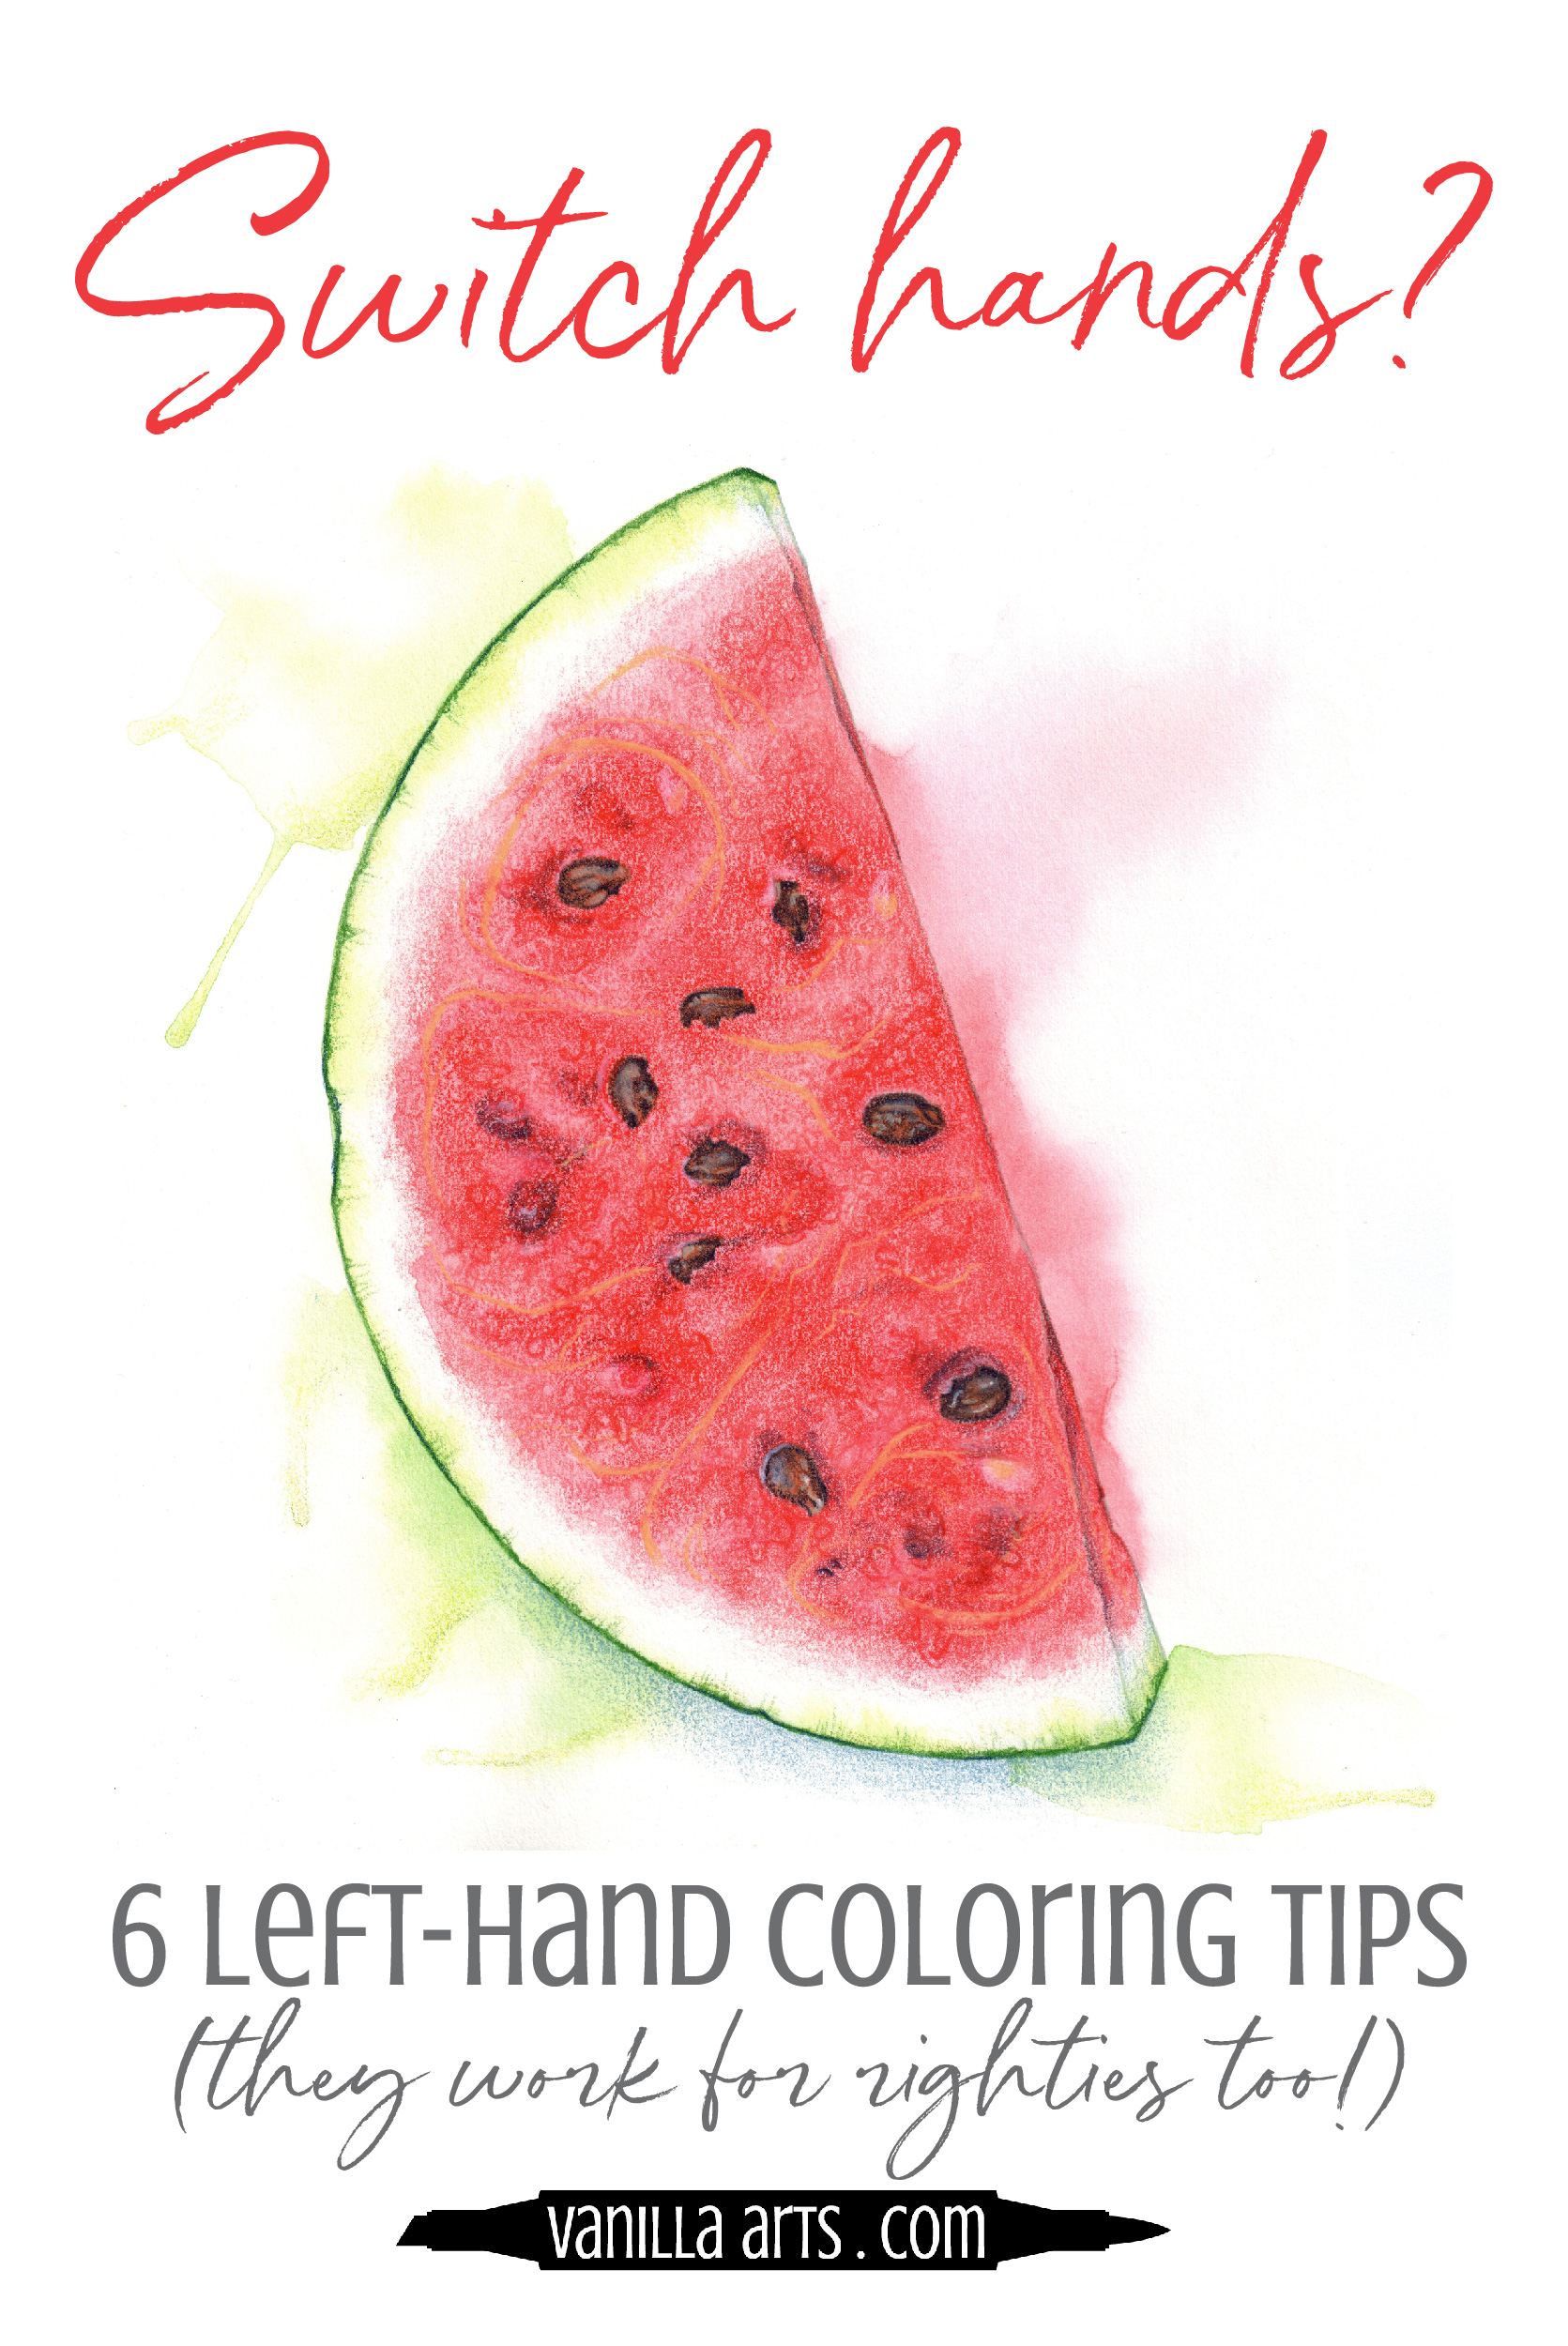
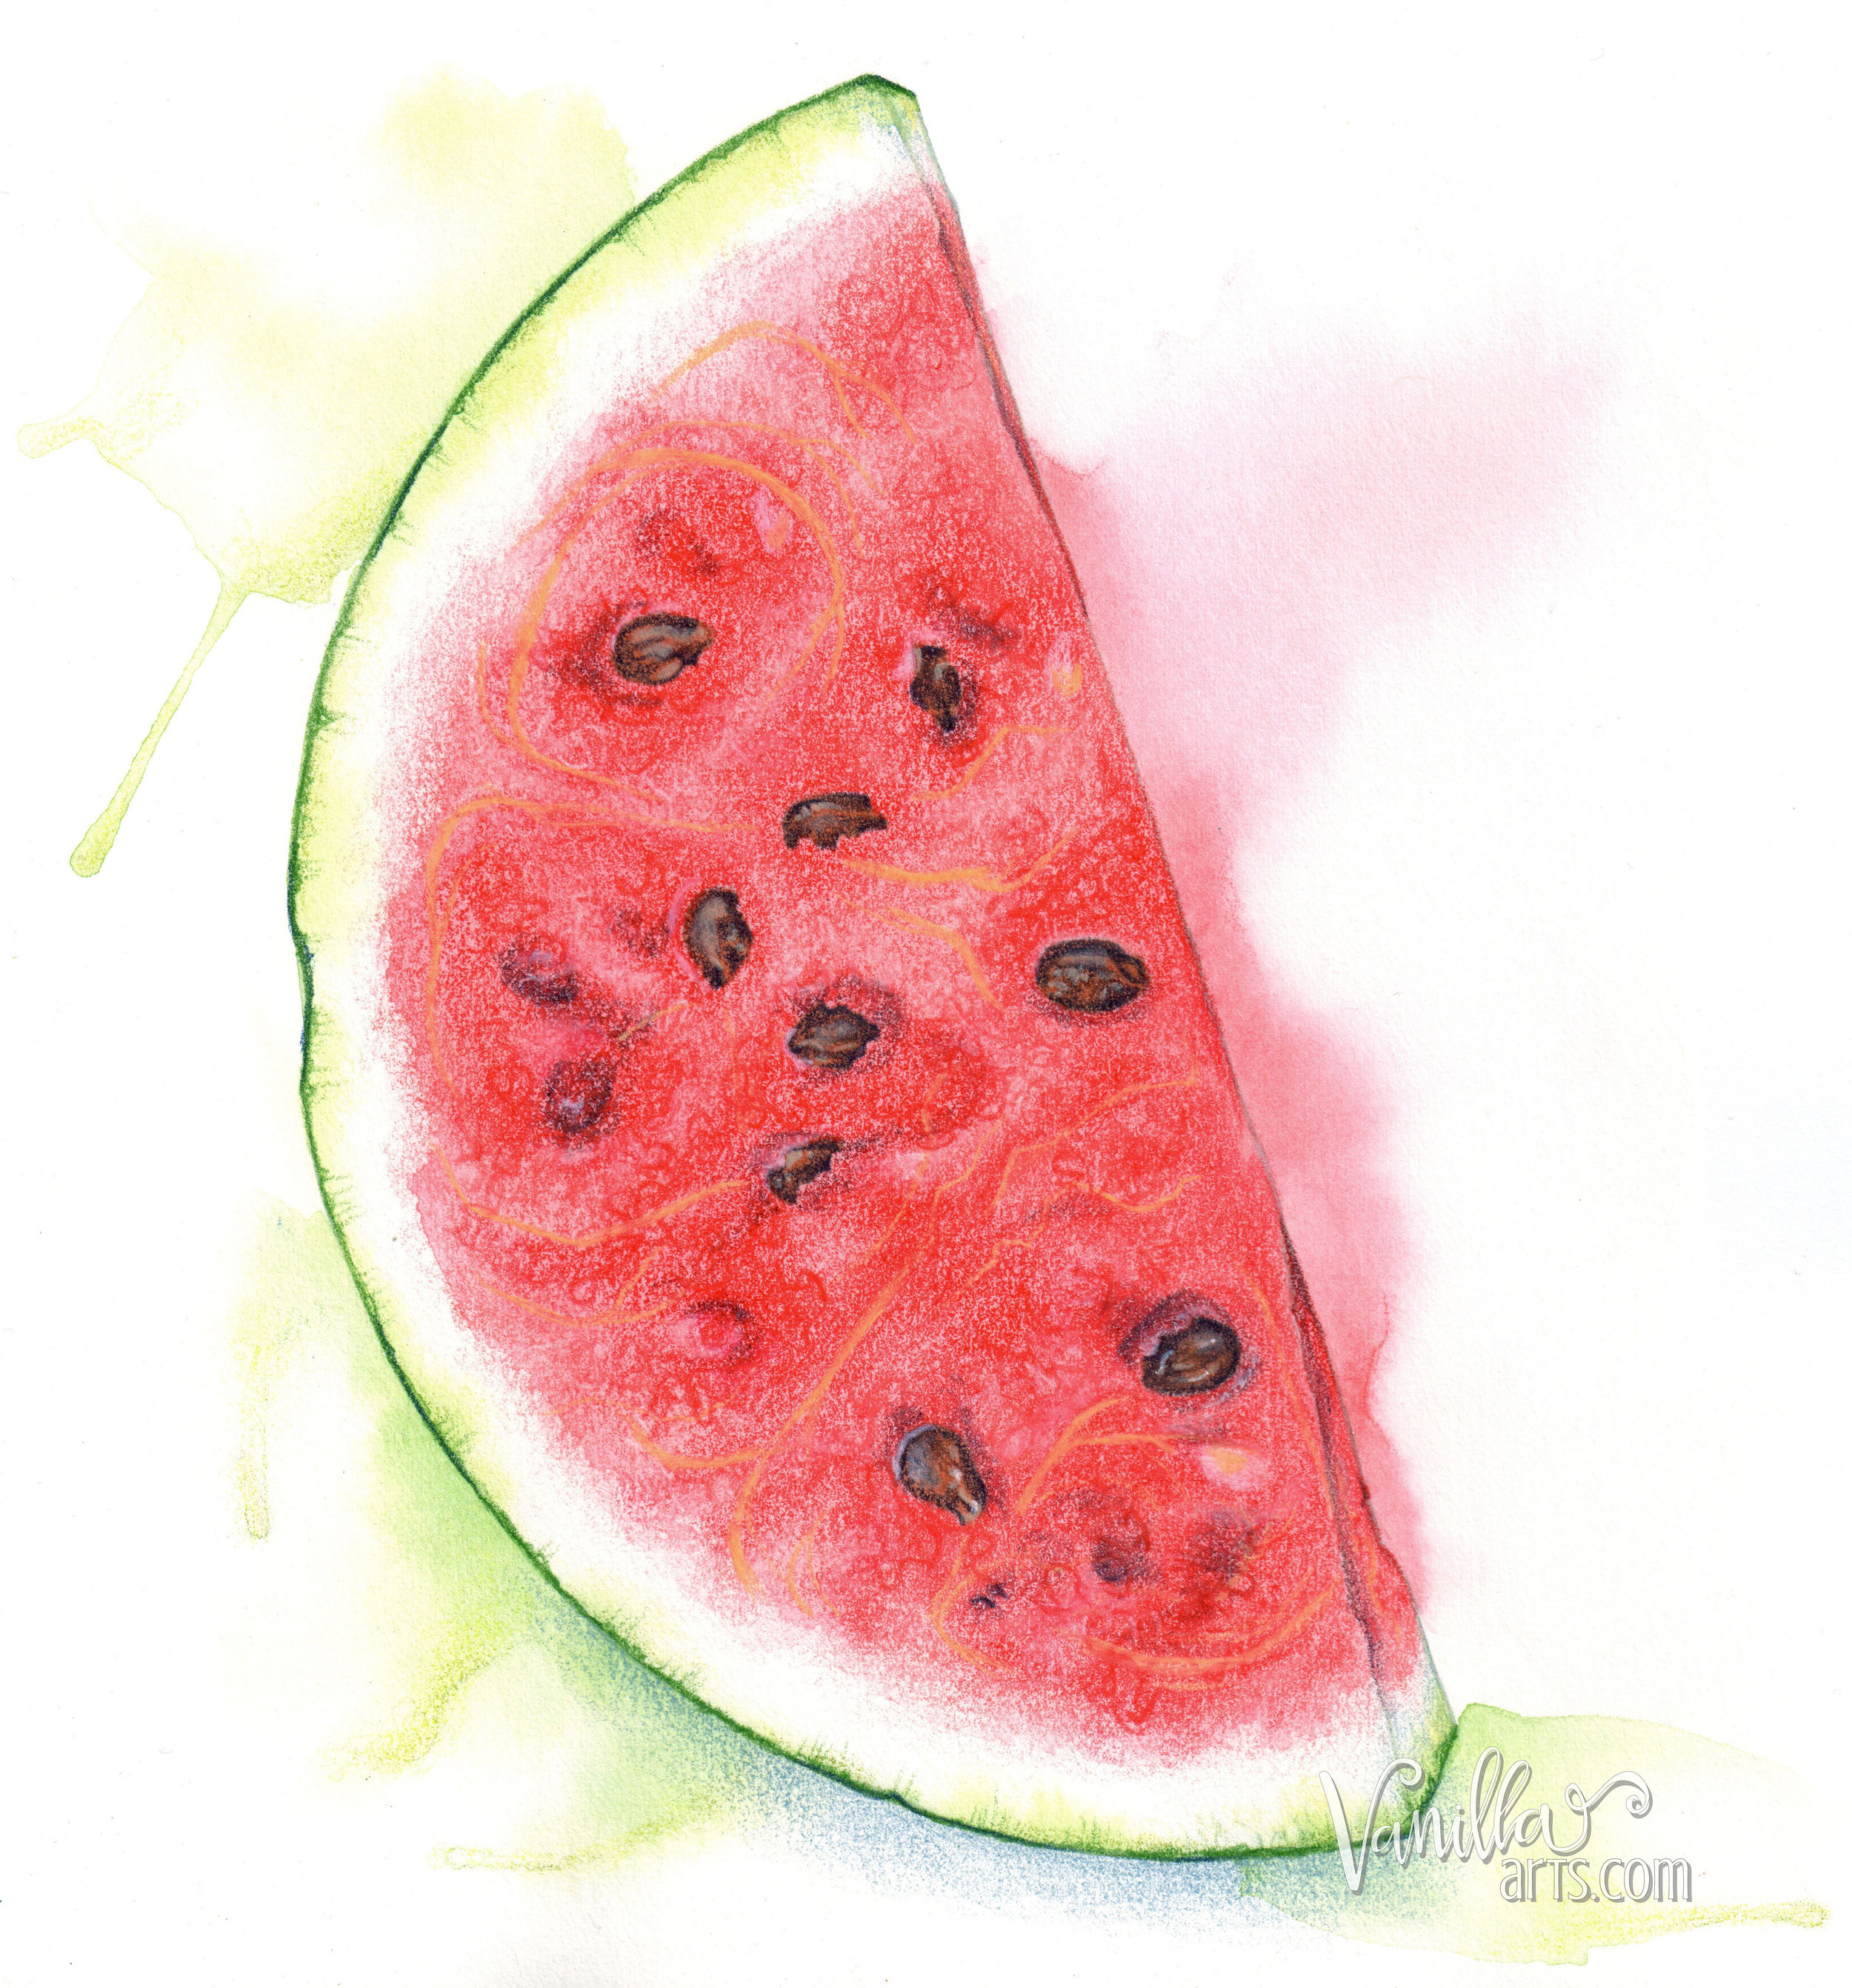
Check out the veins in my watermelon project here.
I used my right hand.
Remember, I am a lefty.
I purposefully made the watermelon veins with my non-dominant hand and I do the same thing when making tree branches, lightning, and every vein or capillary that I've drawn for medical illustrations.
I'm not saying the hand-switch works for everything but you'll find there are times when the flip pays off.
If I were to ask you to draw tree branches, you’d get nervous and tighten up. You'd think hard, hold the pencil hard, and press hard trying to draw a perfectly-perfect tree branch.
All that effort and concentration would result in a terrible tree!
Overthinking, over-planning, and over-executing makes unnatural strokes.
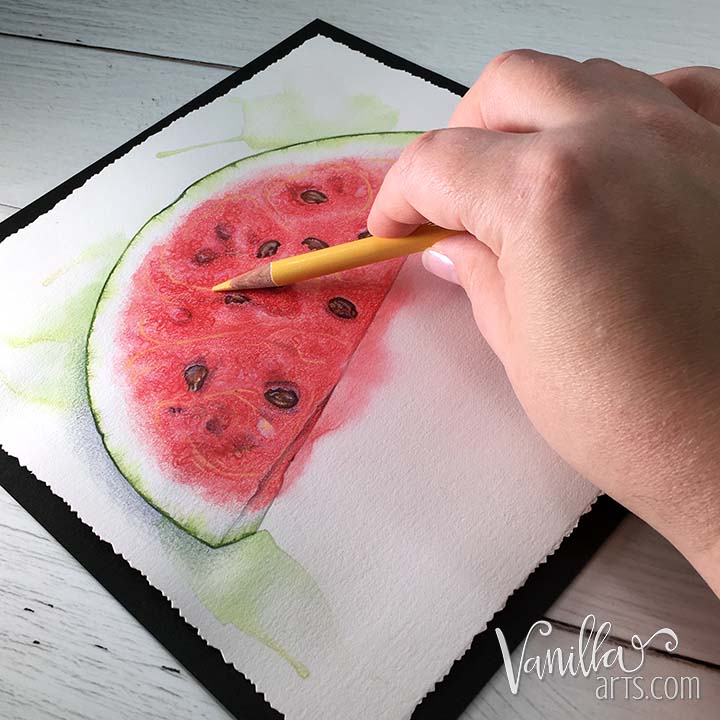
It sounds crazy but it works, especially for lefties. Switching hands makes for more natural looking lines... plus, it's fun. Note the difference in my grip too, we're not writing anymore!
Carefully planned almost never looks like lightning; you'll make uniform zig-zags instead.
But if you switch hands and release your control? That lightnings looks great!
"I am going to draw watermelon veins and I want them to look delicate and natural... I'm going to make them start here and end there and it will swoop here and dip there... let's go slow so that we don't make any mistakes!"
Uh oh… that’s never gonna look good.
If you want something to look organic, you can’t plan it too much. Switching hands kills your plans because using your “clumsy” hand means you can’t micromanage the motion.
And here's where lefties have the advantage:
We're used to doing things right handed.
Every doorknob, can opener, measuring tape, and credit card swiper in the world is set up for right hands. No one ever greets us with a left-handed hand shake. Many of us golf, shoot, and play pool right handed. Most of us learn to use right handed scissors and we often eat right handed when the table is crowded.
Switch-hitting with a pencil is no big deal.
Using the non-dominant hand in art is often the key to getting the stroke or texture you want.
Plus, coloring with both hands makes you look like a genius.
There you go: 6 coloring tips for southpaws
And yet, they all somehow boil down to "stop writing!"
Writing is awkward at best for left handers, so why stick with a technique which is ineffective and inefficient?
Change your grip, loosen your wrist, rotate the paper, work backwards, use your whole arm, and switch hands if you need to... chances are most lefties have stumbled upon at least one of these tricks before.
Now you have permission to try them all!
Be a lefty. Celebrate it.
Use your anatomy, don't fight it.
You're not backwards, so stop using backwards technique.
It may feel odd at first but in the long run, you'll be so glad you ditched that terrible kindergarten approach.
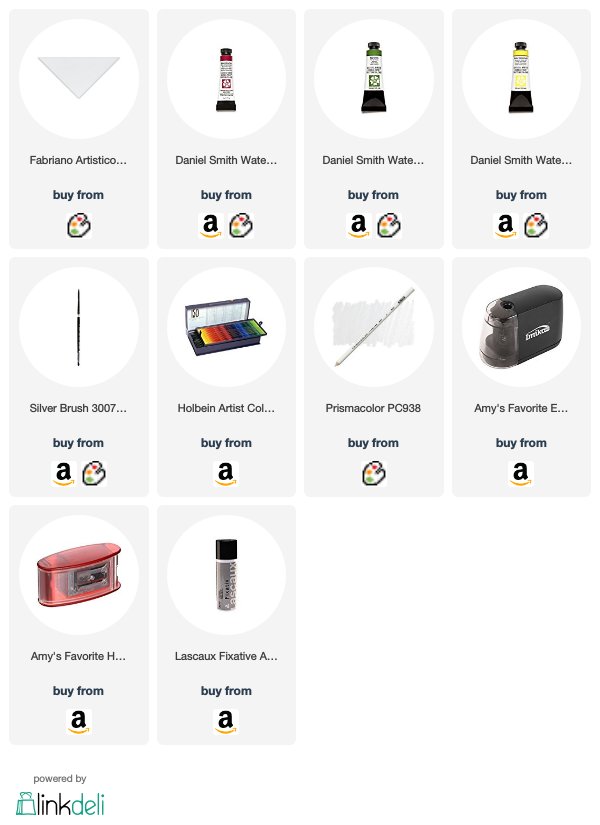
Products used in Watermelon Slice:
(Affiliate links, not all materials shown)
Vanilla Arts Company is a participant in the Amazon Services LLC Associates Program, an affiliate advertising program designed to provide a means for use to earn fees by linking to Amazon.com.