Copic, Tips, Improve Your Coloring Amy Shulke 8/8/17 Copic, Tips, Improve Your Coloring Amy Shulke 8/8/17 Time vs. Talent: Your Copic Marker Skills and Your Schedule Read More One Tiny Thing, Tips, Improve Your Coloring Amy Shulke 4/18/17 One Tiny Thing, Tips, Improve Your Coloring Amy Shulke 4/18/17 Improve your Copic Marker Coloring Today: Size Matters Read More Copic, Tips Amy Shulke 3/21/17 Copic, Tips Amy Shulke 3/21/17 Spring Cleaning: Simple care extends the life of your Copic Markers Read More One Tiny Thing, Tips, Improve Your Coloring Amy Shulke 2/6/17 One Tiny Thing, Tips, Improve Your Coloring Amy Shulke 2/6/17 Improve your Copic coloring: Use fresh eyes Read More Newer Posts Older Posts
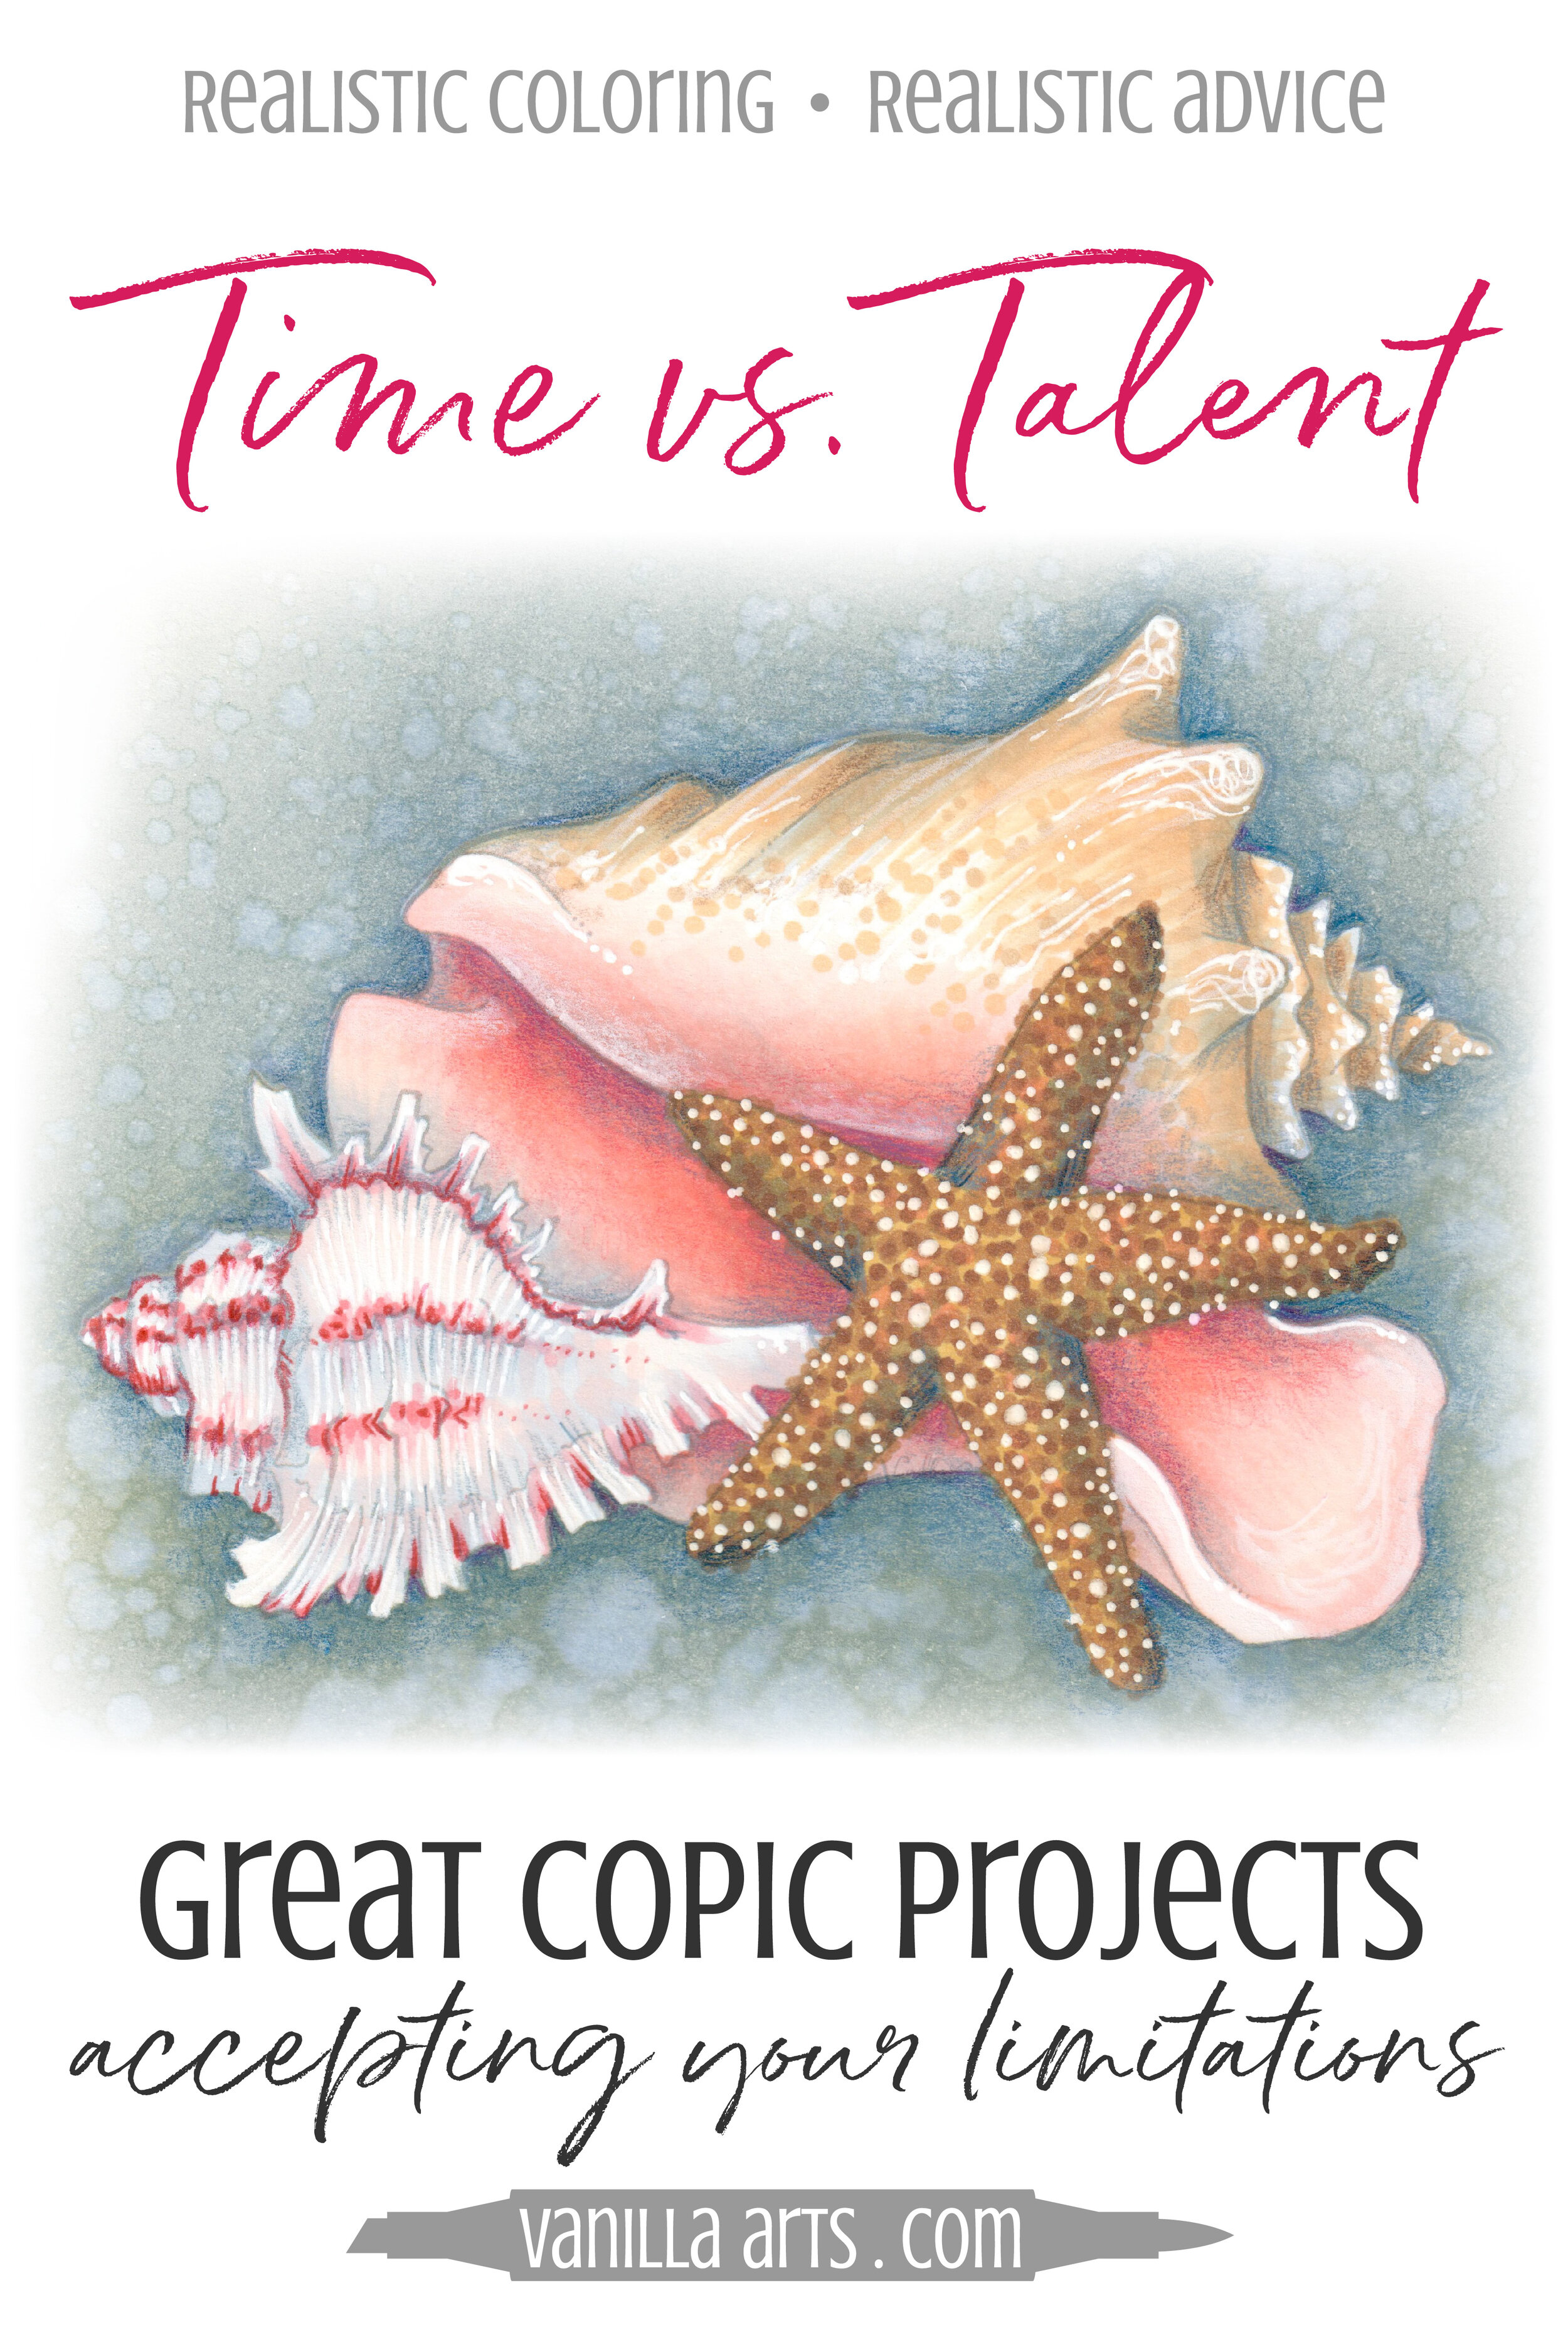
Copic, Tips, Improve Your Coloring Amy Shulke 8/8/17 Copic, Tips, Improve Your Coloring Amy Shulke 8/8/17 Time vs. Talent: Your Copic Marker Skills and Your Schedule Read More
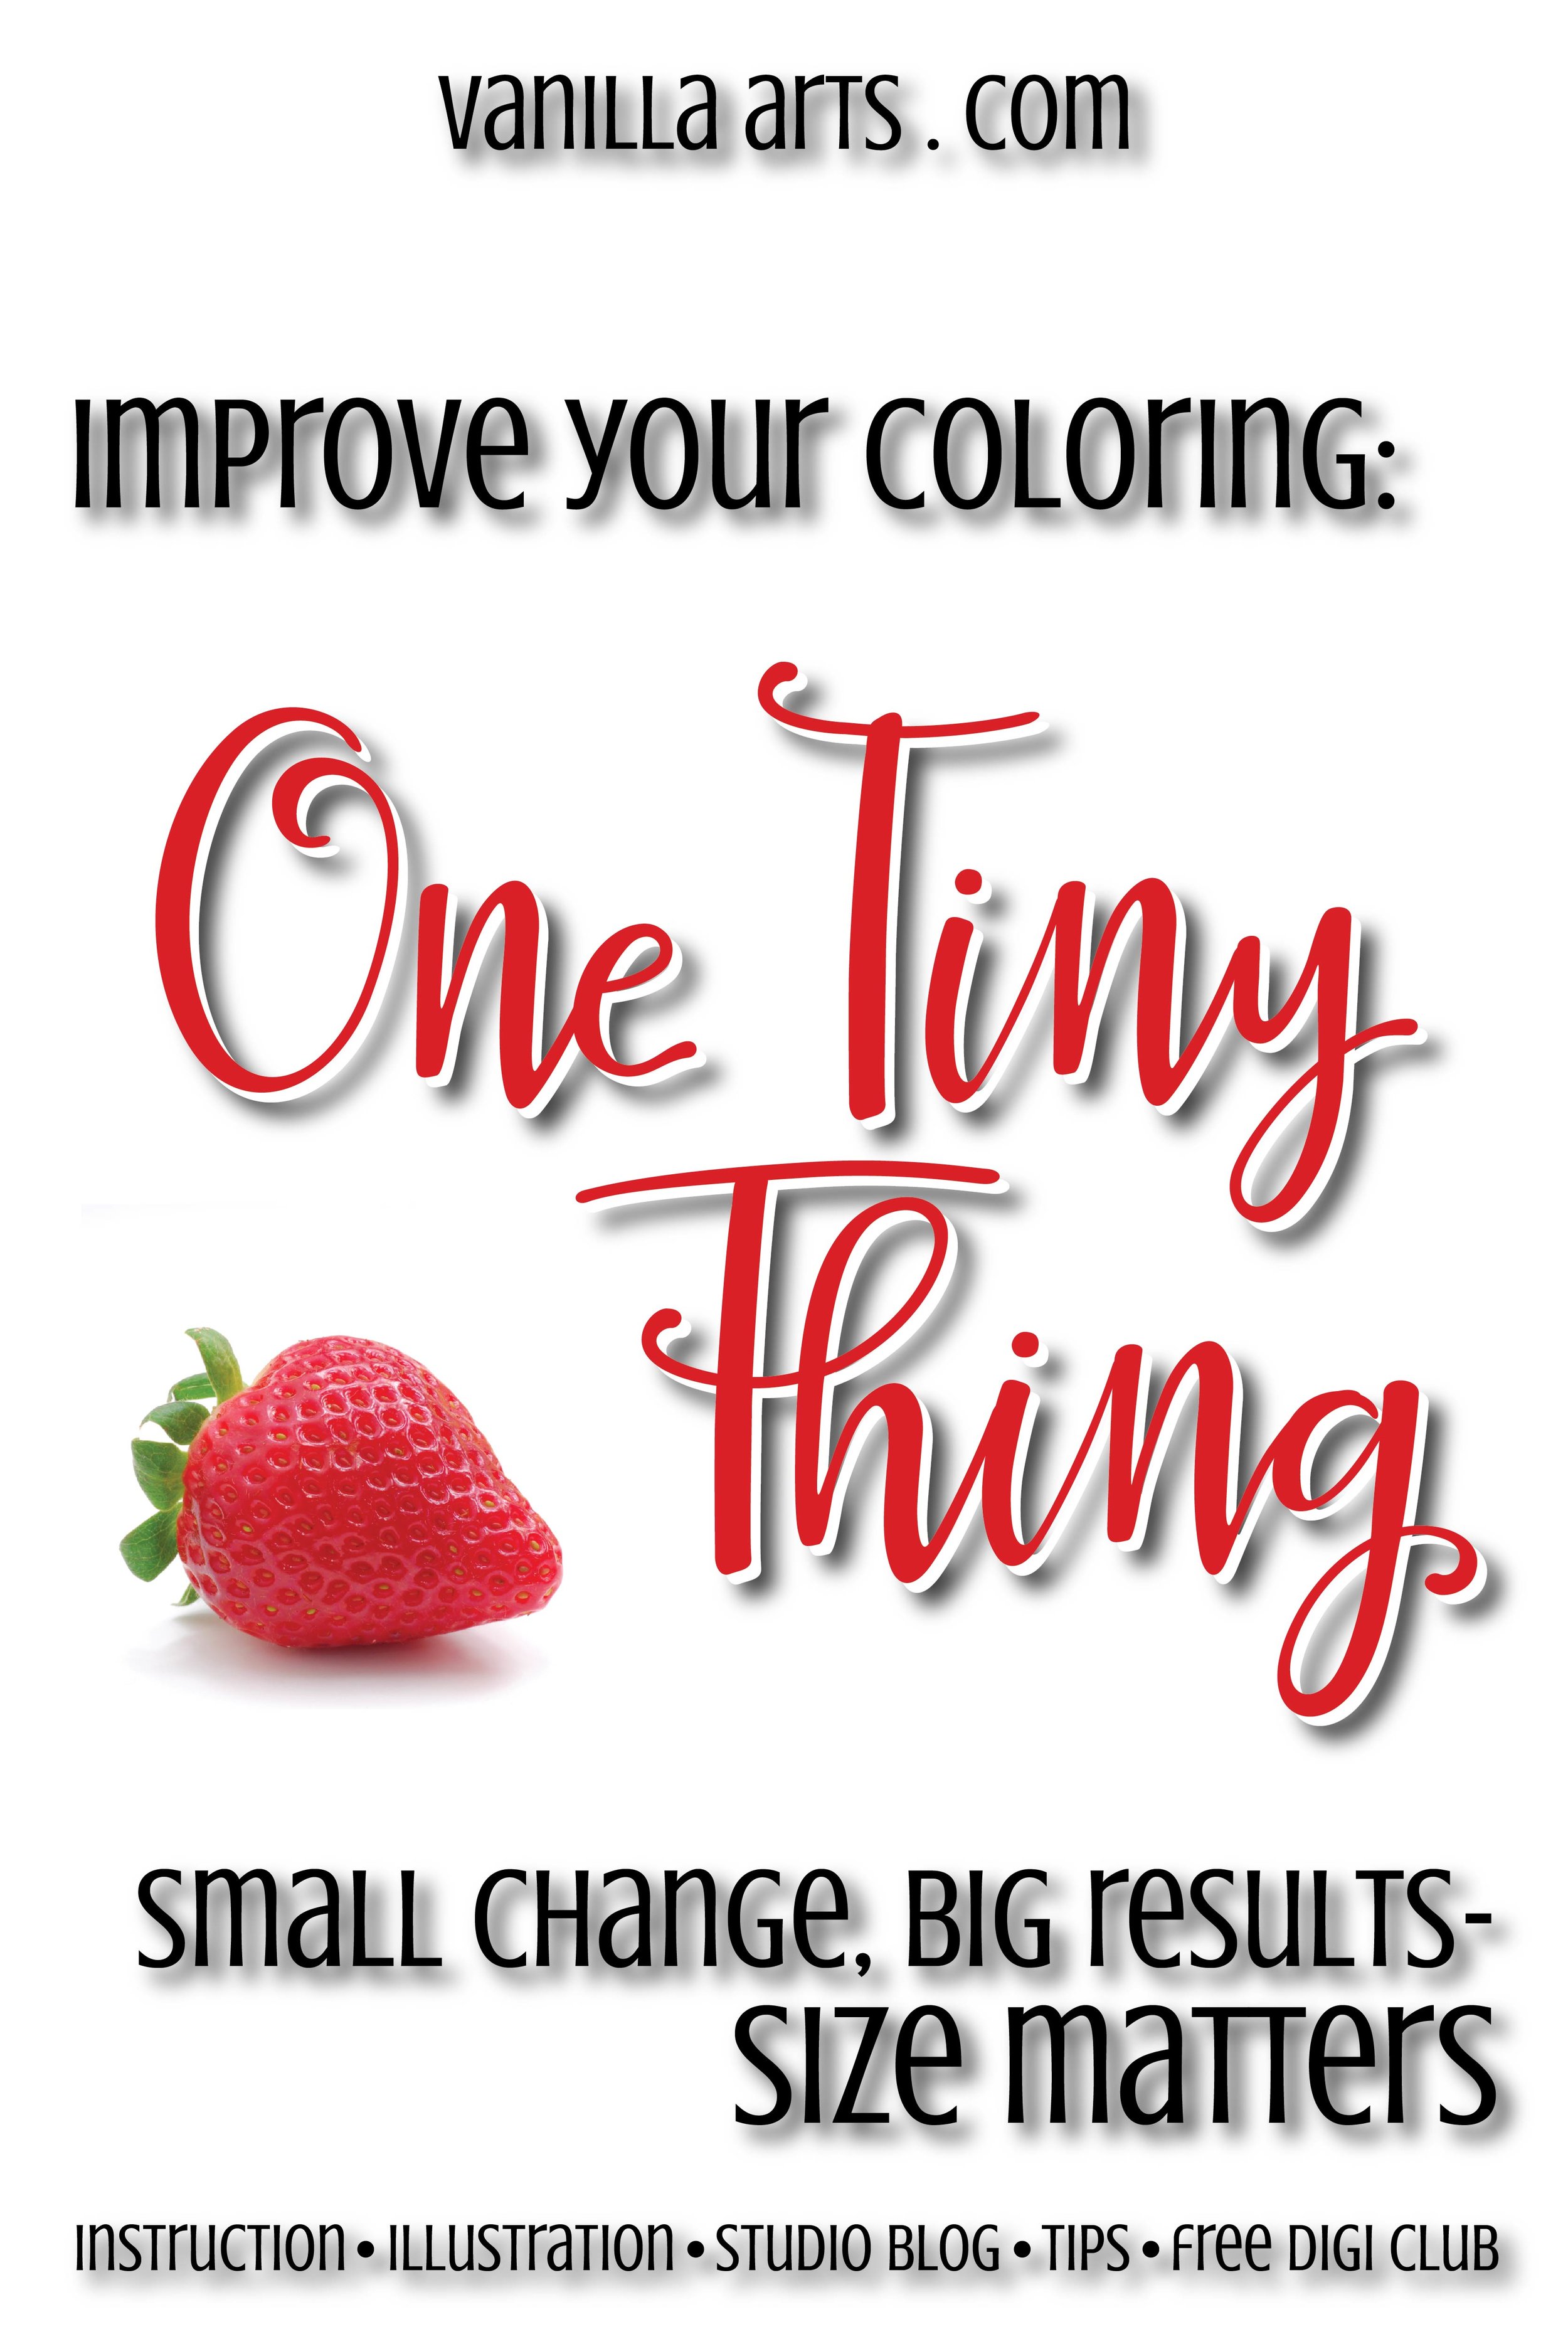
One Tiny Thing, Tips, Improve Your Coloring Amy Shulke 4/18/17 One Tiny Thing, Tips, Improve Your Coloring Amy Shulke 4/18/17 Improve your Copic Marker Coloring Today: Size Matters Read More
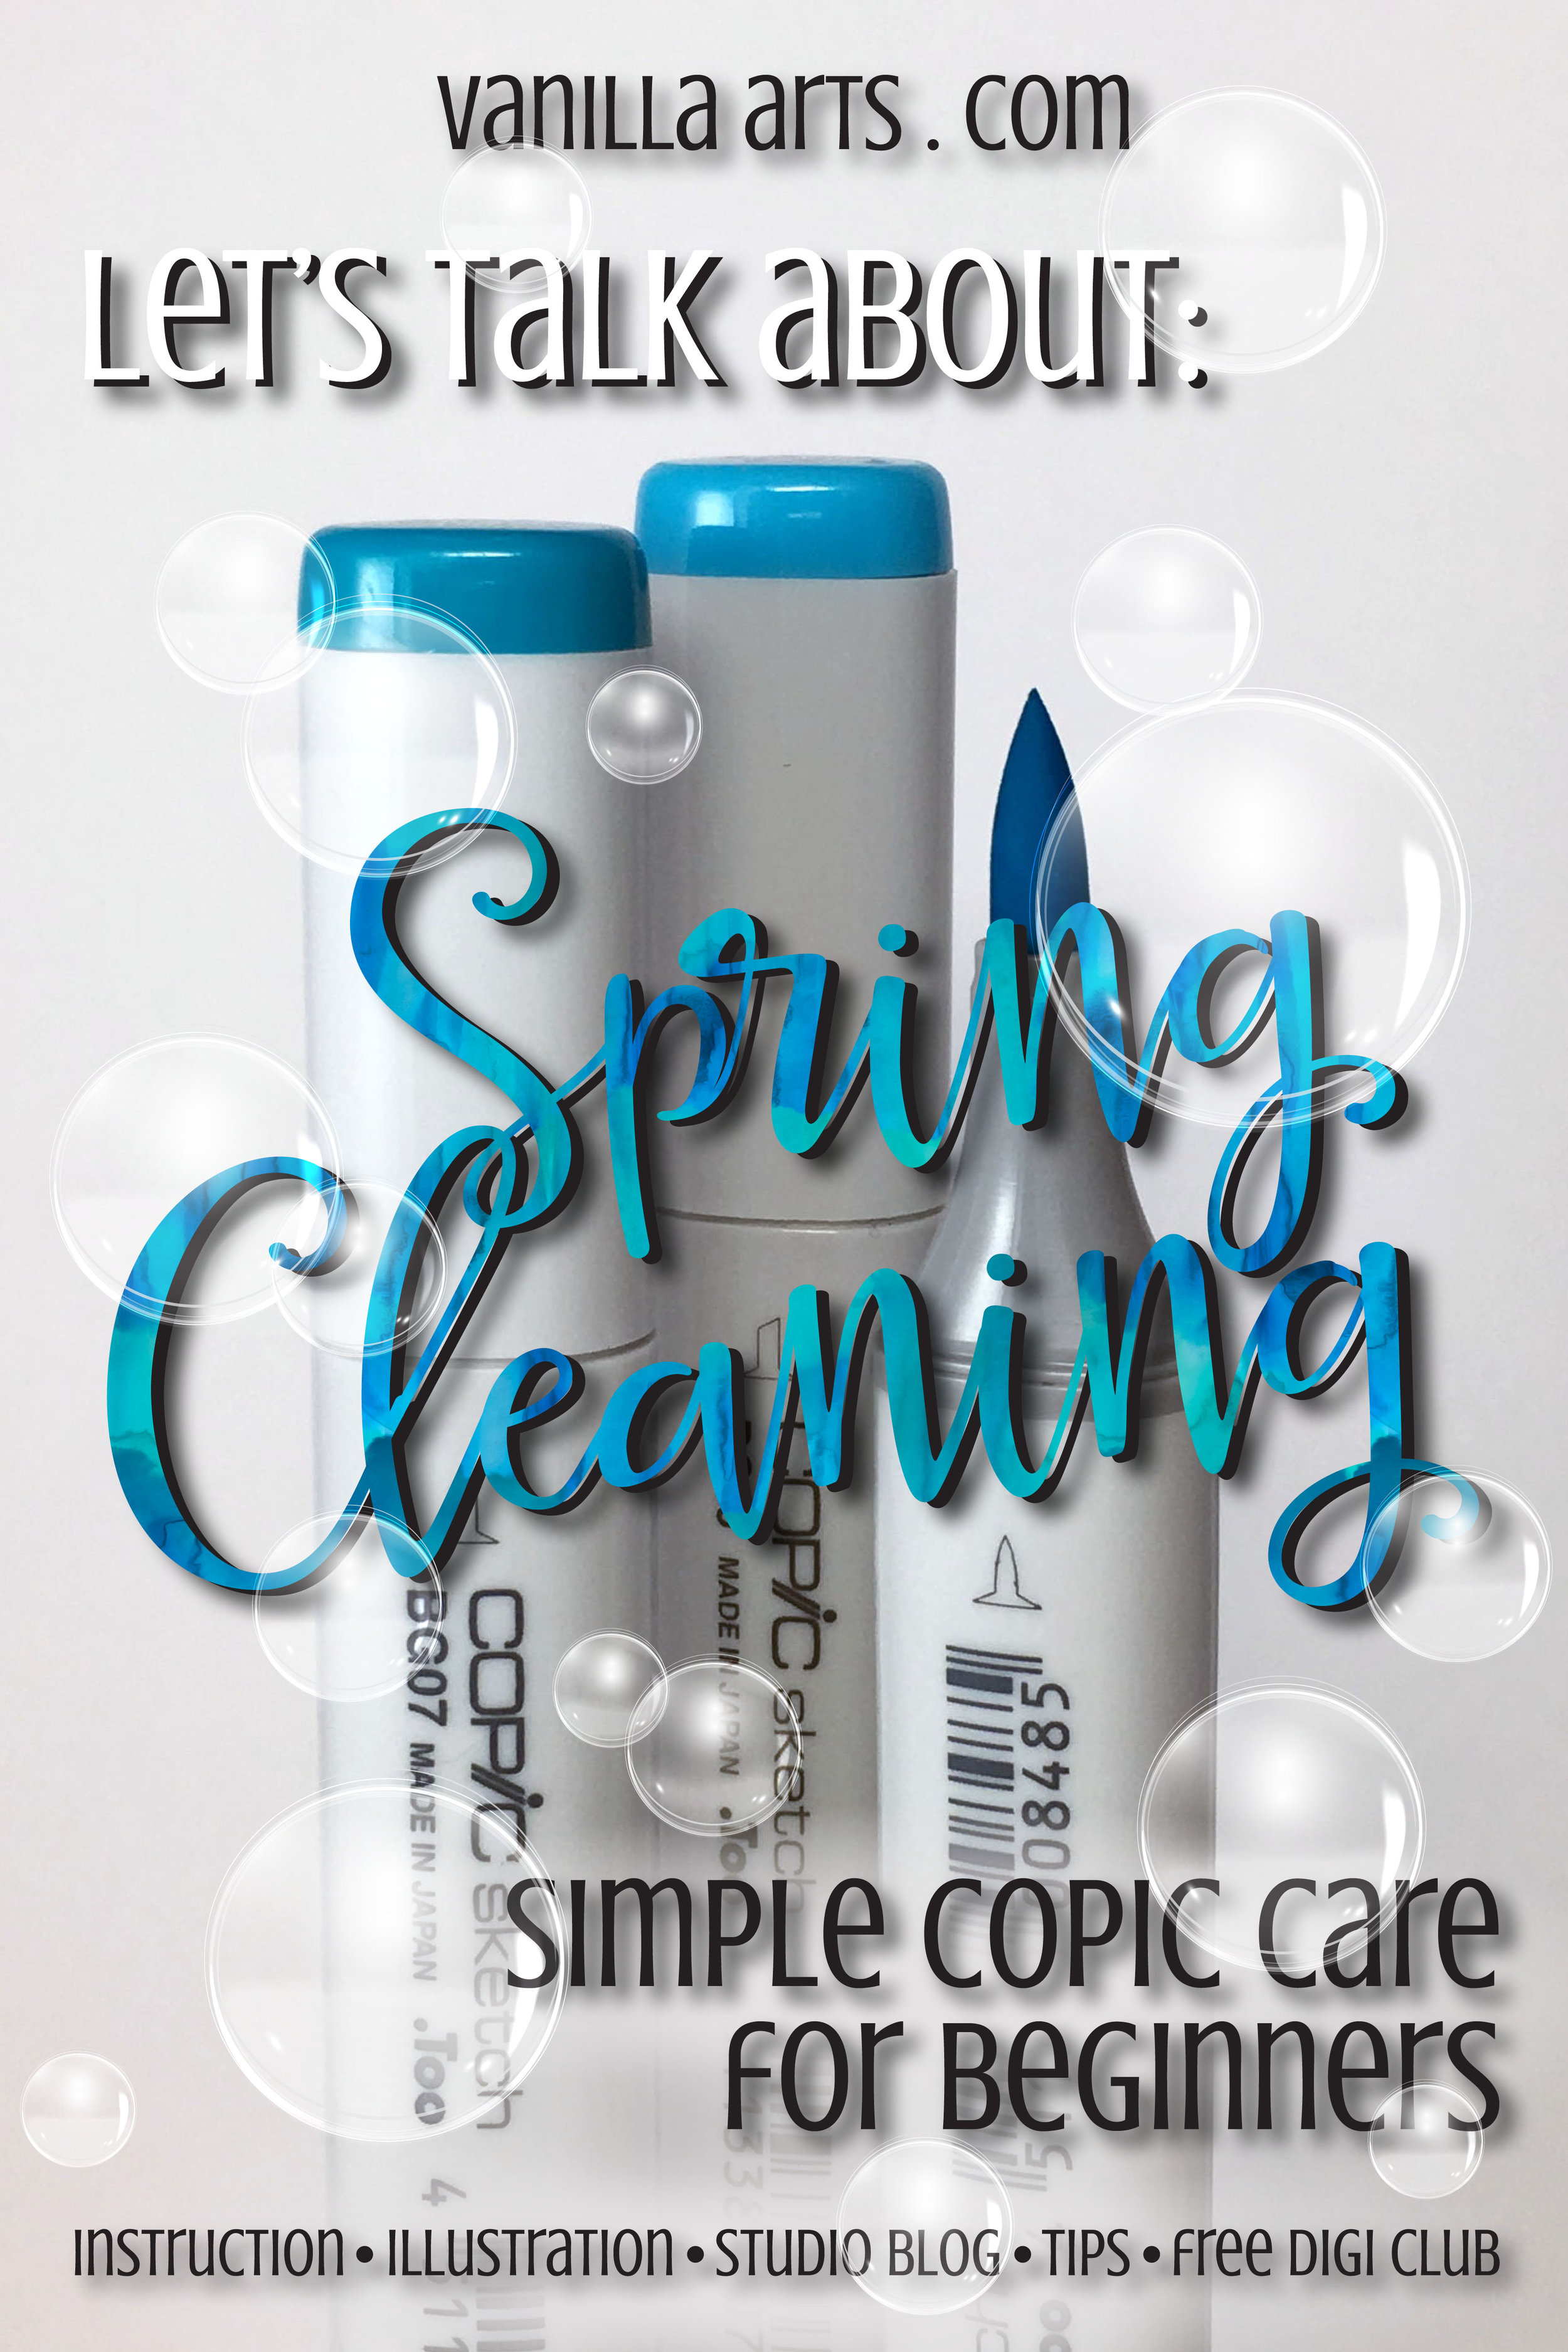
Copic, Tips Amy Shulke 3/21/17 Copic, Tips Amy Shulke 3/21/17 Spring Cleaning: Simple care extends the life of your Copic Markers Read More
One Tiny Thing, Tips, Improve Your Coloring Amy Shulke 2/6/17 One Tiny Thing, Tips, Improve Your Coloring Amy Shulke 2/6/17 Improve your Copic coloring: Use fresh eyes Read More