Copic, Tips Amy Shulke 3/21/17 Copic, Tips Amy Shulke 3/21/17 Spring Cleaning: Simple care extends the life of your Copic Markers Read More Beginner Lessons, Copic, Copic Blending, Online Class, Improve Your Coloring Amy Shulke 3/6/17 Beginner Lessons, Copic, Copic Blending, Online Class, Improve Your Coloring Amy Shulke 3/6/17 Learn to use Copic Markers with confidence Read More Challenge Level Classes, Colored Pencil, Copic, Floral, Prismacolor Pencil, Remember When Classes Amy Shulke 2/22/17 Challenge Level Classes, Colored Pencil, Copic, Floral, Prismacolor Pencil, Remember When Classes Amy Shulke 2/22/17 Artistic Coloring: Advanced Online Floral & Glass class (Copic Marker, Colored Pencils) Read More Copic, Prismacolor Pencil, Improve Your Coloring Amy Shulke 2/20/17 Copic, Prismacolor Pencil, Improve Your Coloring Amy Shulke 2/20/17 Is Your Coloring Flat? You Need More Ugly Copic Markers Read More Newer Posts Older Posts
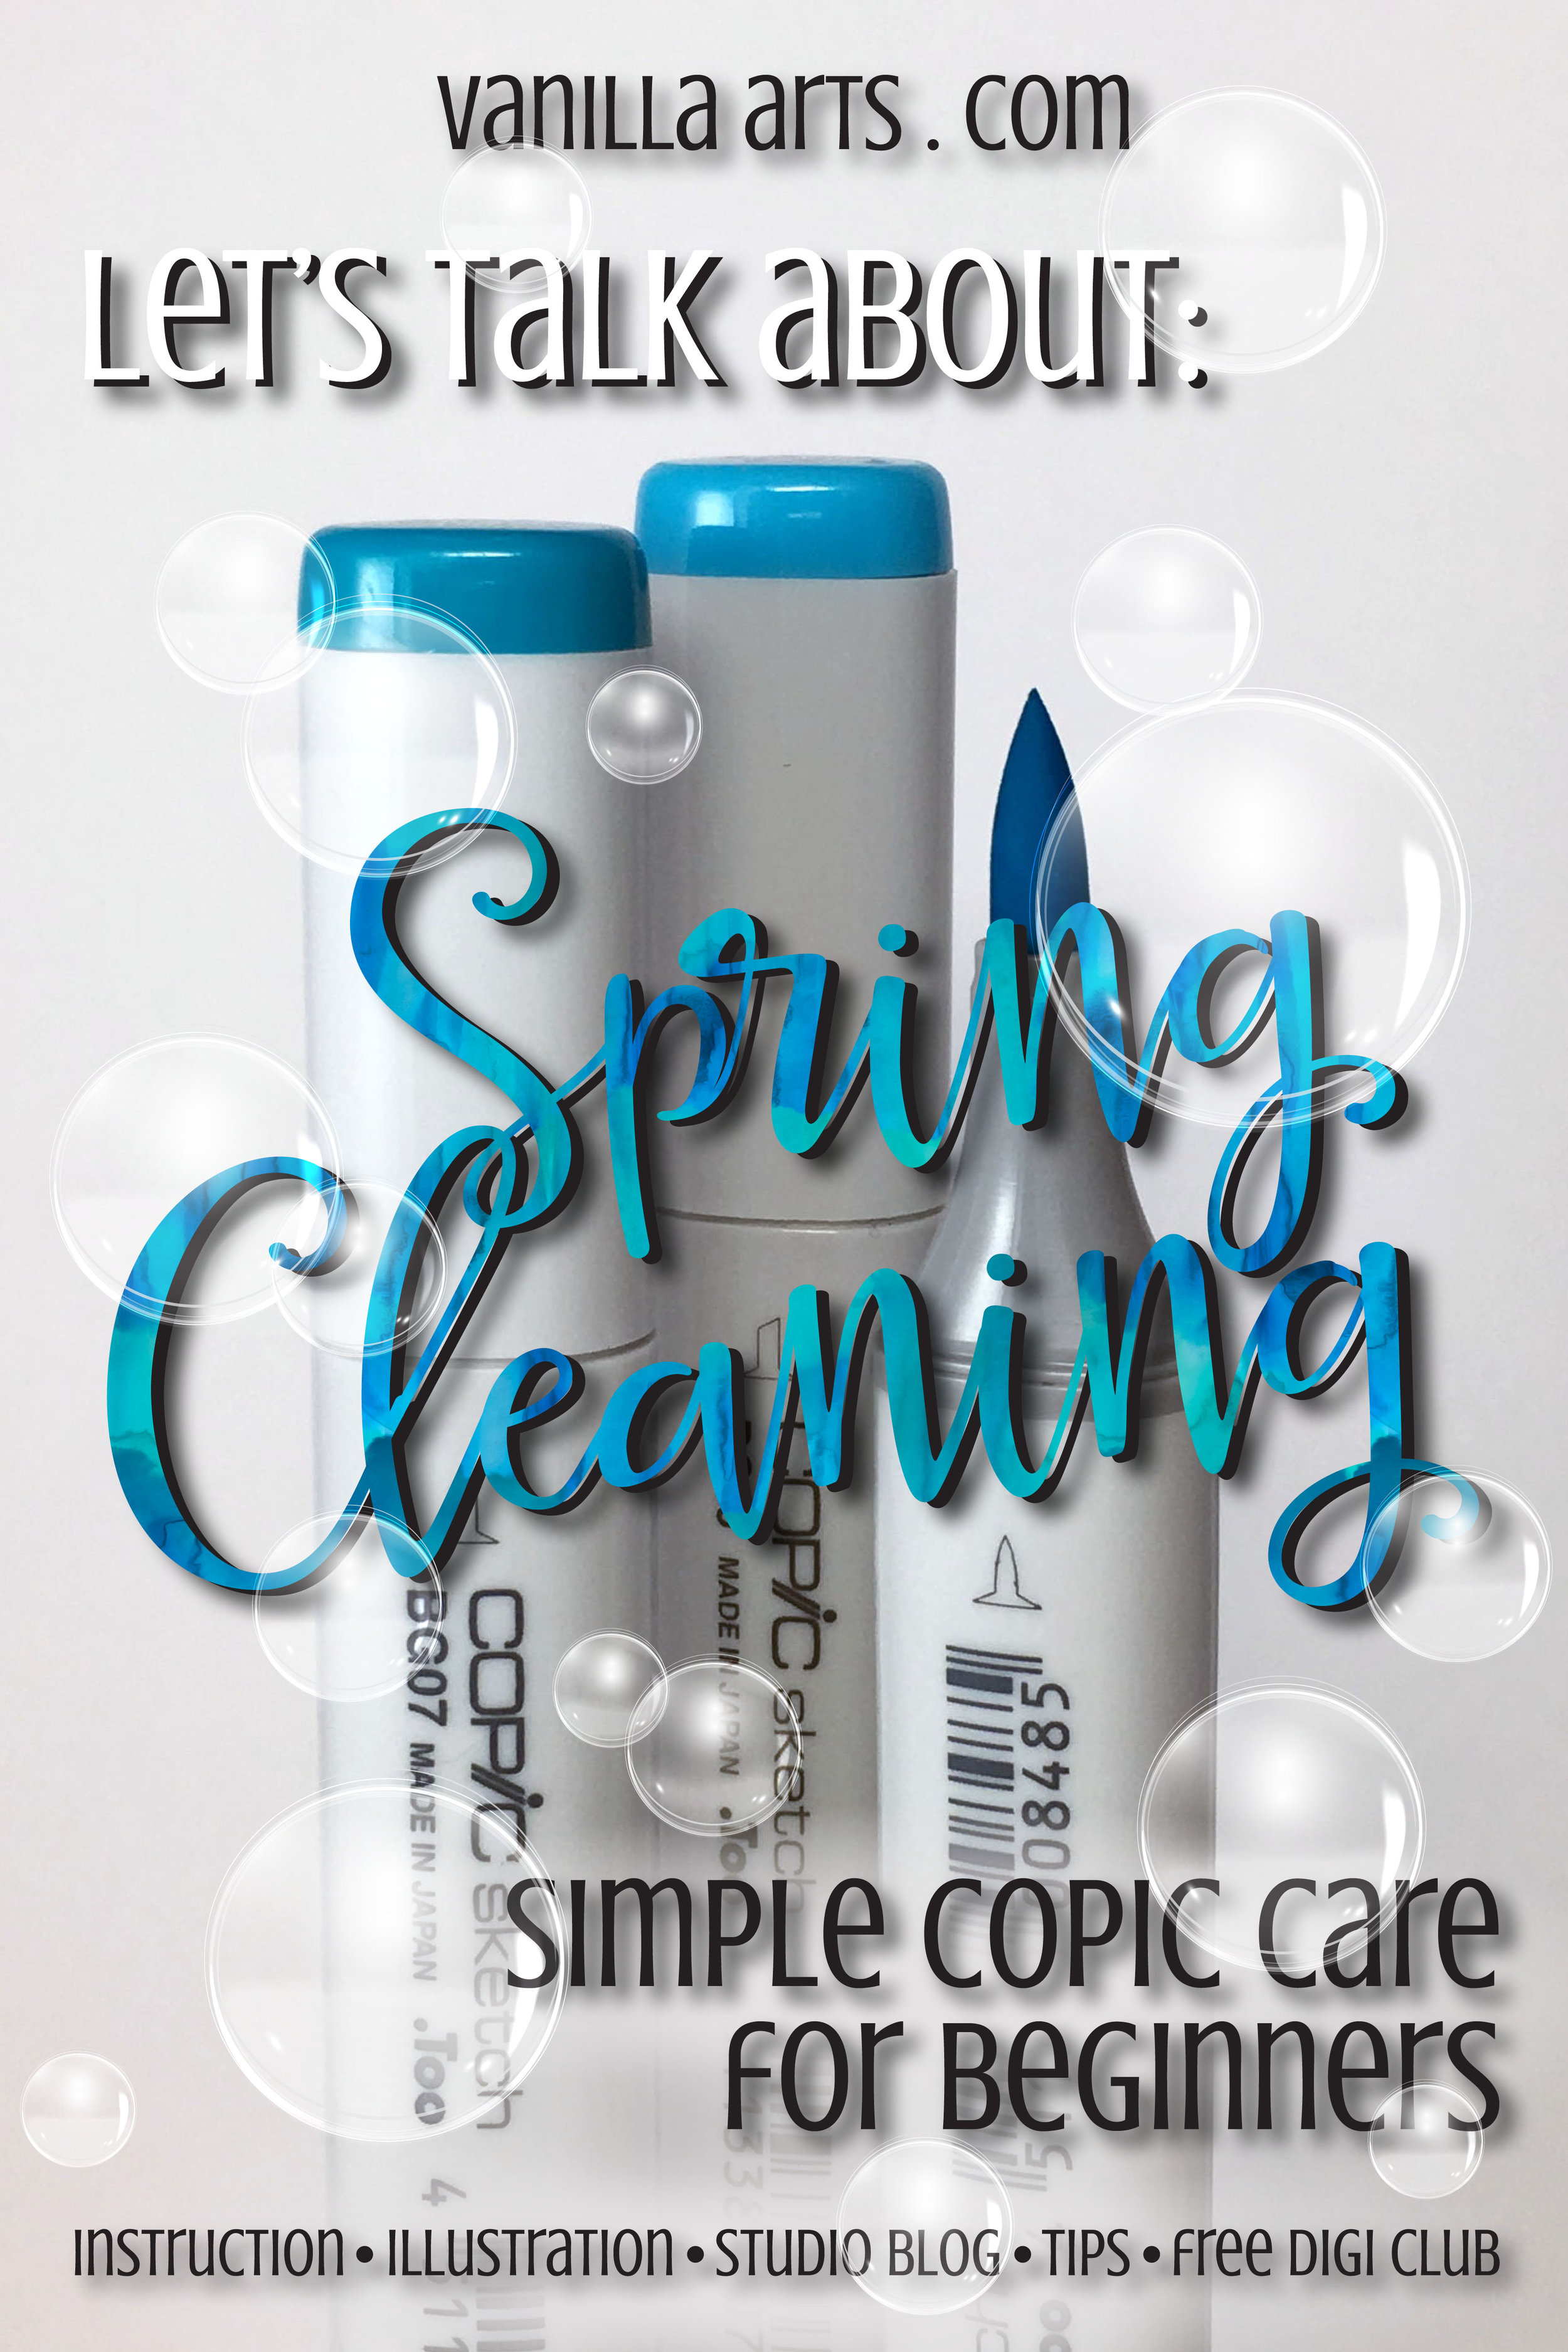
Copic, Tips Amy Shulke 3/21/17 Copic, Tips Amy Shulke 3/21/17 Spring Cleaning: Simple care extends the life of your Copic Markers Read More
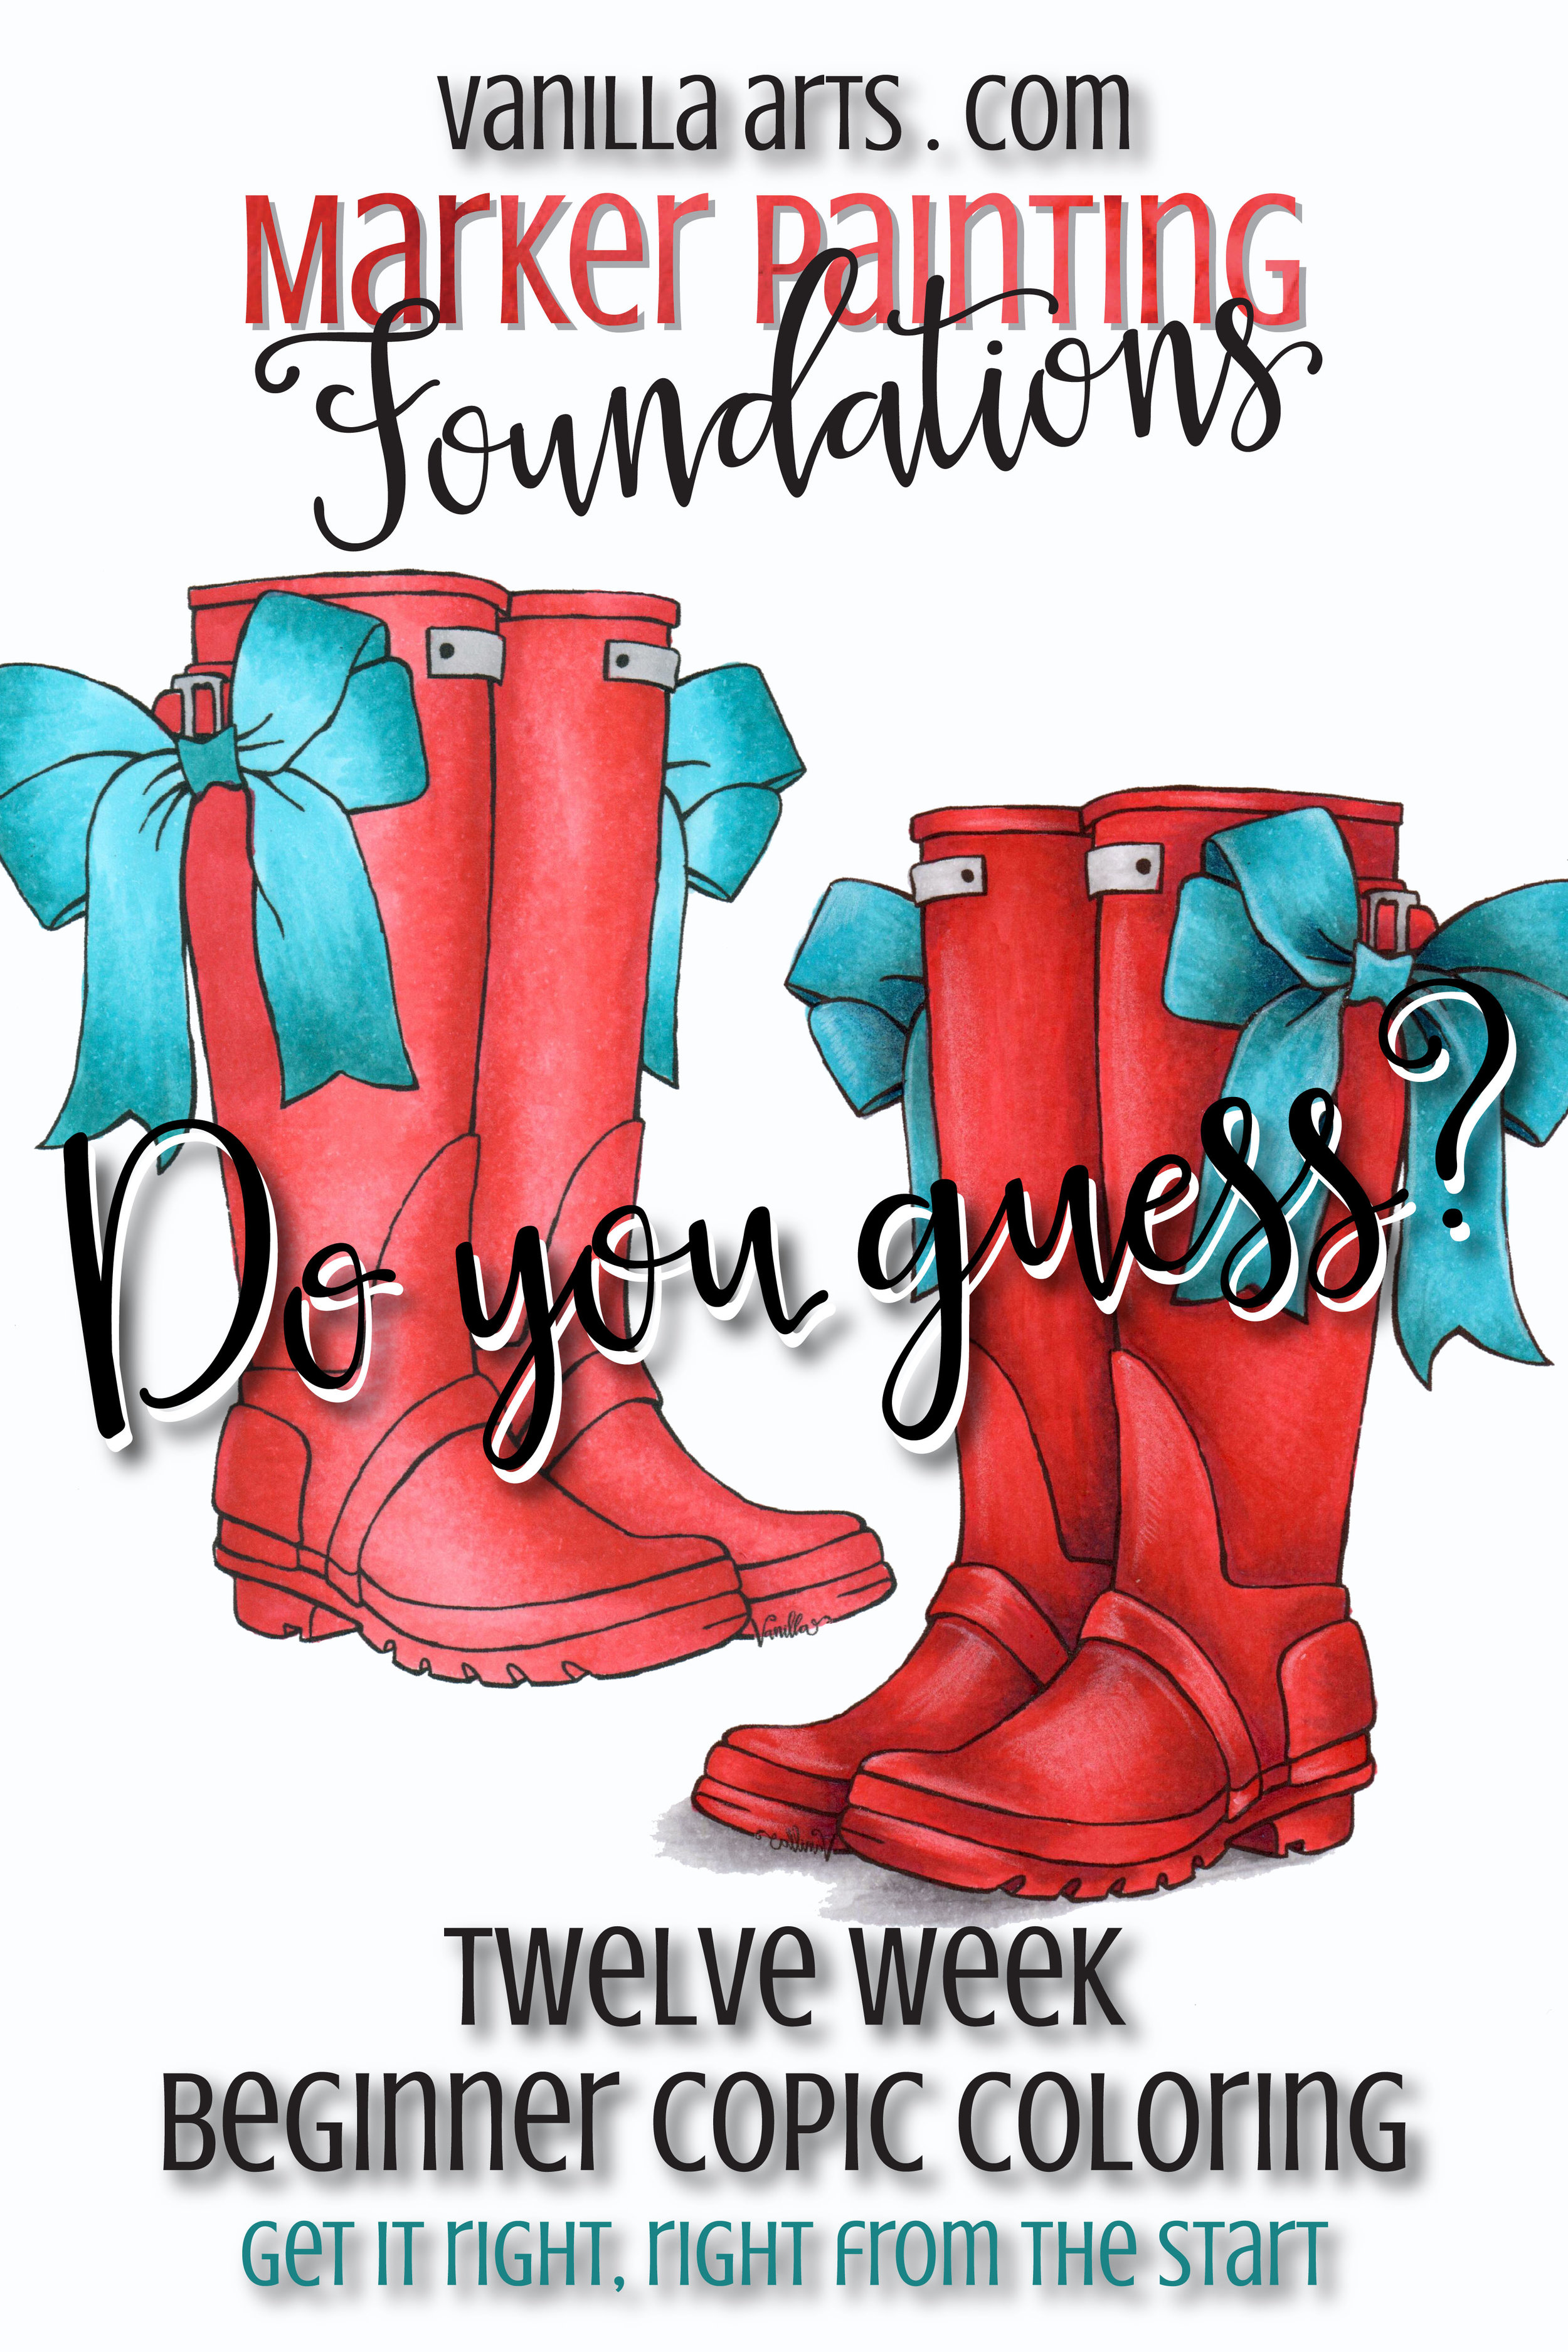
Beginner Lessons, Copic, Copic Blending, Online Class, Improve Your Coloring Amy Shulke 3/6/17 Beginner Lessons, Copic, Copic Blending, Online Class, Improve Your Coloring Amy Shulke 3/6/17 Learn to use Copic Markers with confidence Read More
Challenge Level Classes, Colored Pencil, Copic, Floral, Prismacolor Pencil, Remember When Classes Amy Shulke 2/22/17 Challenge Level Classes, Colored Pencil, Copic, Floral, Prismacolor Pencil, Remember When Classes Amy Shulke 2/22/17 Artistic Coloring: Advanced Online Floral & Glass class (Copic Marker, Colored Pencils) Read More
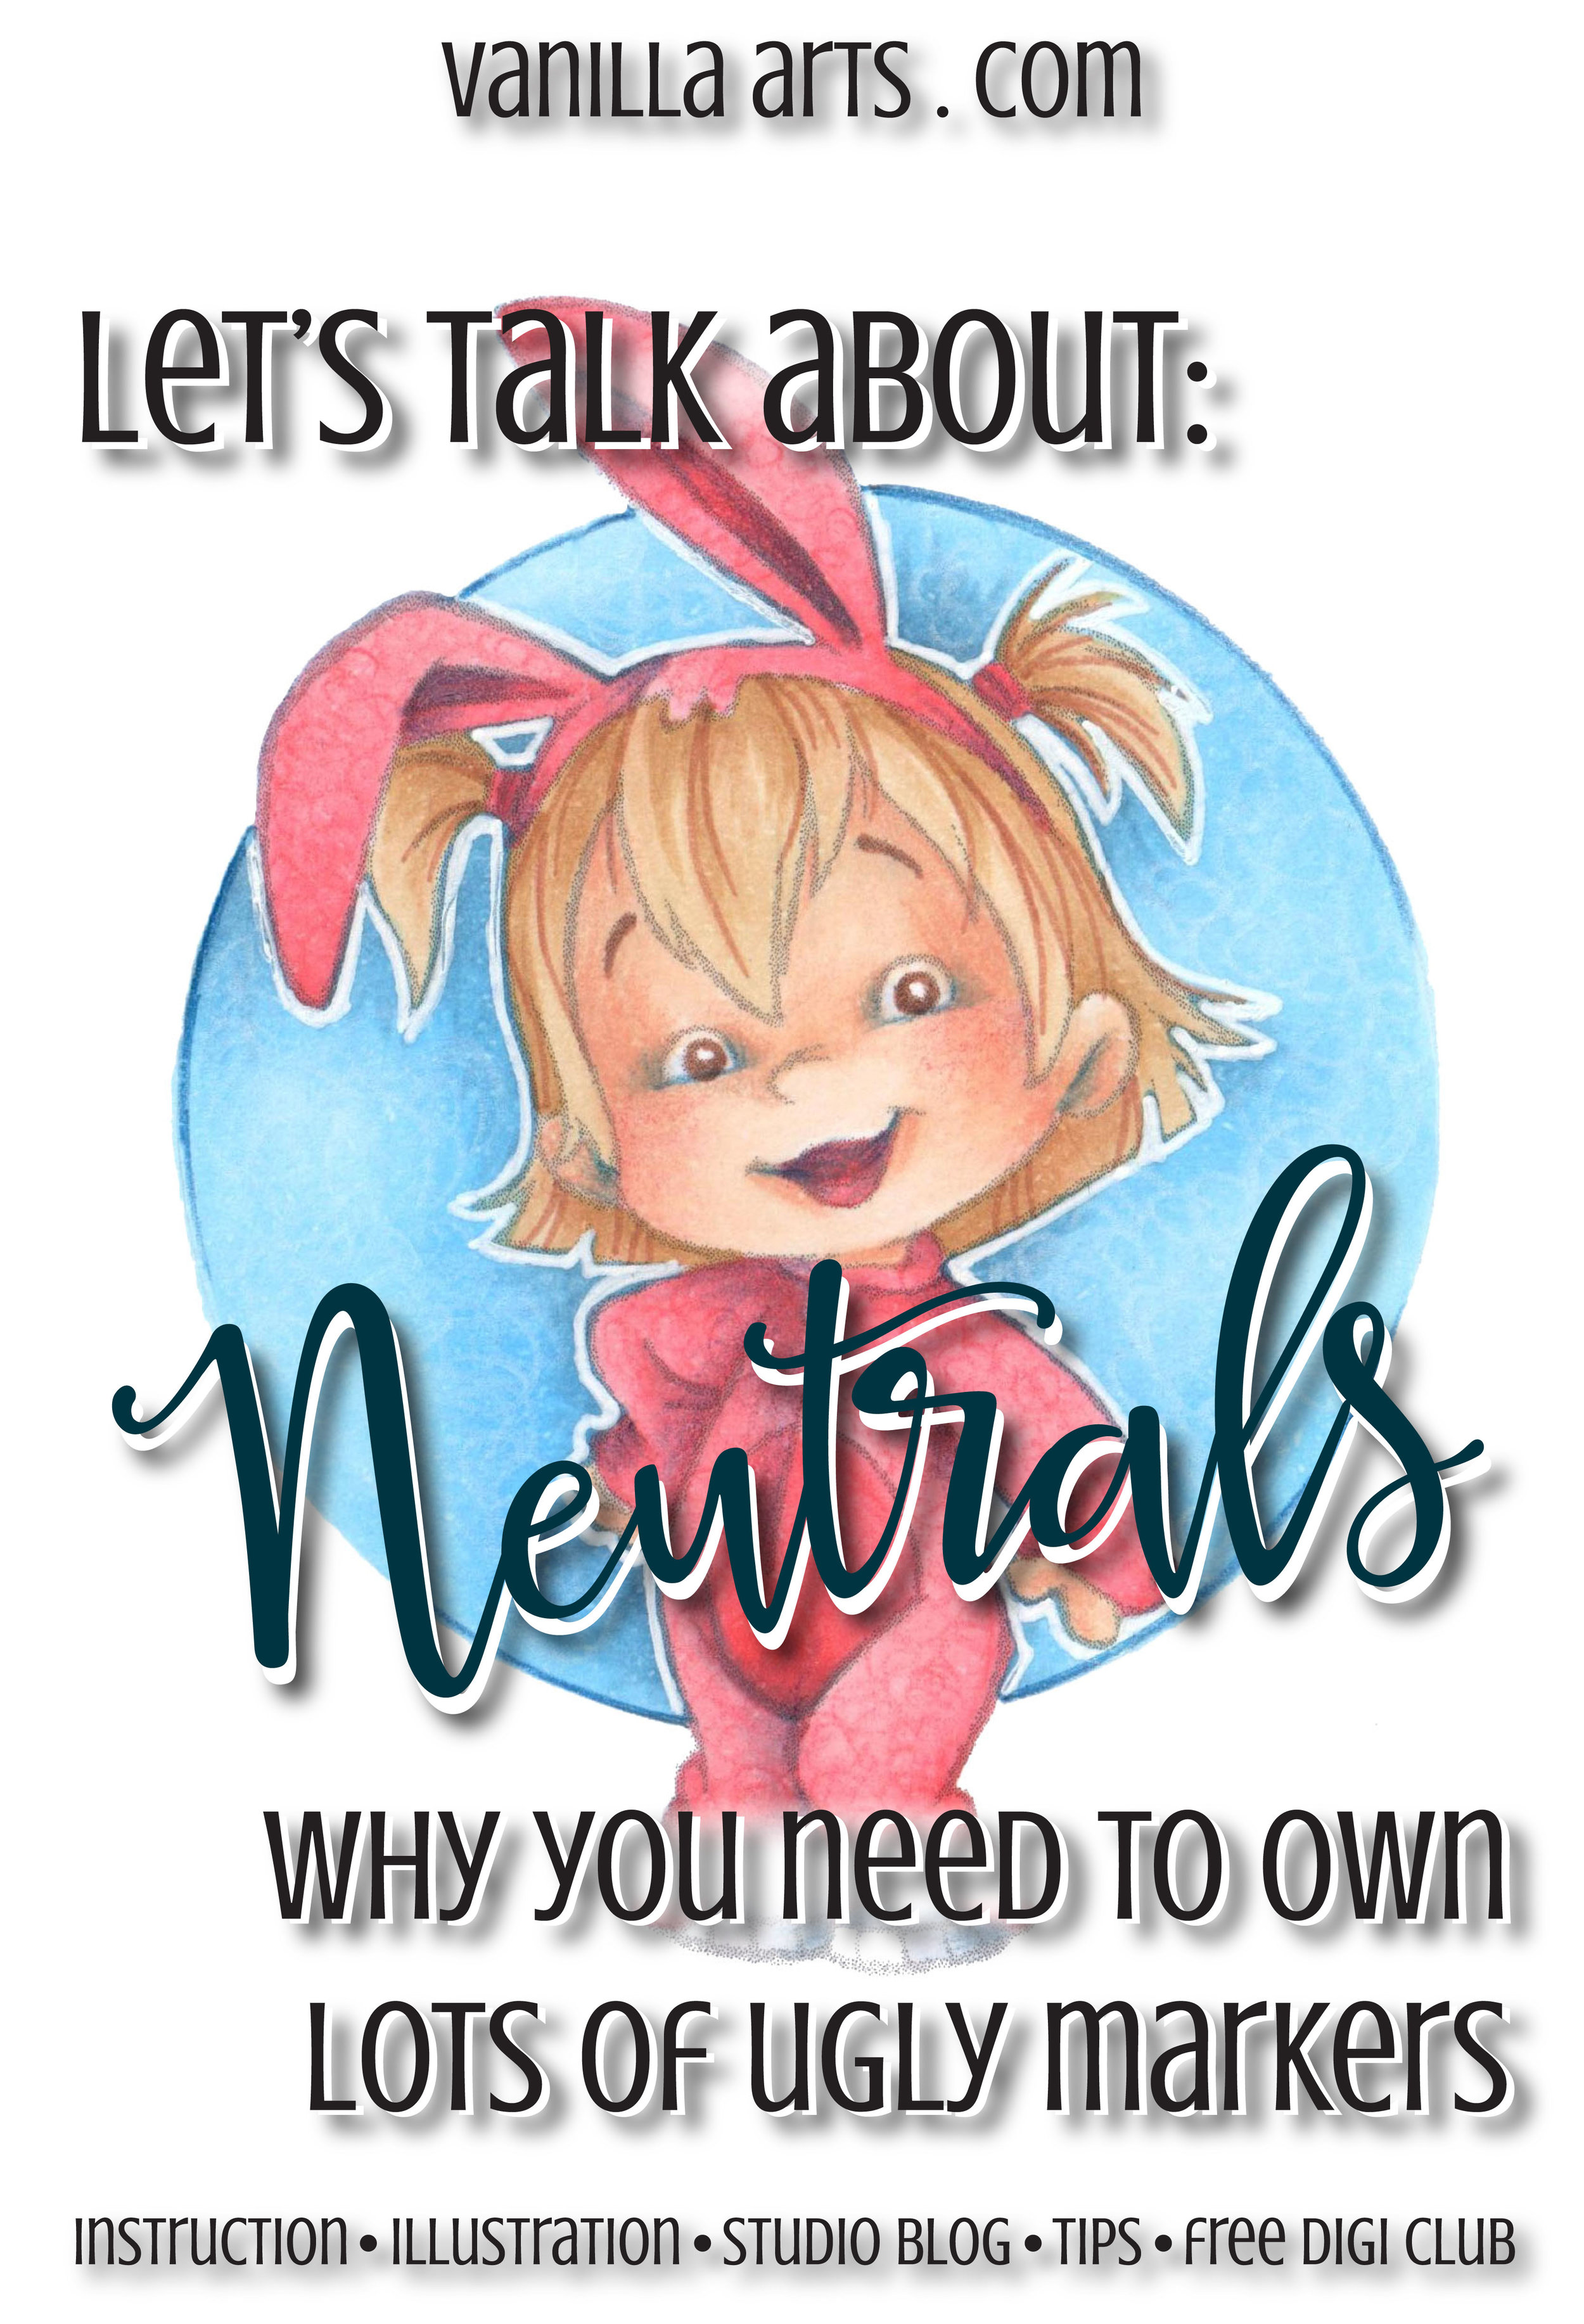
Copic, Prismacolor Pencil, Improve Your Coloring Amy Shulke 2/20/17 Copic, Prismacolor Pencil, Improve Your Coloring Amy Shulke 2/20/17 Is Your Coloring Flat? You Need More Ugly Copic Markers Read More