Marker + Pencil: Video Resources for “Aqua Chevron Christmas Ornament"
Let’s Color a Chevron Striped Christmas Ornament

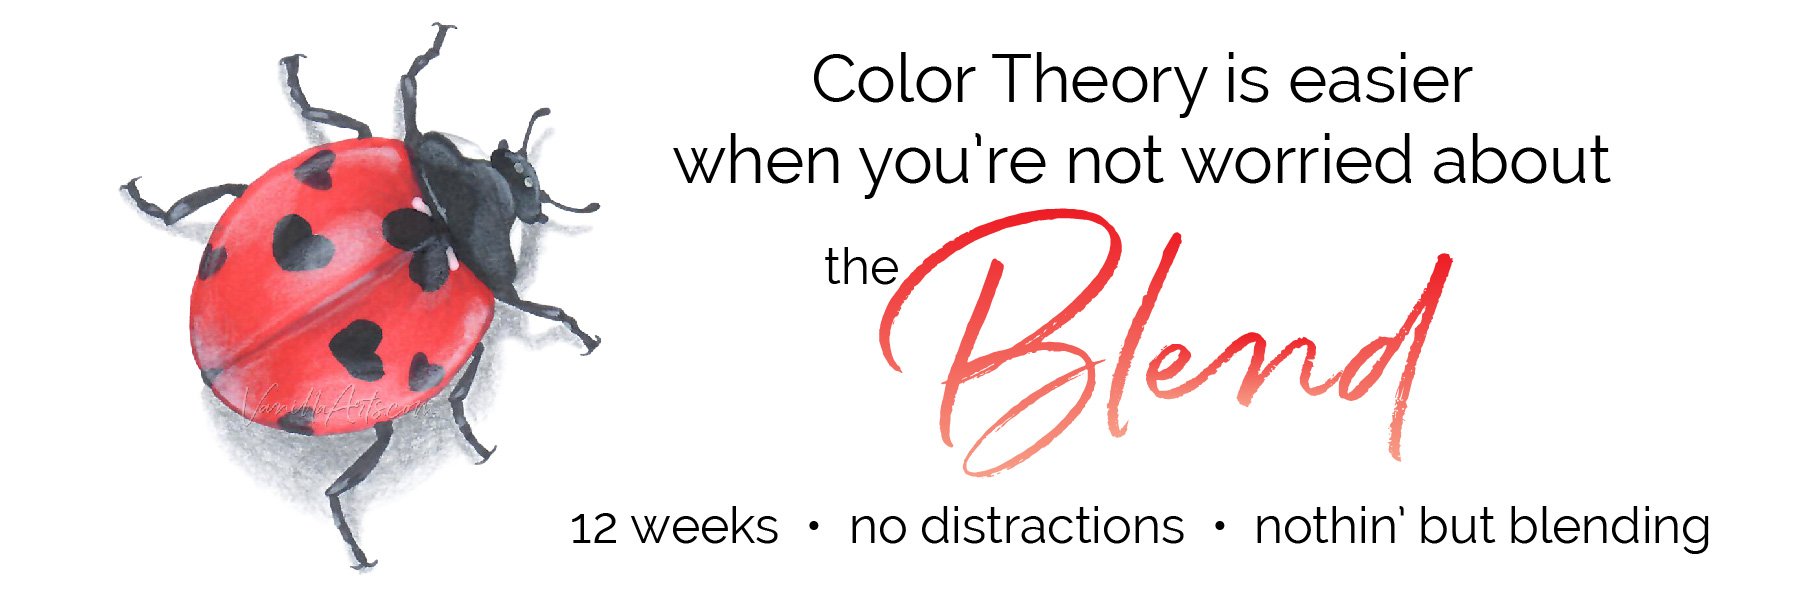
Do you spend a lot of time practicing your blending technique?
Because hey, if your blends get good enough, then somehow your coloring will magically look more realistic?
Uh oh…
Blending is just a technique used to create color gradients.
Meanwhile the majority of artists who draw or paint with realism never blend.
Blending and realism are not related;
Which is why you’ll find people with decades of marker experience and yet everything they color looks cartoonish.
Let me show you the world beyond blending.
Marker painting is a fine arts approach to coloring and it's much more rewarding than blending the same ol’ blends again.
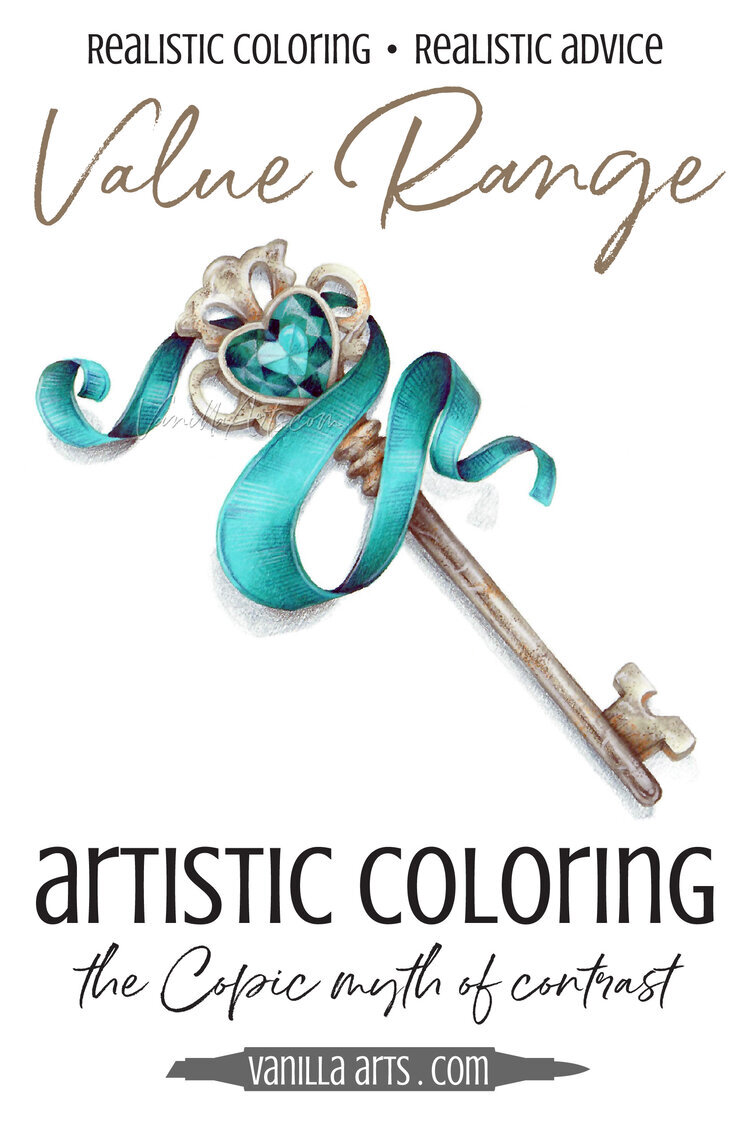
Marker + Pencil: Aqua Chevron Christmas Ornament
(click below to watch at YouTube)
And hey, don’t miss the Red Snowball and Bronze Star videos from this same project.
Tips for Coloring Raised Ridges
TIP: Blending doesn’t automatically make things look real
This chevron ornament has been distressed, scuffed, and dented to look antique. The paint job is not smooth. Even if the paint was perfect and pristine, the ornament has a series of zig-zag ridges running across the width. Each ridge gathers shade near the edges and casts shadow over the far side.
When an object is not smooth, marker and pencil blending techniques make it look LESS REALISTIC, not more!
TIP: When two ornaments sit side by side, they bounce color off each other.
Far too many coloring instructors would focus on having you shade each ornament to look round— but you could color spheres for years and never color them with realism.
The ornaments are sitting in a dark basket. If your shade values aren’t deep enough, the ornaments will appear to hover over the basket, not sit inside of it.
The ornaments are touching each other. If you don’t bounce color and light from one ornament to it’s neighbor, the two objects will never look related.
Realism happens when you place real shapes into a real environment.
Without the environment, you’re just blending.
TIP: Why does Amy avoid shading with gray pencils?
Watch the video to learn why gray pencils are often the kiss of death for marker projects.

Antique Color
Advanced Independent Coloring
a basket, a knit blanket, and over 20 antique Christmas ornaments for you to color
Original digital line art by Amy Shulke
Vintage Trimmings: a Christmas Celebration of Color
Perfect for Copic Markers with or without colored pencils
Study Package Includes:
Vintage Trimmings digi stamp in black and gray line versions (PNG & JPG)
48 page full color PDF guidebook including photo reference, color suggestions, value study, tips, and over 200 full color progress photos
60 minute video of Amy’s color selection and swatching process.
Recorded version of the Vintage Trimmings Livestream where Amy demonstrates the knitted background texture plus several key ornaments
Vintage Trimmings is not a class or tutorial. This is an advanced independent study for students learning to color without constant guidance.
Copic Marker List
Amy used Holbein Colored Pencils over Copic Marker. Pencils listed at the bottom of this article.

KNITTING:
E42, E41, E40
BROWN BASKET & ORNAMENTS:
BG78, E79, E77, E74 or E55
RED ORNAMENTS:
BG75, R39, R37, R35
BLUE ORNAMENTS:
BG78, BG75, BG72, BG70
GREEN ORNAMENTS:
BG99, BG96, BG93, BG90
BRONZE STAR:
W6, E79, E99, E37, E35
Related Reading

More About Blue-Green Markers

We test Copic inks. See results here.

Copic underpaint blending recipes.

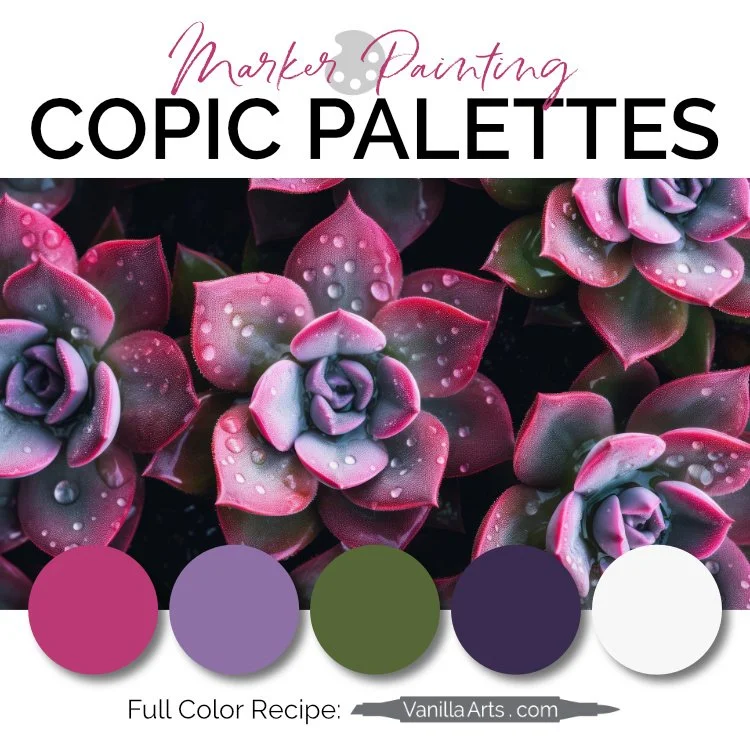
Copic project palettes using color theory.
Supply List: Vintage Trimmings