
Colored Pencil: Change Your Grip to Solve Coloring Issues (Troubleshooting Part 1)


Do You Struggle with Colored Pencils?
You’re not alone!
Pencils look so easy! You’ve been using them since kindergarten, so it’s almost embarrassing to admit that your colored pencil coloring… uhm… it kinda…
Let’s just say it. Sometimes it looks like you’re still back in kindergarten.
Feeling hopeless?
Hold on, there’s help!
Colored pencil sounds easy yet many projects look grainy or oddly burnished. Stop relying on solvent; stop blaming the pencil brand. Let’s troubleshoot your pencil technique. Tips from a professional illustrator to improve your coloring. Breaking lead. Pressure. Tiny strokes. Forced strokes.
Let’s troubleshoot the most common colored pencil issues…
What Does Not Work:
There’s this weird thing going on in the colored pencil world right now.
Everyone is using solvent. Everyone is smearing and smushing their colors around.
Some use Gamsol, some use odorless mineral spirits (OMS), or orange peel oil. People are testing alcohol, blender pens, magic pencils, nubby scrubbers, baby oil, lotion, Vaseline, lip balm…
Oh my gosh, people.
Stop!

Here’s what happens:
Your coloring looks gritty and grainy so you pull out the solvent.
Then it looks pale and washed out, so you add more layers.
And more solvent.
And more layers.
Then you get this weird waxy looking build up, so you spend a small fortune on supposedly wax-free oil-based pencils.
Which solves nothing because even with expensive pencils, it still looks like YOU colored it.
My head hurts. Can we please stop this nonsense?
If your coloring looks grainy or if you’re burnishing so hard your hand hurts?
You don’t need solvent.
You need to solve your technique issues.
Solvent can’t make bad coloring look good.
Let’s address the root of the problem.
You’ve picked up a few bad habits— either you’re self-taught and didn’t know better OR some self-taught instructor passed their bad habits on to you.
The point is, good coloring doesn’t require chemical aids or pressing for dear life. Good technique actually looks good.
Let’s fix your technique.
More Colored Pencil Tips:
Don’t miss my previous colored pencil tips and suggestions!


I Keep Breaking my Lead!
Color, snap. Color, snap.
Why does my lead keep breaking???
People misdiagnose this problem all the time! After the fifth pencil point shatters, they assume one of two things:
These pencils are (bleep)! I need a better brand!
My pencil sharpener is (bleep)! I need a better sharpener.
Uhm… can I ask a question?
Are you trying to color from writing position?

Gotcha!
Look, we’re coloring. This is not “get milk” on a Post-it note.
Read more in Tip #1 of my cupcake article here.
Writing is small. Even a big swoopy signature is not more than a half-inch high. Every dotted i and crossed t are micro motions.
Writing also focuses on tiny details. Every letter conforms to a specific pattern and direction.
Meanwhile when we color, it’s a grand scale. Big movements, long strokes, lazy swishes, free-form movements and texture.
Different tasks require different holds!
The photos here show the difference.
In writing position, we use a standard pincer grip. Then the body of the pencil rests between the first and second knuckle.
In coloring position, we use the same pincer grip but the pencil body rests on the fleshy pad between the thumb and index finger.
The resting point changes the angle of the pencil.
A good coloring angle is lower to the paper surface. This allows for a graceful stretch, giving a soft touchdown onto the paper.
But an upright writing angle generates excessive force. It concentrates the strength of 6 different flexor muscles in your wrist and 11 from your palm into downward pressure. You’re concentrating all the energy of your hand onto the pinpoint surface of a sharpened pencil lead. (Dear eggheads, see here.)
The reason why your lead breaks is not your pencils or your sharpener, it’s physics!
No colored pencil was built to withstand your Schwarzenegger angle.
You’ll keep blowing through pencil leads, no matter what brand of pencil you choose and which sharpener you use.
The solution is to lower your angle, not to buy new stuff.
2. My Strokes are Tiny. It’s Hard to Color Large Areas
Oh, how I wish I could teach people to color before they learn to write!
Remember how I just described writing? Teeny-tiny micro movements?
In order to do this, we write with our fingers.
Small writing = small muscles + small joints.
When we write, we lock everything above the first knuckles.
We immobilize our wrist, we tuck our elbow in tight.
And then to make good n’ sure we don’t move anything except our fingers, we superglue the side of our hand and forearm to the desk.
We constrain ourselves to write.
If you want to color large— with smooth and fluid strokes, you gotta go big!
Big coloring = big muscles + big joints
The secret to fluid motion is to color from your elbow, shoulder, and even your core.
This is why painters often paint standing at an upright easel with long handled brushes. Large art requires larger movements. You can’t do that if you’re welded to the desktop.
You need freedom of movement to color smoothly.
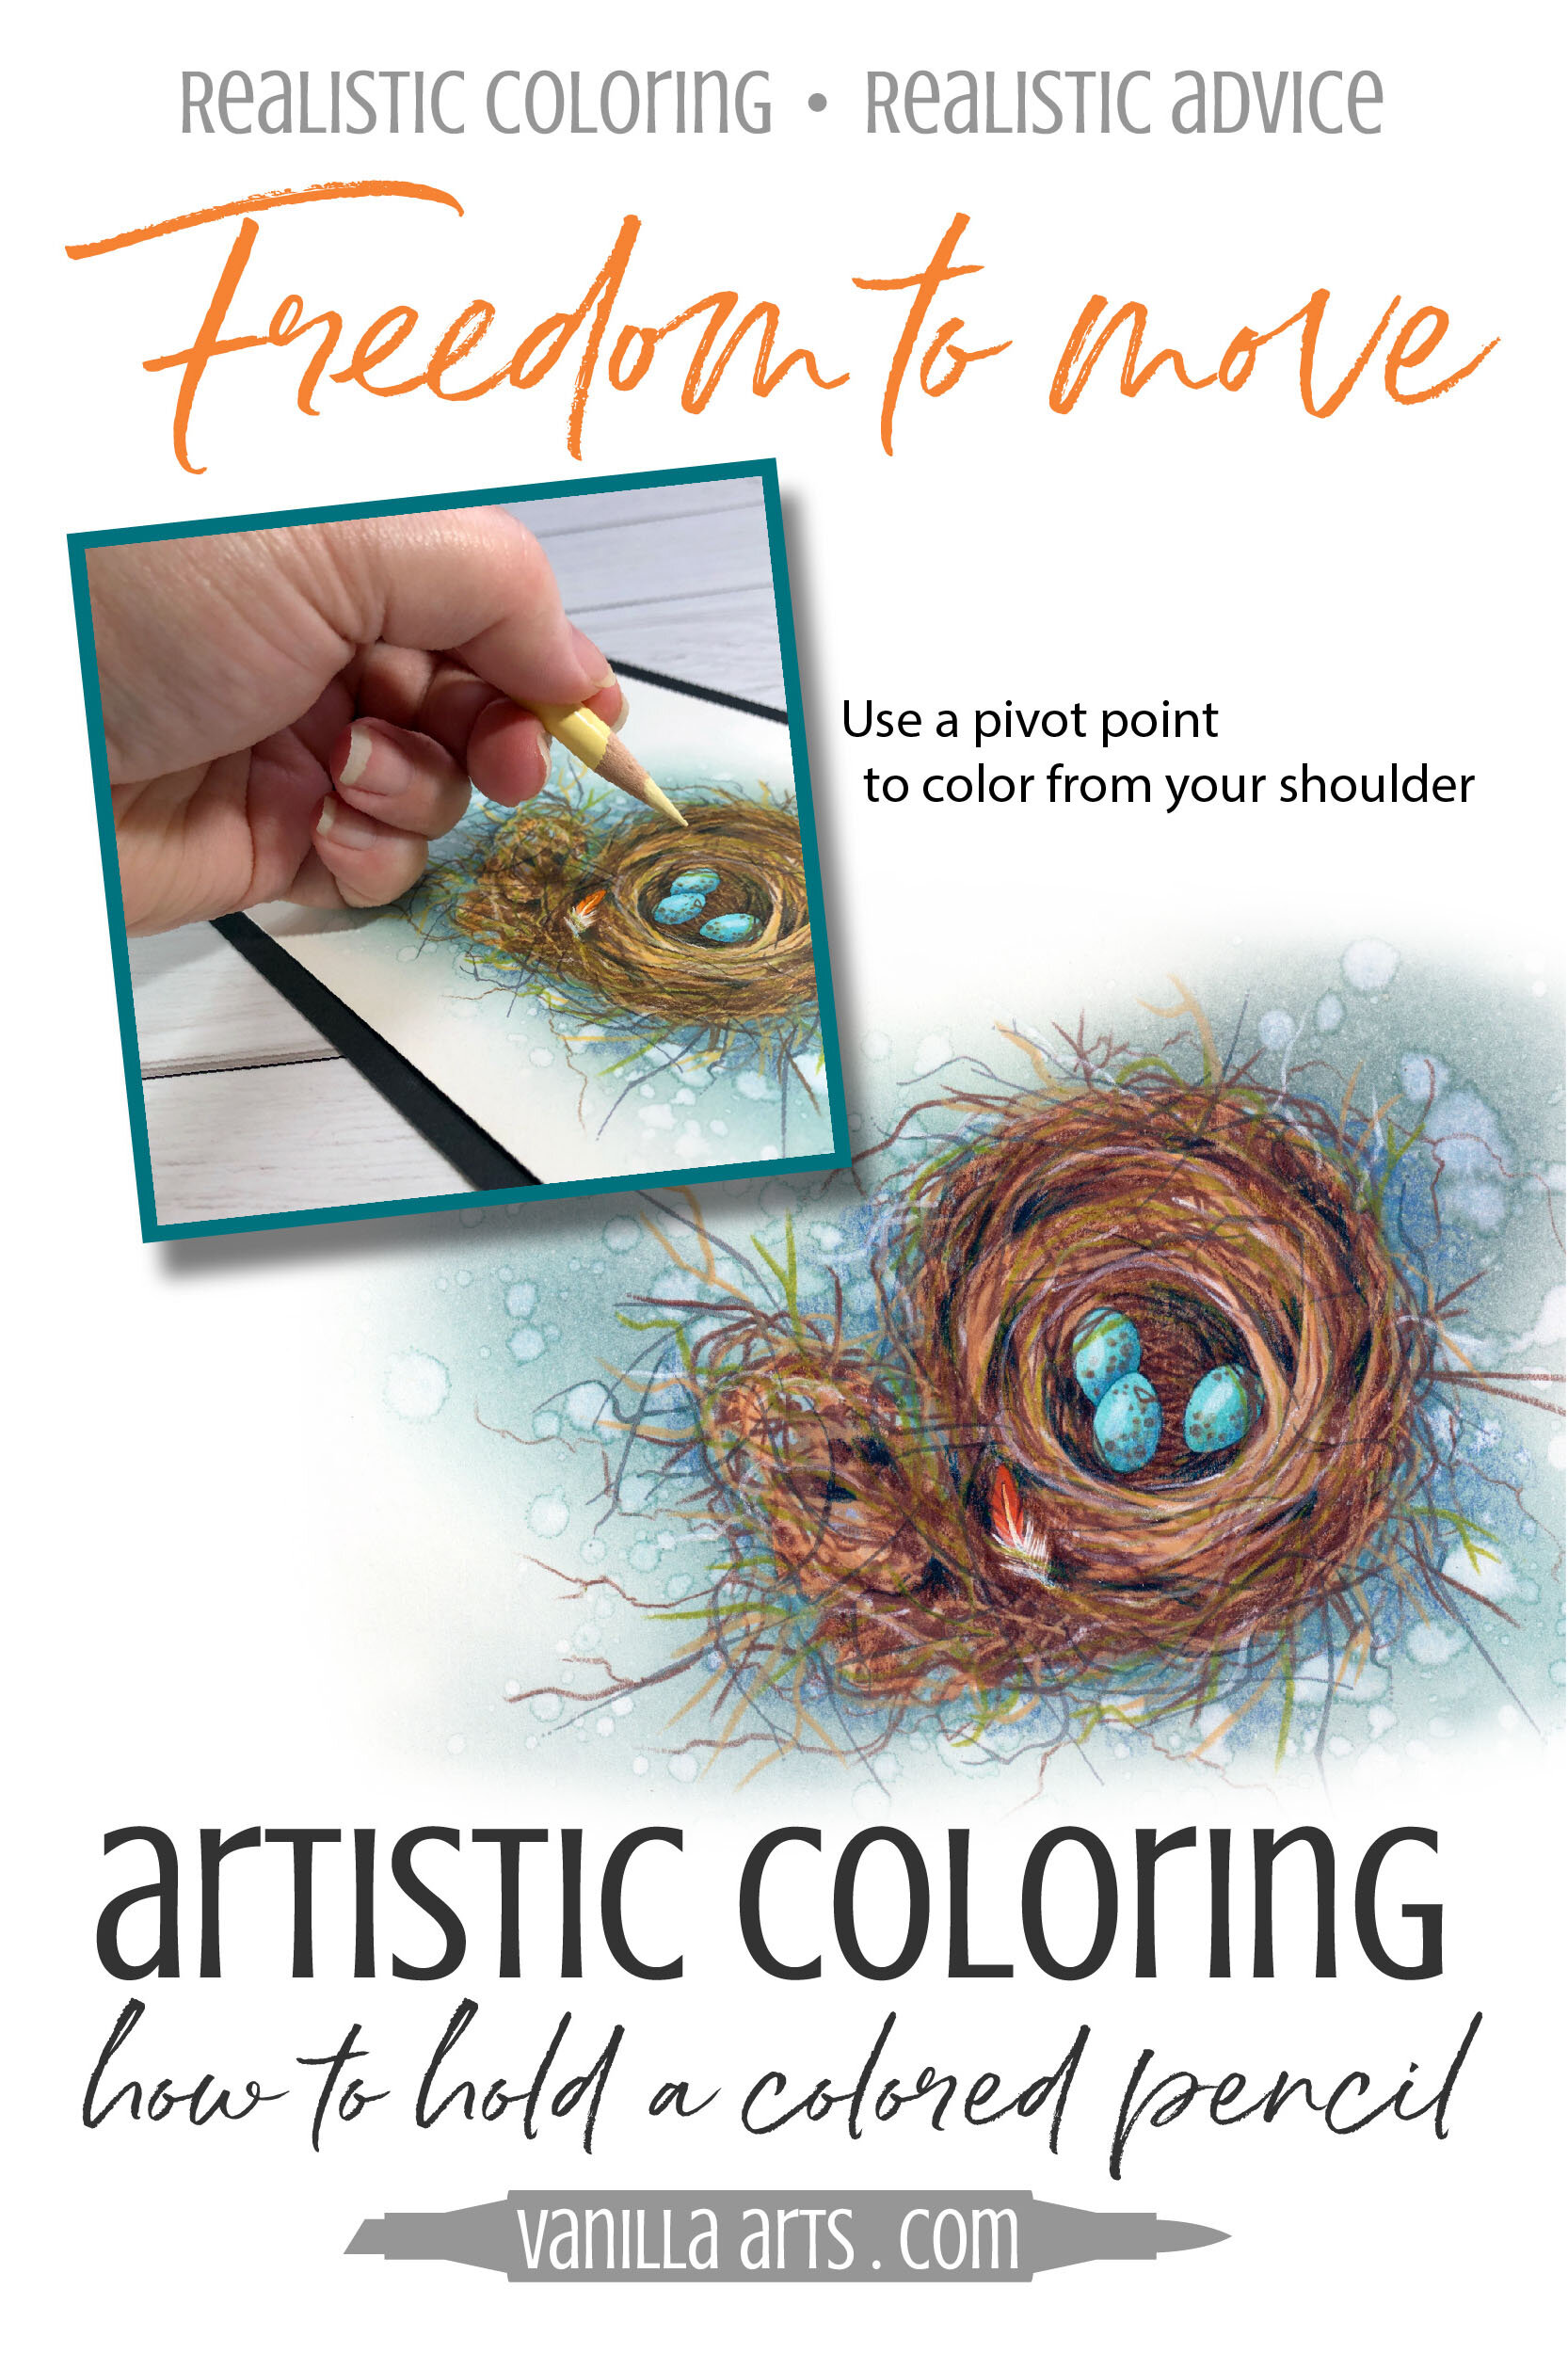
Let’s start with a pivot point. See the side view of my normal coloring position? This is an angle you don’t get in my videos. It may be the first time you can see the air-gap between me and my tabletop.
I brace my entire hand on the second knuckle of my pinkie finger.
That’s it. That’s the only part of me that touches the desk.
Try it now. See how you can pivot on that knuckle by moving your wrist?
Now swing your elbow in and out. Feel how big that motion is?
Next, glide your knuckle around like an ice skater, back and forth and up and down across the desk surface. Stay on that pivot point and initiate the movement from your shoulder. Look at how far your hand can travel, just by unlocking your shoulder.
Once you move the shoulder, don’t you feel the urge to twist at the waist too?
And wouldn’t this movement be more comfortable from a swivel chair?
Coloring requires whole body movement. Get yourself off the desk. Let your arm and torso move!
So if you’re sitting on the extra dining room chair that you only use at Thanksgiving… please go get a swivel chair.
If you bought a fashionable Swedish Modern desk/chair combo which has you raising your arms up to reach the desk… find a taller chair or a shorter desk.
If you’re sitting at a drafting table… make sure your stool height allows you to sit above the work-surface. Unbend your elbow as much as possible.
And if you’re sitting on the couch… sigh… I can’t even.
But most of all:
Get your arm off the desk.
Find your pivot point and start to swing.
It feels out of control and weird at first but it’s the key to good drawing and great coloring.

3. I Have Pressure Problems!
Do you press really hard?
You know you shouldn’t and you try hard not to, but as soon as you stop paying attention, you’re back to squeezing the juice out of the paper.
My student LeslieDiana calls it “The Hand of Thor” only it’s less sexy than that Chris guy.

Eh hem… can I ask you a question?
You know what I’m going to ask, right? Ain’t no surprises at this point, eh?
Writing position forces you to choke-up on your pencil.
Move back!
Your fingers should be at least 1 to 1.5 inches away from the tip of the point of the pencil.
Yes, we hold colored pencils farther from the point than we do ball point pens or even markers.
I often catch myself holding my pencil 2 inches away. That’s far!
Why?
In colored pencil, we want soft and light layers. We build color slowly, building vibrancy by stacking the color.
But the key is soft.
When you hold the pencil away from the point, you coax your hand into a stretch. That stretch limits your ability to also use pressure. It’s a fulcrum effect where if you start to press hard, it lifts the point rather than presses the point.
Voila!
Maintain a generous distance between your fingers and the pencil point for softer coloring.
Can we Pause for a Moment?
I’m going to say something kinda obvious but let me say it, just in case you’ve never thought about it before.
Nobody uses the same stroke, the same grip, the same pressure, or speed for the whole entire project!
Every project is a combination of needs.
There will be big, smooth zones like backgrounds or cast shadows. There will be moderate sized objects that require a unique texture. There will be teeny tiny areas like pine needles or button holes where you need fine motor control.
Don’t try to highlight a dog’s eye with the same grip you used for a cloudless summer sky!
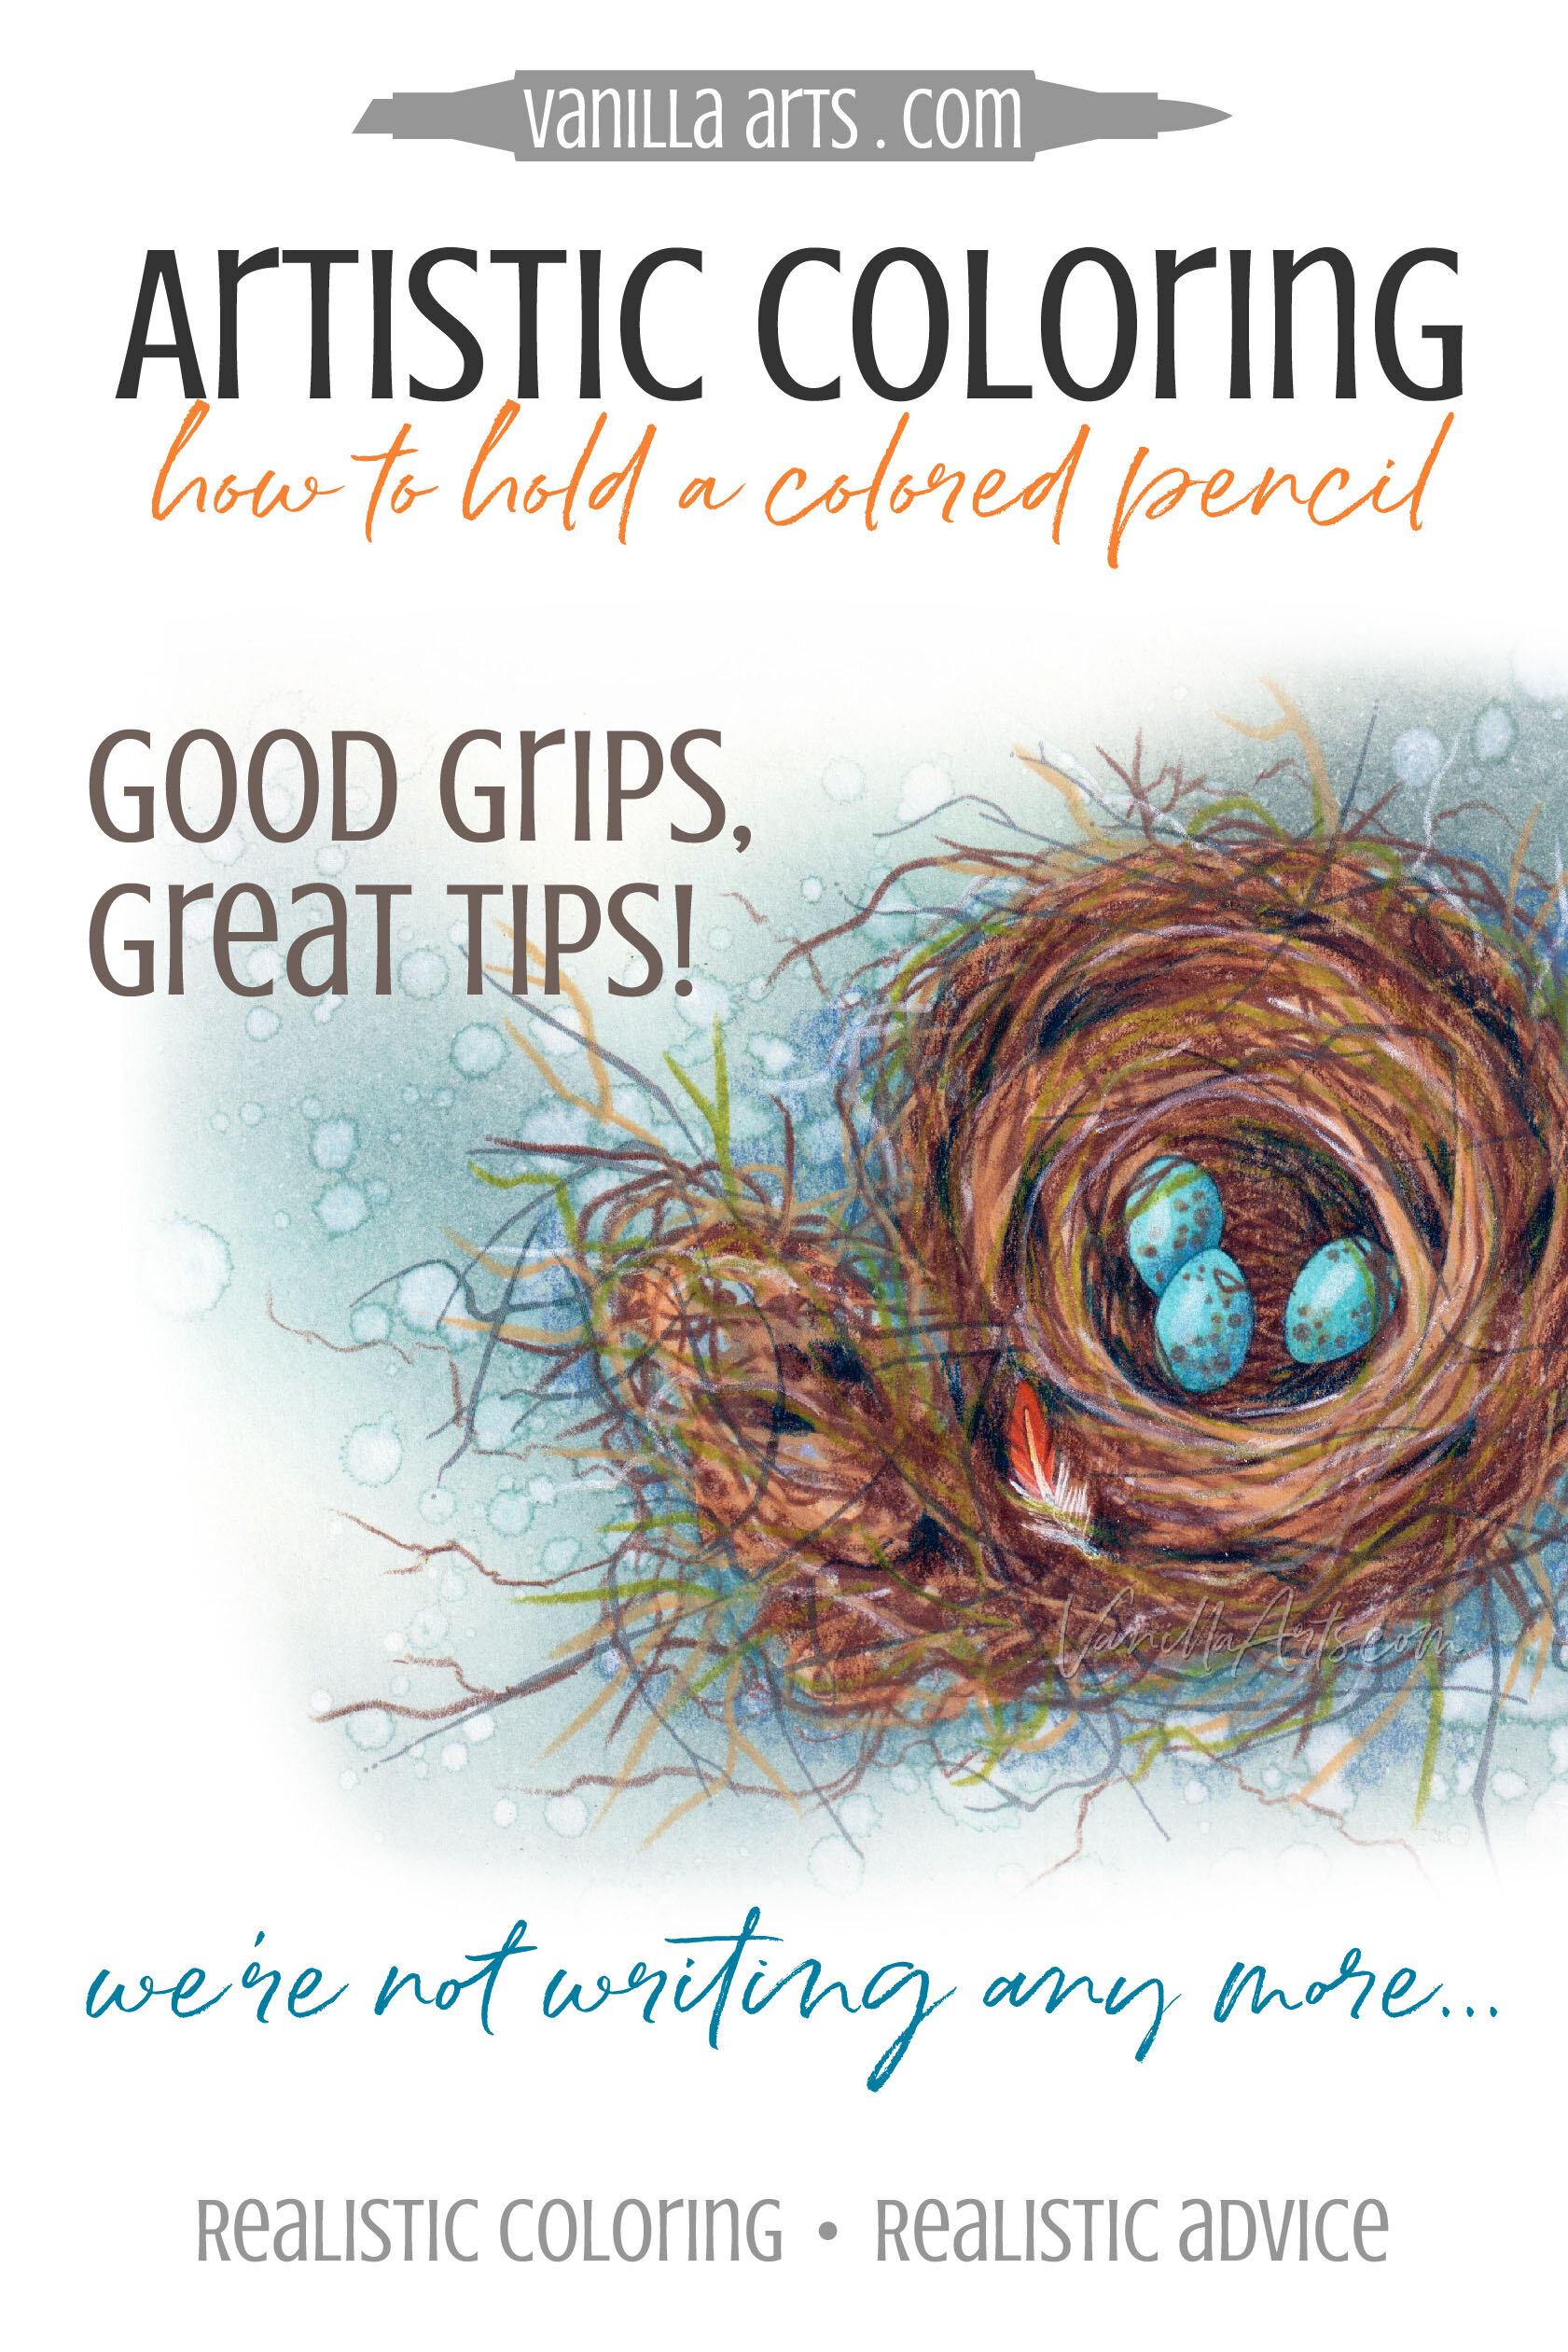
Move your hand around, change finger positions. Heck, I colored twisty tangles of this nest with my non-dominant hand!
In every case, find the hold that most naturally gives you the desired look.
Do not fight to make one grip work for everything. It never will.

4. Why I Can’t Make Loose, Organic Strokes?
Uhm… It’s hard to be organic if you’re planning to be organic.
You’ve got control issues.
The solution is to force yourself to give up control.

Loosen up your pincer grip to let the pencil bobble and bounce a bit. This often does the trick, giving you swoopier swoops and swishier swishes.
You can also try the off-the-end hold that we talked about in Tip #5.
Hold the pencil in a way that prevents you from micromanaging every stroke.
Limit your control.
I know it feels awful but remember, your goal is good art, not a perfect grip!
A bird’s nest like this would look terrible if the grasses were combed and perfectly laid into place.
And I have control issues!
Yes folks, organic strokes are my personal nemesis.
If I’m not careful, I’ll make all my stokes neat and tidy and ever-so-perfectly-perfect. I have to force myself to be loose and carefree.
So how did I make this messy nest?
Look closely, especially at the loose grasses poking out the sides. You’ll see 3 distinct types of grass strokes.
Fast Flicks - the straightest strokes were made super-fast. Don’t think, just flick!
Non Dominant Ys - the golden and green twig looking strokes (Y shapes) were made by moving the pencil to my right hand. I’m a lefty, so the switch means I’m incapable my best penmanship to draw perfect Y shaped Ys.
Pointer Roll - the brown squiggly twigs were made with the grip shown in the photo here. There’s a twist though, a literal twist! As I draw the line, I roll the pencil between my thumb and forefinger, back and forth, back and forth. This technique is one I used in my medical illustration days, it makes perfect veins, arteries, and capillaries but it also creates the most amazing lightning bolts!
Speed is also a factor for control-freaks.
If you give me too much time, I’ll plan every stroke in detail. Where it starts, where it’ll go, and how it needs to look along the way.
Planned strokes never look natural. Never.
Move fast and don’t think!
There you go,
4 Tips to Improve your Grip for Better Coloring
Troubleshoot these issues to improve the look and ease of your next colored pencil project.
Writing position damages colored pencil leads. If you keep snapping the point off, no pencil sharpener and no expensive brand of pencils will resolve your writer’s grip.
Let your body move. Bracing your arm on the desk immobilizes the elbow and shoulder muscle groups you need to make beautiful fluid movements. Stiff arms make for bad coloring.
Pressure issues? You’re likely gripping the colored pencil much too close to the point. Move back!
Want an organic looking stroke? Release your grip and change your hold to let the pencil do the work for you.
And remember, it’s hard to change old habits!
Keep practicing with good technique. The improvements WILL come as you slowly exchange bad habits for better ones.
Ready for part 2 of this article?
Home Sweet Home
Join Amy for a vibrant Copic + Colored Pencil lesson
Marker Painting Workshops - online!
Robin’s Nest an Amy Shulke original digital stamp
Robin’s Nest is an intermediate level coloring class
Real time coloring, recorded live
Live Workshops are unscripted demonstrations which provide students with a real look into the authentic coloring process. You’ll see mistakes being made and corrected. It’s just like visiting Amy in her home studio.
Log in and color with Amy at your convenience. Anytime access, no expiration dates.
Class was recorded in June 2020 and featured a live student audience. Amy answers questions from the students and offers many tips for better colored pencil art.

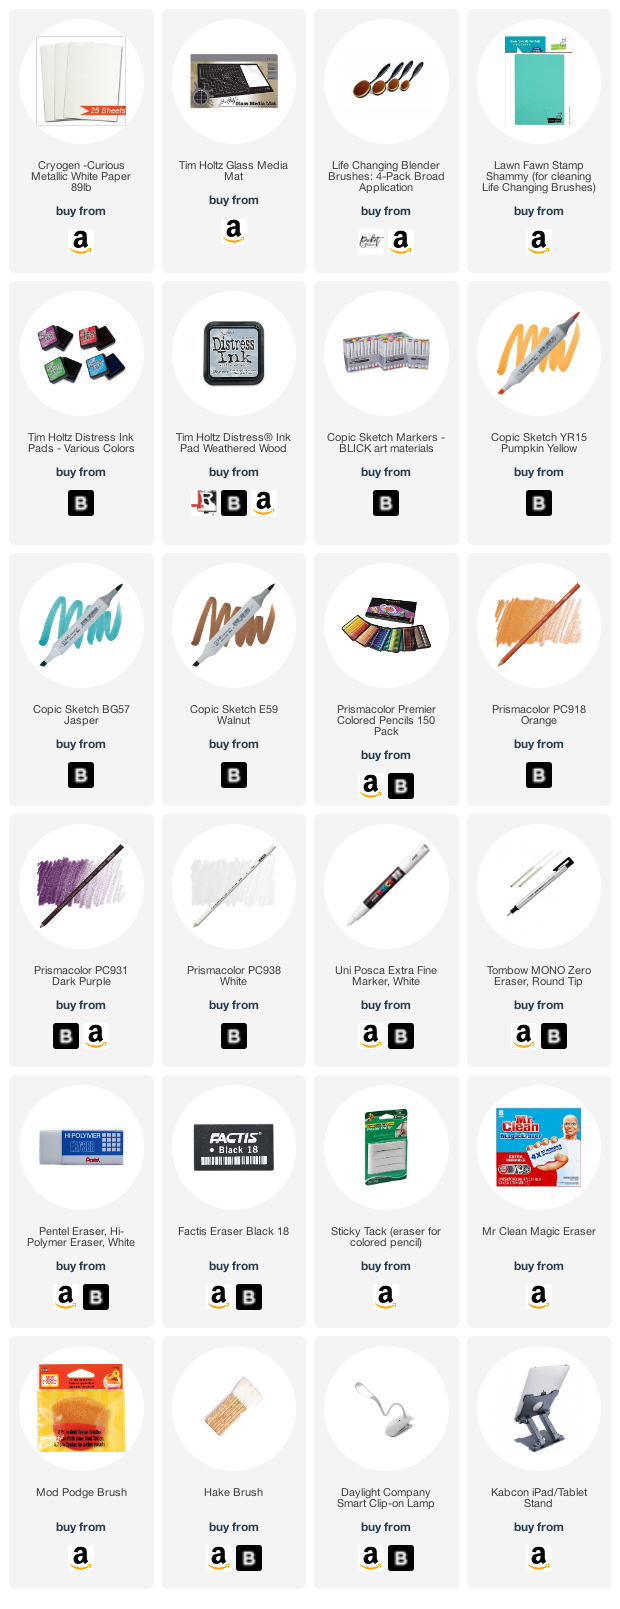
Select Products used in Robin’s Nest:
Vanilla Arts Company is a participant in the Amazon Services LLC Associates Program, an affiliate advertising program designed to provide a means for use to earn fees by linking to Amazon.com.


