
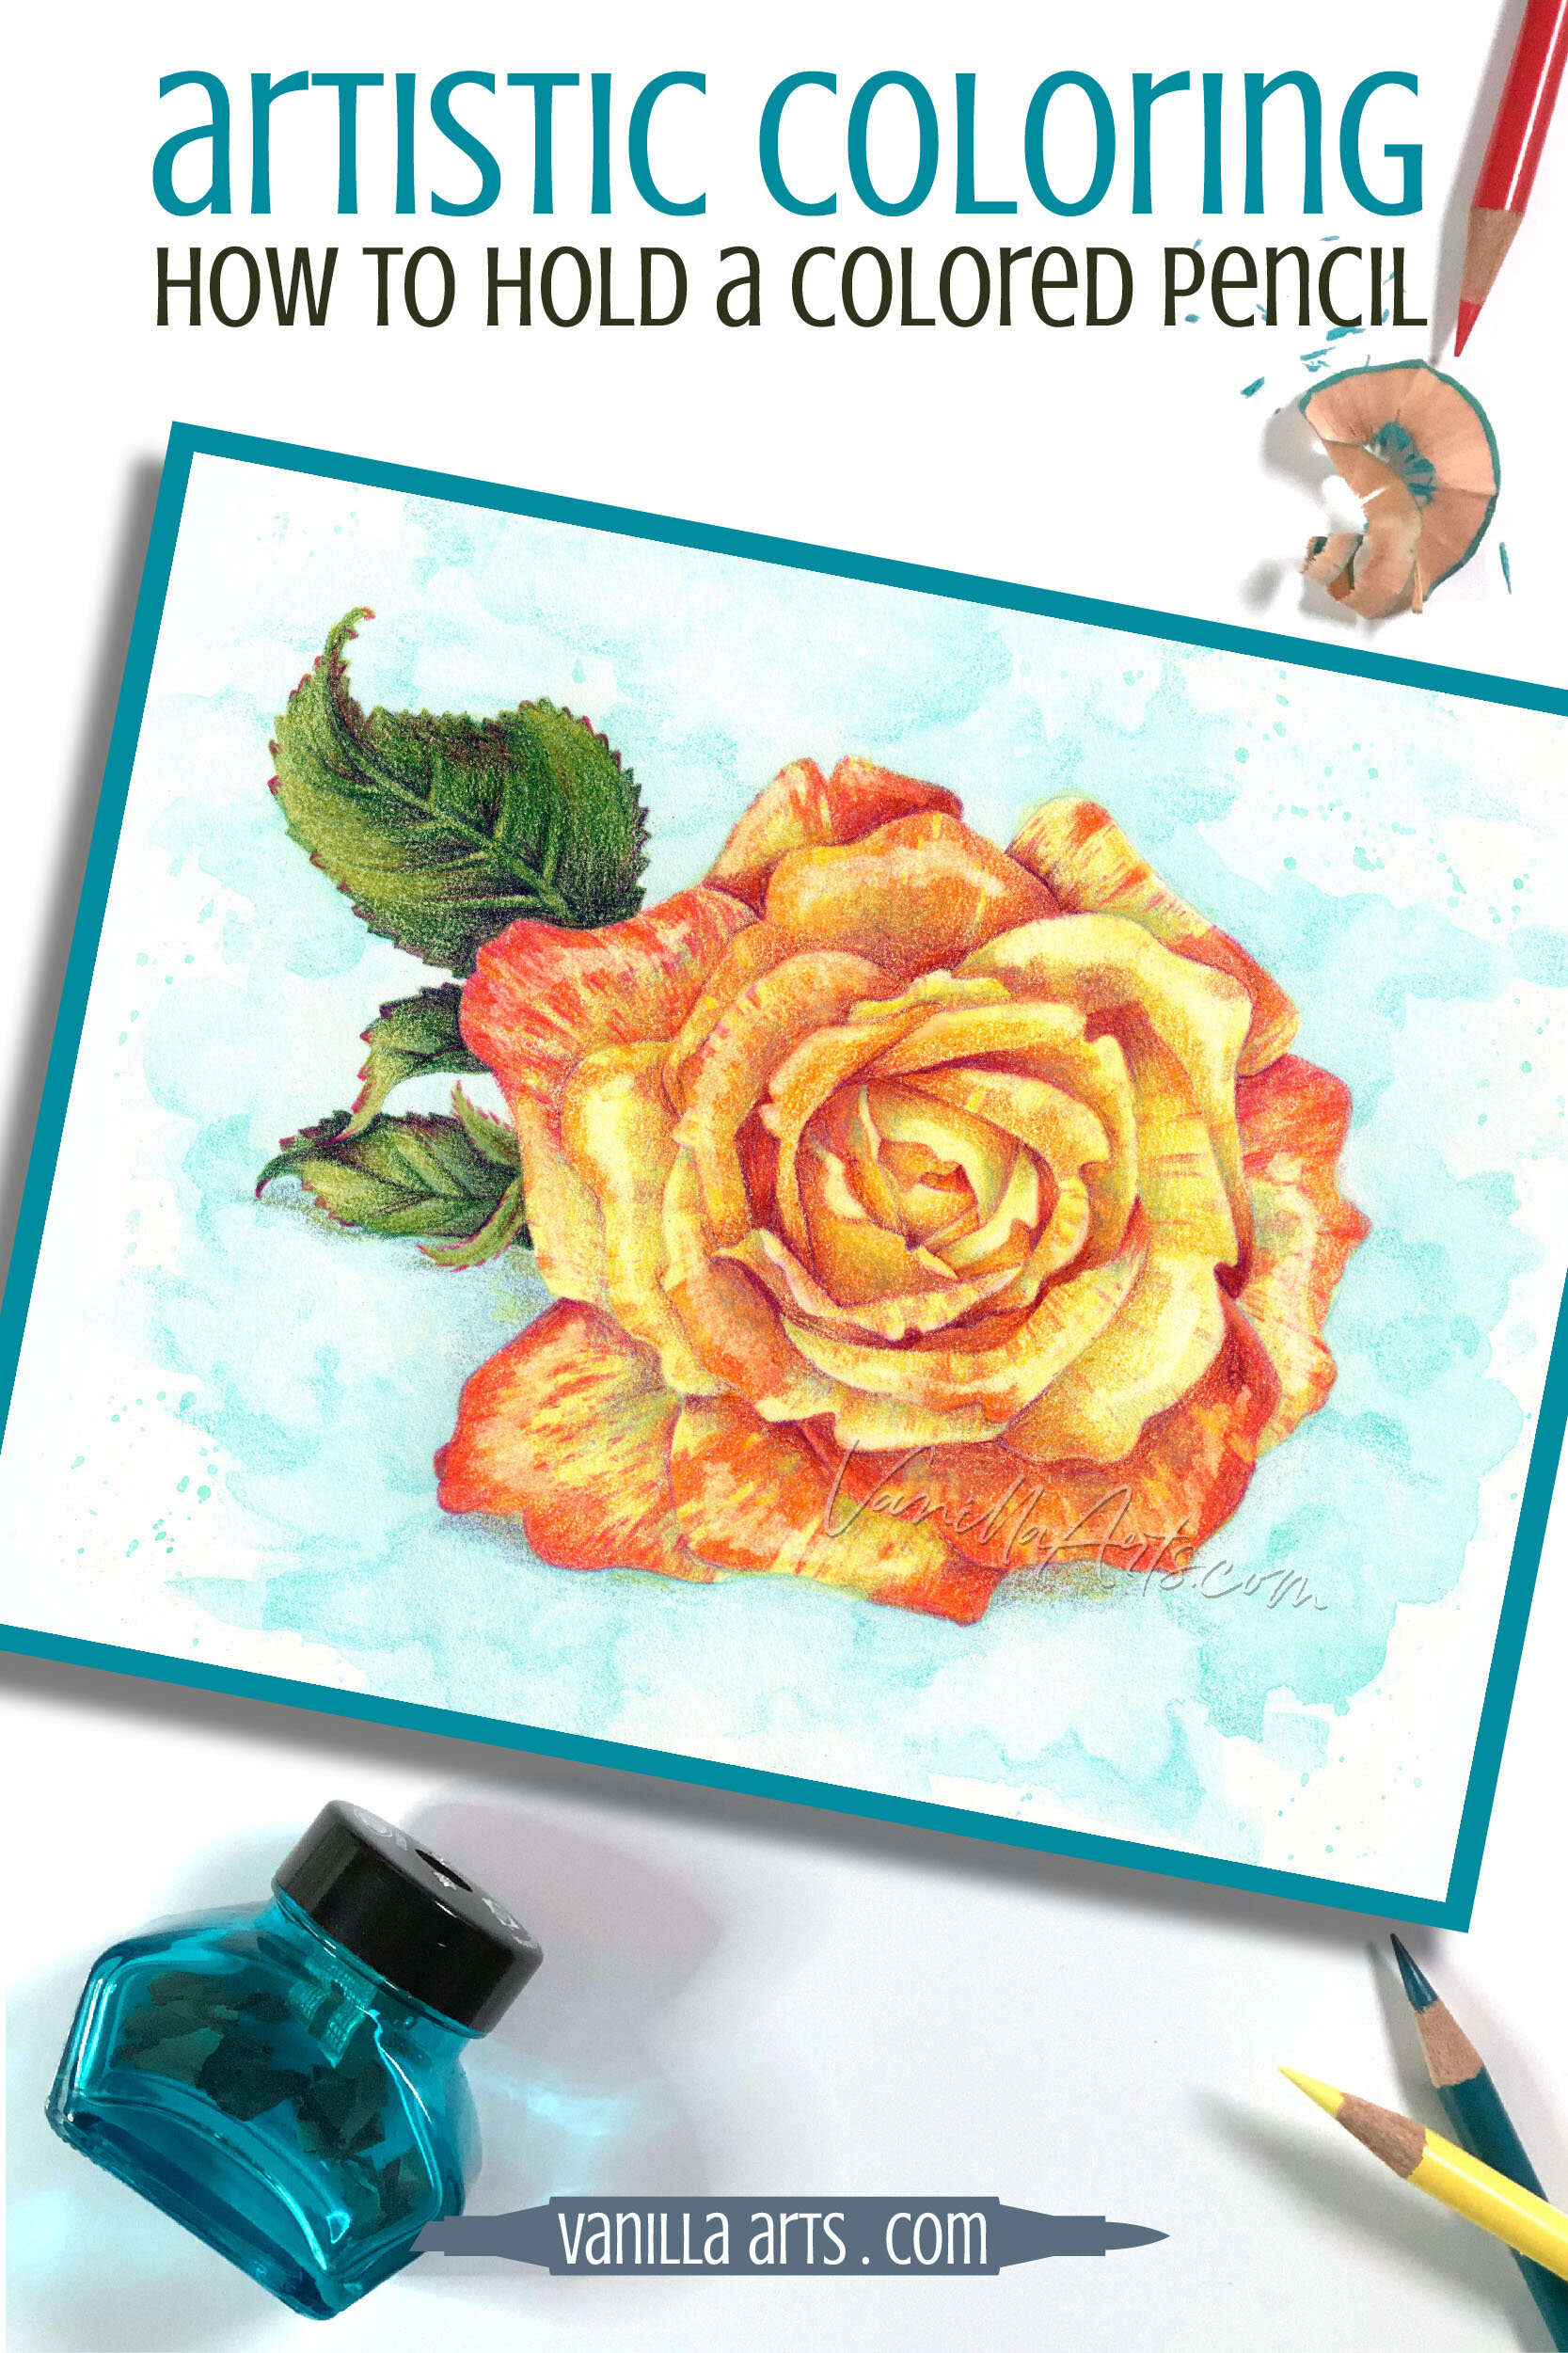
Colored Pencil: Change Your Grip to Solve Coloring Issues (More Troubleshooting Part 2)

Are Colored Pencils Harder Than You Expected?
Yup. We all feel that way.
Every kid in the world uses a school-pencil. Why is coloring so much harder than writing with pencils?
Do you feel like you’ll never get the hang of it?
Hold on, there’s help!
Colored pencil is harder than it looks; too many projects look grainy or burnished. Stop relying on solvent; stop blaming the pencil brand. Troubleshoot your pencil technique with tips from a professional illustrator. Let’s resolve grainy coloring, adjust your pressure, and finally color neatly.
Join me for part two of this troubleshooting series.
You Don’t Need Solvent!
So many people use solvent now…
Everyone melts and smears and smushes their colors around, so that must be what we’re supposed to do, right?
Gamsol, odorless mineral spirits (OMS), orange oil, blender pens, magic pencils, even dumb stuff like baby oil, lotion, Vaseline, lip balm…
Stop! Just stop!!!
Here’s what happens:
Your coloring looks gritty and grainy so you pull out the solvent. But the solvent kinda washes all the color off, so you add more layers.
But then you have to add more solvent…
And more layers…
Where does it end?
It ends with a weird waxy looking build-up.
And when you research what to do about waxy build-up, the internet blames waxy pencils, so you spend a ton of money on oil-based pencils.
Which solves nothing because even with expensive pencils, it still looks like YOU colored it.
Can we stop this nonsense?
If your coloring looks grainy or if you’re burnishing so hard your hand hurts?
Instead of adding solvent, let’s solve your technique issues.
Solvent can’t make bad coloring look good.
Good coloring doesn’t require chemical aids or pressing for dear life. Good technique actually looks good.
Let’s fix your technique.
More Colored Pencil Tips:
Don’t miss my previous colored pencil tips and suggestions!


1. “My colors look grainy & pale”
Let’s define grainy.
Grainy is the look you get when you finish coloring something but there are still lots of little white dots or patches showing everywhere. It’s like chalk on a sidewalk, you don’t get even coverage.
The white spots are actually little valleys in the paper— crevices which the colored pencil lead can’t reach.
THE PROBLEM: With little white spots showing everywhere, even your darkest pencils look lighter than they should!
Grainy coloring is usually why people turn to solvents.
Uhmmm… would you believe I used colored pencils for at least 15 years BEFORE ever hearing about Gamsol?
You don’t need solvent if you’ve got good technique.

There are 4 reasons coloring looks grainy or pale:
1. You are working on inappropriate paper.
If you’re using cold press paper with colored pencils, you’ll get more gritty white spots because of the paper texture.
Switch to a smoother, less-toothy paper to minimize graininess.
Keep in mind— tooth varies by brand. Hot and cold press are manufacturing processes, not tooth measurement. But in general, smoother papers leave fewer holes.
2. You stopped coloring before it was done.
I teach a colored pencil course and the number one thing I say during project feedback is “looks great but you need a few more layers!”
Colored pencil is a slow medium. It takes time and layers and time and layers and time and layers…
Colored pencil always takes more layers than you think it will.
But what if you’re doing lots of layers on smooth paper and yet you’re STILL getting graininess.
3. Pssstttt… are you in writing position again?
We talked about writing position in part one of this article. Here’s the link if you missed it; read tip #1.
There’s a nasty Catch-22 in colored pencil: You see grainy coloring so you shift your hand into writing position. Intuitively, choking up on the pencil feels like it might be the best way to force color down into the white spots.
But then your pencil lead breaks, so you stop sharpening as much… but then your coloring looks grainier… so you need more muscle…
Hey, pull your grip back from the point of the pencil! Color from coloring position!
4. Dull pencils lead to white spots.
People try to outsmart the pencil by using a dull point. Dull points don’t break as easily, right? But dull points are too fat to get down into all the tiny nooks and crannies of the paper tooth.
Pointy pencils are essential to smooth, even, and vibrant pencil layers.
And by dull pencils, I’m including those silly shallow point sharpeners that give you short, stubby pencil points. You can sharpen all day in a shallow sharpener and never get a point small enough to get down into the tooth. They’re a complete waste of time.
(see my article on Long Point sharpeners here)
Choose smoother paper, get out of writing position, don’t stop too early, and keep your pencil sharp. Your vibrancy and coverage will improve.
2. “I still have pressure problems”
Still?
Don’t worry, I understand. The Hand of Thor is hard to defeat.
We talked about the Hand of Thor and one solution for pressure problems in part one of this article. You can catch-up here, it’s tip #3.
If pressure is your issue, it may be your cross to bear for a lifetime. Some people just naturally want to press hard, even when they know better.

Always remember this rule:
It’s hard to press hard from far away.
In that spirit, move your hand to mid-barrel or maybe even try coloring off the end of the pencil.
I’m not kidding, if you start paying attention, you’ll see a ton of sketch artists and even some painters who nestle the end of the pencil or paint brush in their palm.
Off-the-end is actually a standard grip taught in life drawing classes. It gives a loose organic quality to the marks you make.
I’m not going to lie:
Both grips feel VERY foreign. You’ll feel like you’re way too far from the point to control the pencil.
The pencil bounces more, especially with an end grip. And forget about doing anything precise from either hold, but isn’t that the point?
Pressing too hard is a symptom of micromanaging your pencil.
Pressure people have fooled themselves into thinking:
More pressure = better control = better coloring
It’s not true.
The dirty secret of colored pencil is that there is NOT one best grip for everyone. We all have different hand strength, different desk setups, and different mental approaches. Don’t just experiment with different grip styles, also play with different grip locations.
You may find you work best from really far away.
And be prepared: your best position can change over time.
Don’t kill your art trying to conform with what you see others doing. Off-the-end might not be a standard way of holding a pencil in card-coloring tutorials, but if it gives you better results, let’s do it!
If pressure is your issue, move your hand to mid-barrel or around the end. You simply can’t press hard from far away.


Hey, Can I Say Something?
We’re halfway through this article and some of you are feeling a discouraged.
But grip issues are not totally your fault.
I blame modern colored pencil instruction.
Some skills are physical. They’re hard to teach from a book or tutorial. And even with video instruction, there are real hurdles to remote teaching.
Here’s the biggest issue:
Books and videos can not observe how you hold a pencil and make corrections. There’s no one to say “Hey, how about if you hold it more like this?”
One size-fits-all instruction can’t intuit which lessons you need.
So if this is the first time you’re even hearing about grip?
That’s not your fault!
Online instruction is getting better but there are still gaps.
3. “My coloring looks sloppy”
Do you frequently color outside the lines? I hear this from students a lot.
So, how do we fix this?
Well, first off… I’ve noticed that some people buzz with excess energy when they’re happy. Coloring is fun, so they dance and sing while they work.

I’m happy you’re happy but square dancing and coloring aren’t the best mix.
If you’re a jiggly kind of person, tone it down a bit.
And maybe turn down the music. Favorite songs make the bouncing worse.
But for those of you who know how to sit still and you’re still wandering past the outlines?
Let’s look at the direction of your coloring.
Grab a pencil right now and get yourself into coloring position.
Aim your eyes right at the pencil point. Now start to color.
Uh oh… some of you can’t see!
Your pencil is in the way!
Many people block their own view with the pencil or even their hand.
No wonder you’re going outside the lines! You’re coloring backwards.
Let your eye lead the pencil.
Pull the stroke towards you. Don’t push it away.
Visualize where the pencil should go, then guide it there.
If you go backwards, pushing the pencil away from your eye, you can’t see where the pencil is going, only where it’s been. It’s like trying to drive car using the rear view mirror instead of looking through the front windshield.
You don’t see the accident until after it happens.
Adjust your stroke direction so that you can always see the point of the pencil and the path ahead.
It’s easier to stay inside the lines when you know where the lines are.
4. “I’m doing everything you said but it’s not helping!”
Okay folks… time for some tough love.
Colored pencils are not like chocolate chip cookies.
If you and I follow the same back-of-the-bag recipe, we’ll both end up with similar cookies…
But art isn’t like that.
Your art is never going to look like my art. Don’t feel bad, I can’t duplicate your art either.
Many of you are coming from the craft world where every project comes with detailed instructions and a project sample. Darn-it, art should work the same way!
It doesn’t.
When you’re doing art right, your art doesn’t look like anyone else’s.
But here’s the other thing I’ve notice recently…
Some of you really ARE doing everything correctly.
You’ve got a good grip. Your pressure is perfect.
Yet you’re still getting inconsistent results.
Here’s my theory:
Imagine that you’re a single parent.
Now imagine that you’re a single parent with 150 children.
That’s a lot of kids to keep track of, right?
Some are allergic to peanuts, some won’t nap without a teddy bear. Some will only wear red shoes. But somehow, you manage to be a pretty good parent.
Now let’s say you adopt 120 more kids.
And six months later, you bring home 132 more.
Now tell me, which kid doesn’t like ketchup? Which one always needs a nap? Who can’t be trusted with a Sharpie?
A lot of people fall in love with colored pencils on the very first try. So you run out to purchase lots more pencils. You buy many brands and many colors.
Big mistake.
Colored pencils are like children.
Every colored pencil is different, even two greens from the same box!
One box of 150 pencils contains 150 personalities with 150 likes, 150 dislikes, 150 quirks and flukes and oddities. Every pencil in the box behaves differently.
Many people think every colored pencil works the same as every other colored pencil. They assume the only thing that changes is the color.
And you’ll hear people talk like this online: “What color do I sub for Indigo Prismacolor?” “Who has a substitution chart for Polychromos?”.
Stop.
Some colored pencils are opaque, some are translucent, some are almost transparent. Some are sticky, some are scratchy. Some sink into the paper after a week but some never do. Some get brighter with age and some change colors so much that after a month, you can’t tell which color you used!
Prismacolor has 150 children. There’s more to know than color names.
Except you just went and adopted 120 Polychromos.
Understand what I’m saying?
The techniques which work for one pencil don’t always work for its siblings. You need time to get to know every pencil, how it works, and how to make it look great.
But pencil fans are too busy adopting kids to know any of them well.
Or there’s the opposite issue— you have one set but you only use it once a month. You’re as bad as the pencil collectors, none of you know your pencils well enough to use them well.
I get tons of questions from students who wonder why this color isn’t sticking or that pencil doesn’t look right. They always look shocked when I say “well, you have to press harder with that color” or “oh, that’s not a good pencil for a first layer”.
There are pencils I always hold with an off-the-end grip because that’s the trick to prevent accidents. There are some that I always choke-up on.
I know these tricks because I’ve taken the time to know my materials.
Buying too many pencils is like shooting yourself in the foot and then bragging about it.
I know this is controversial and maybe a bit harsh, but there, I said it and I’m not taking it back.
Stop buying new pencils until you understand your old pencils.
And if you’re taking a class, use the brand of pencils the instructor uses. The instructor is trying to teach you how to use THAT pencil’s behavioral traits. Stop thinking about pencils in terms of color and start thinking about their unique characteristics.
There you go,
4 Tips to Improve your Grip for Better Coloring
Troubleshoot these issues to improve the look and ease of your next colored pencil project.
Grainy or pale coloring is generally a result of lack-of follow through. Either you’re trying to use the same paper you use for everything else, you’re quitting too early, or you’re backsliding into writer’s position. You can’t cheat the pencils, they’ll always rat you out.
Using too much pressure could be a lifetime battle. Move away from the point until you can control your pressure.
Can’t stay in the lines? You’re either dancing too much or you’re coloring with a rear view mirror. Neither one is good.
Still frustrated? It may be that you’re not getting to know your pencils well enough. Limit your collection until you understand what makes each pencil work.
And remember, it’s hard to change old habits!
Keep practicing with good technique. The improvements WILL come as you slowly exchange bad habits for better ones.
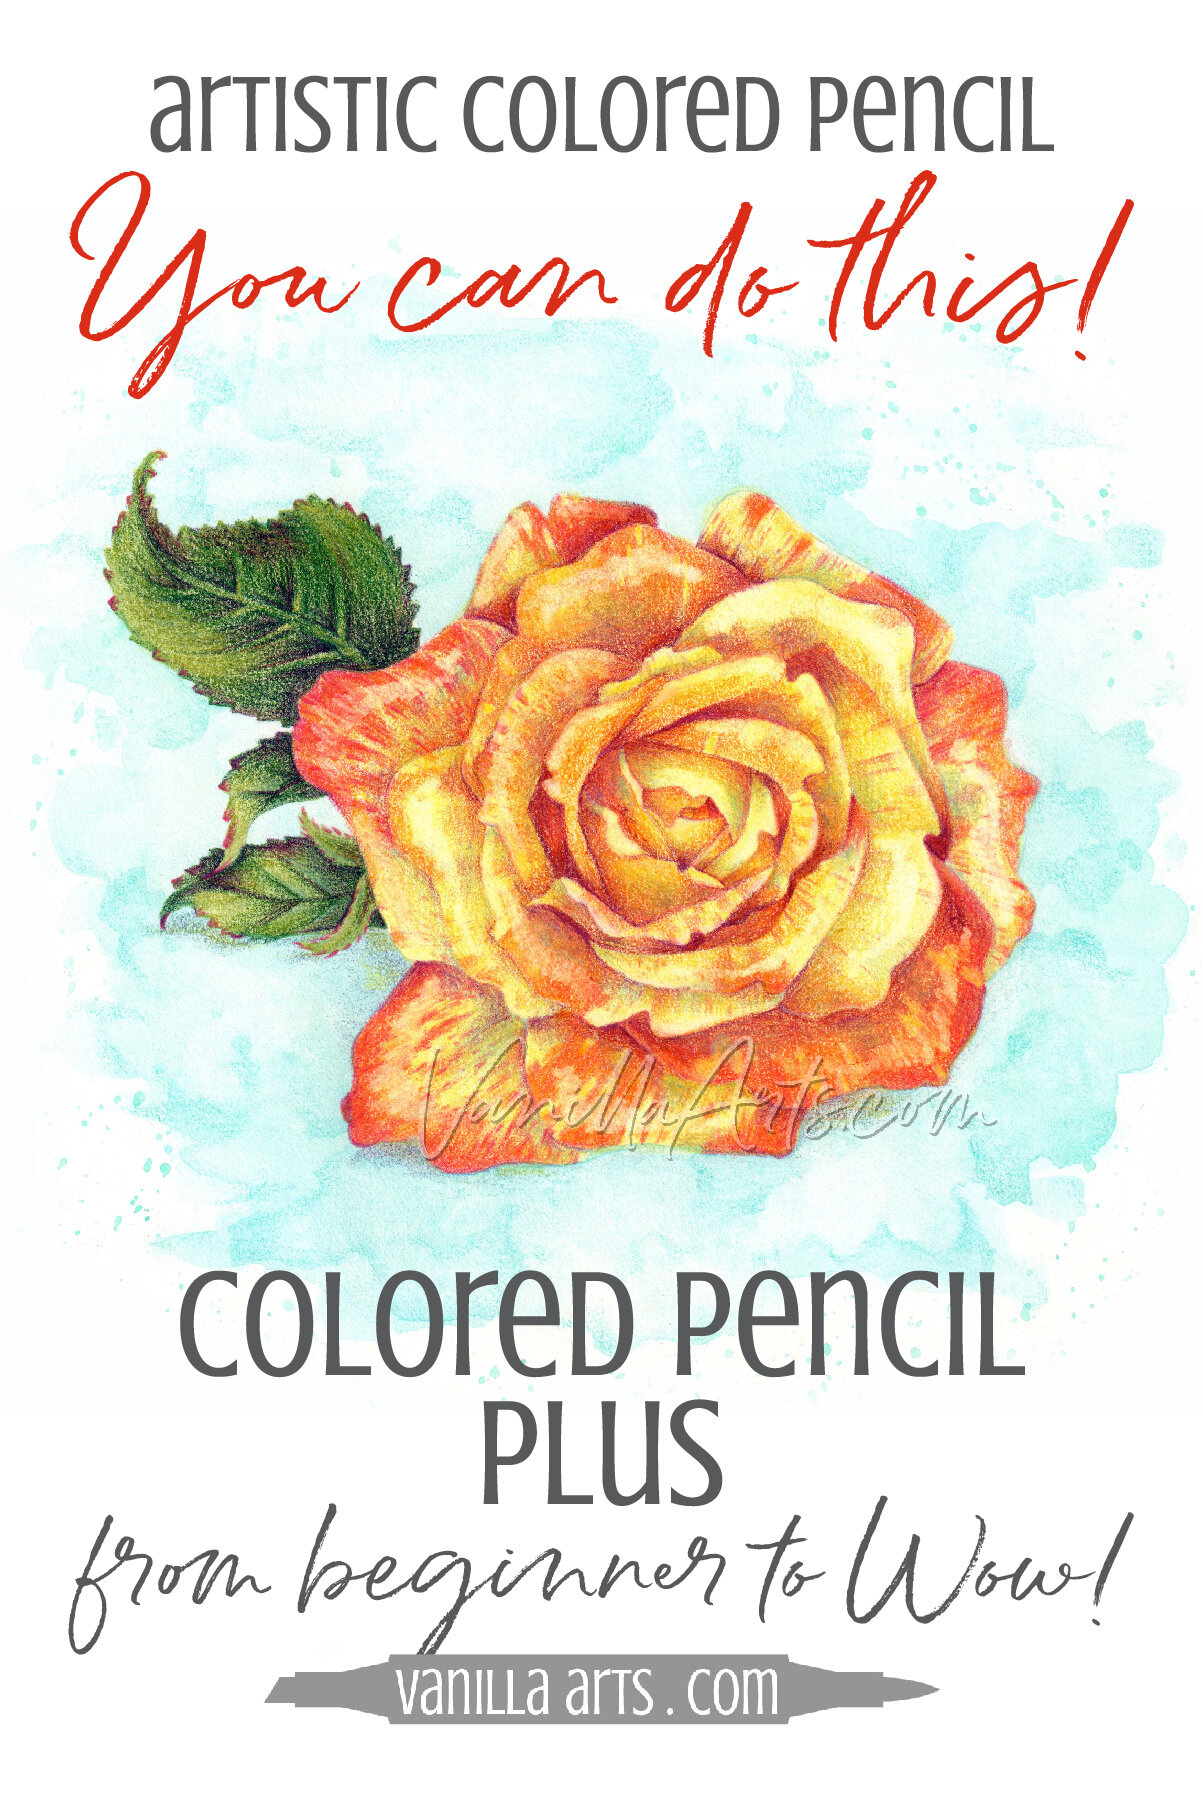
From Beginner to Wow!
Ready to try colored pencil the Vanilla Arts way?
Colored Pencil Plus is a 12 week online course that takes you from newbie to intermediate
CP+ is a unique approach to coloring. Amy teaches basic techniques and color theory in an easy to understand, easy to apply method which moves beyond craft-level coloring.
More than a stack of finished projects
Amy shows you the "why" behind color selection, shade, layering, and depth. This provides students with the necessary knowledge and instincts to color an endless variety of images.
Colored Pencil Plus is the first step towards coloring independently, in your own unique style, and with more accurate realism.
12 weeks. 26 lessons. 16 digital stamps. 150 page booklet.
You can do this!
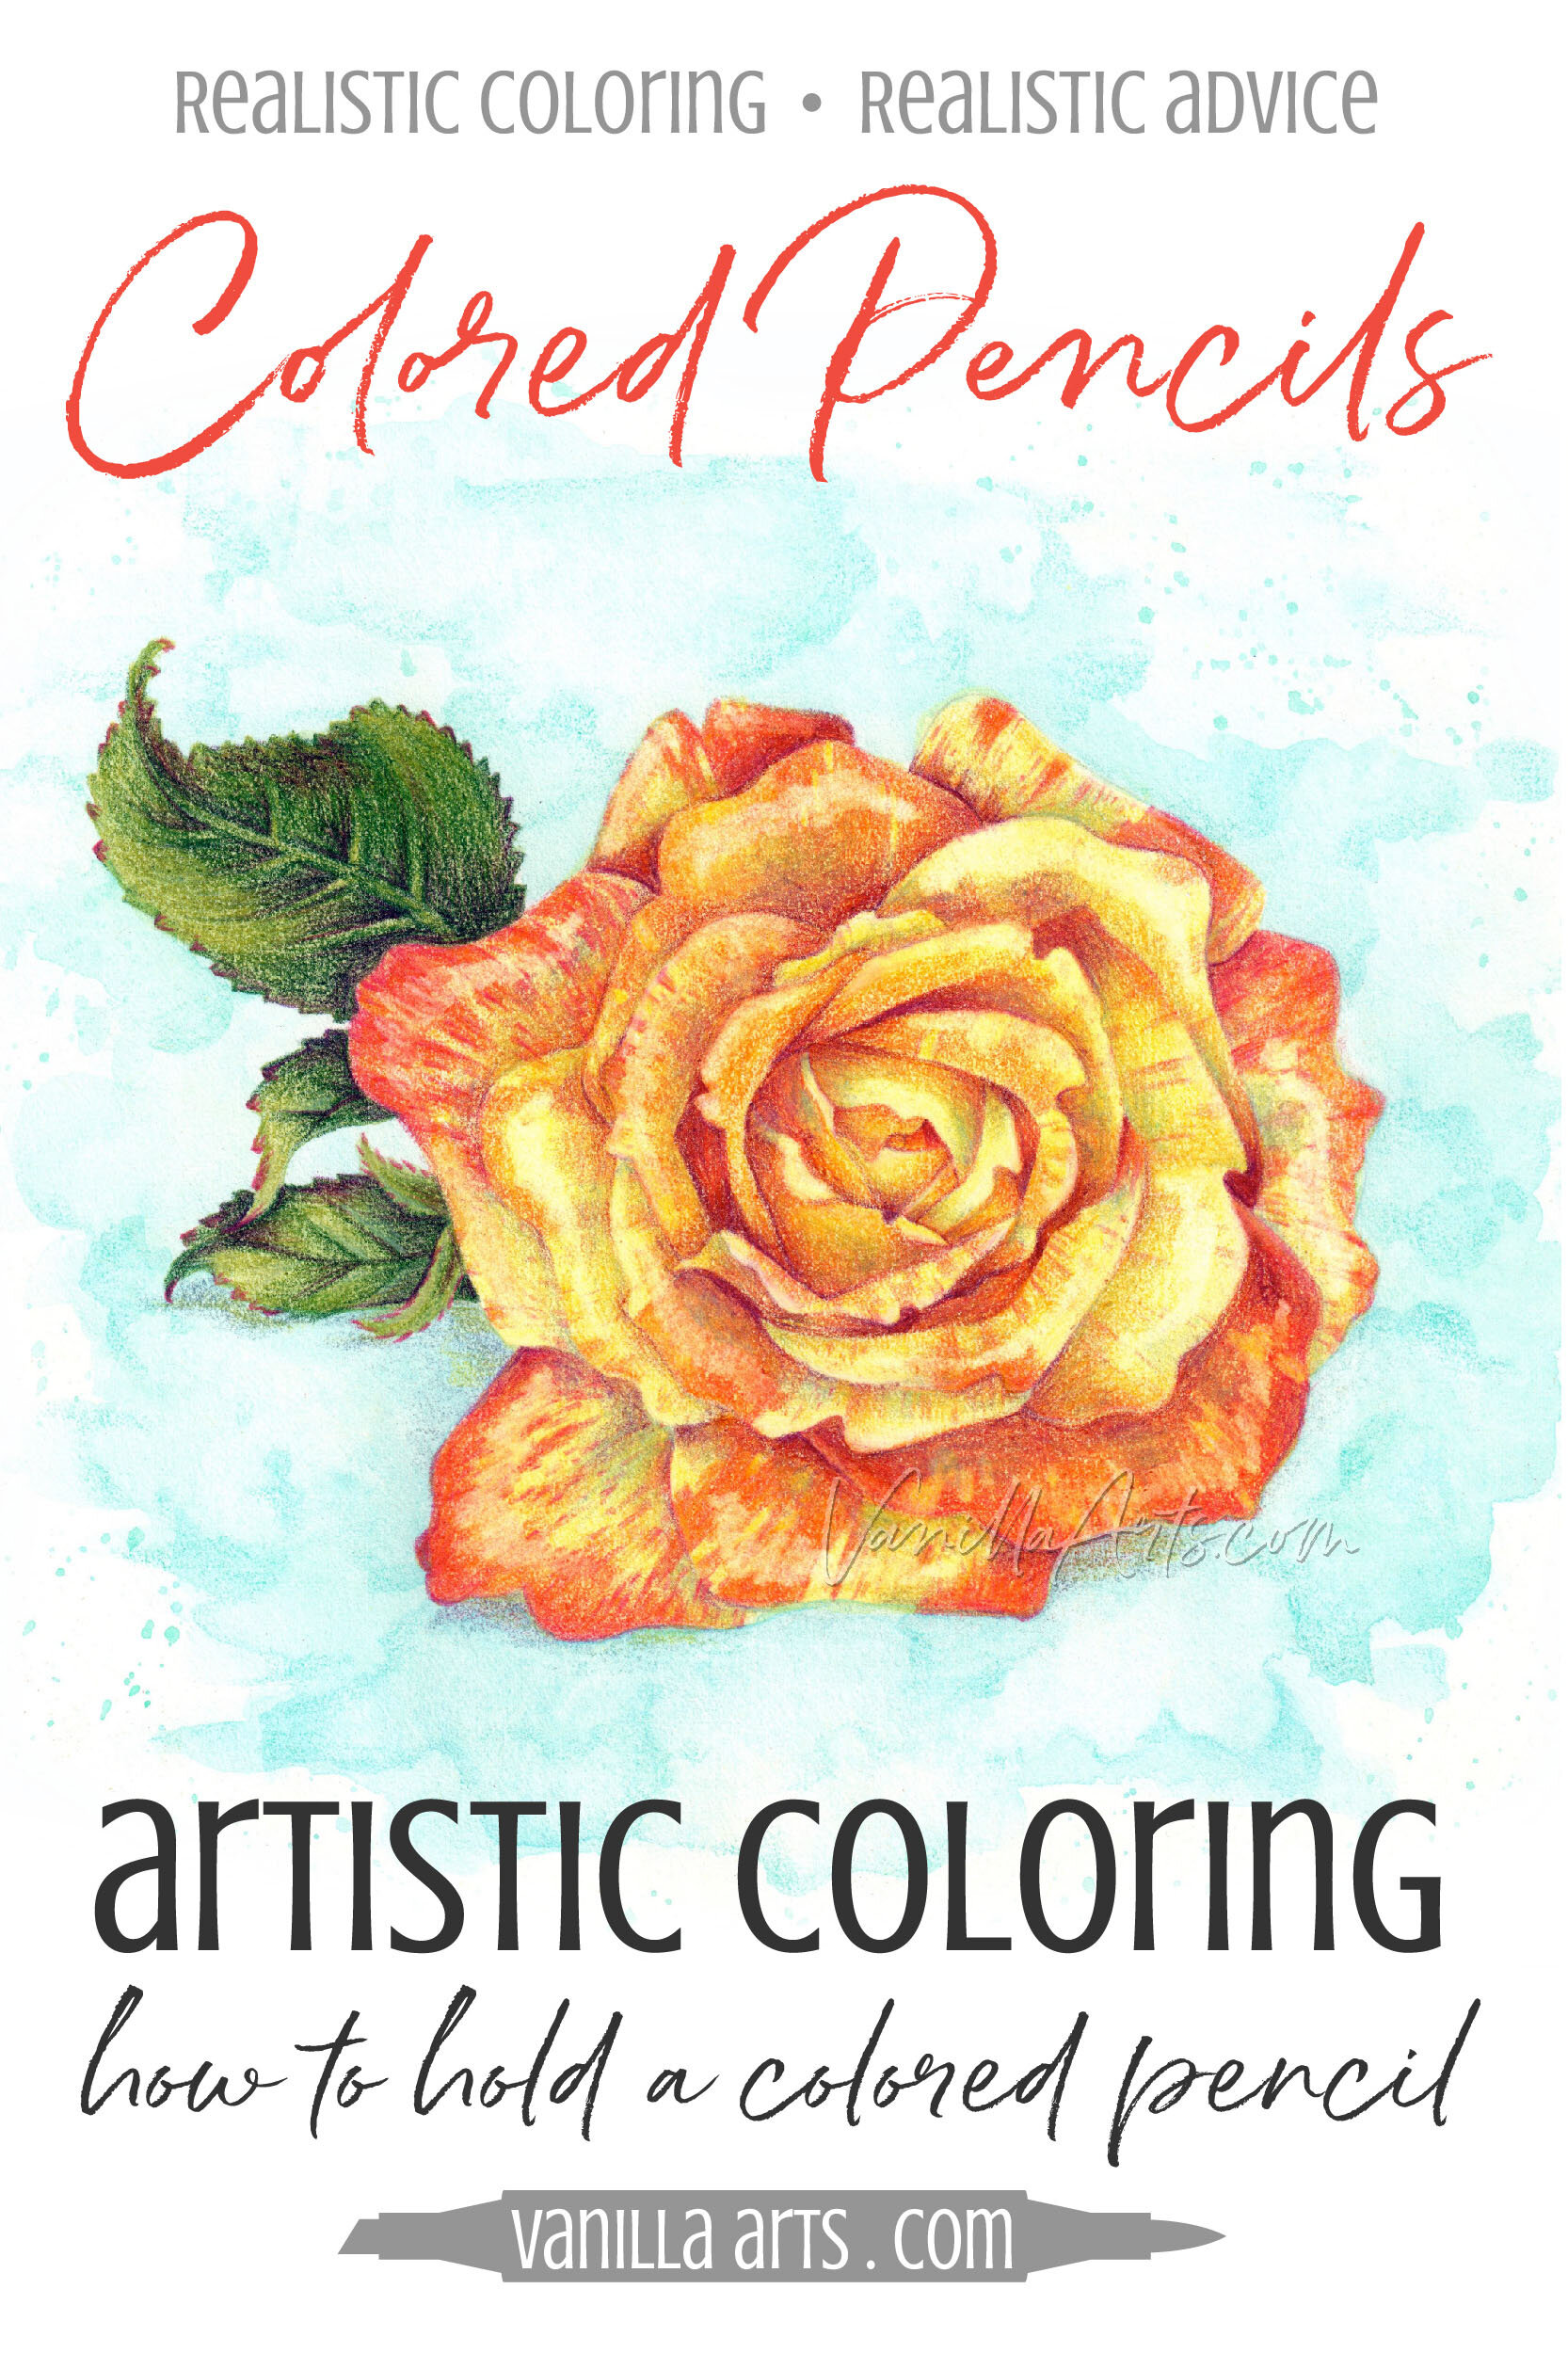
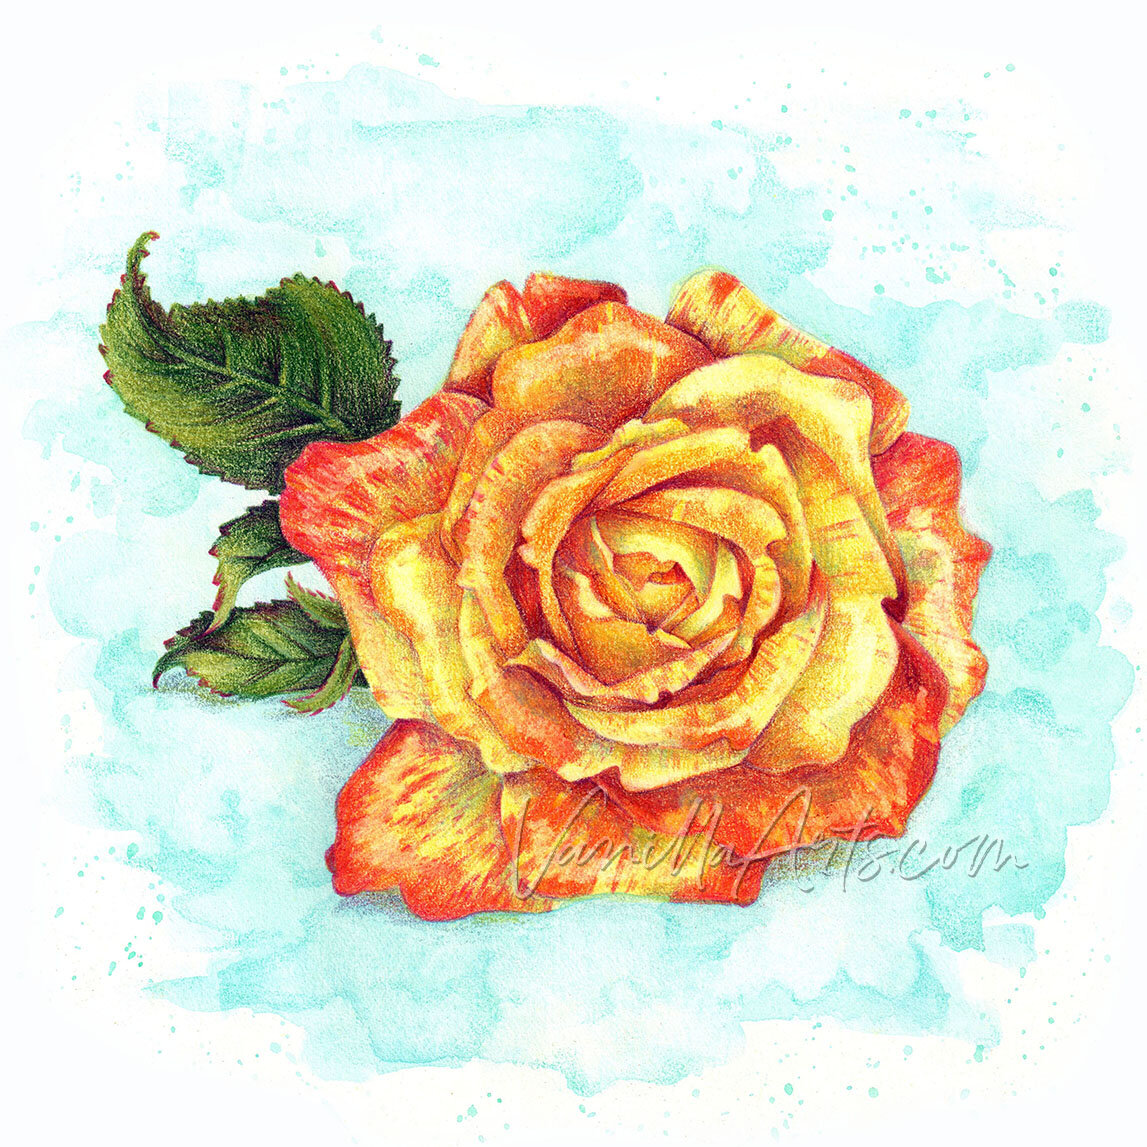
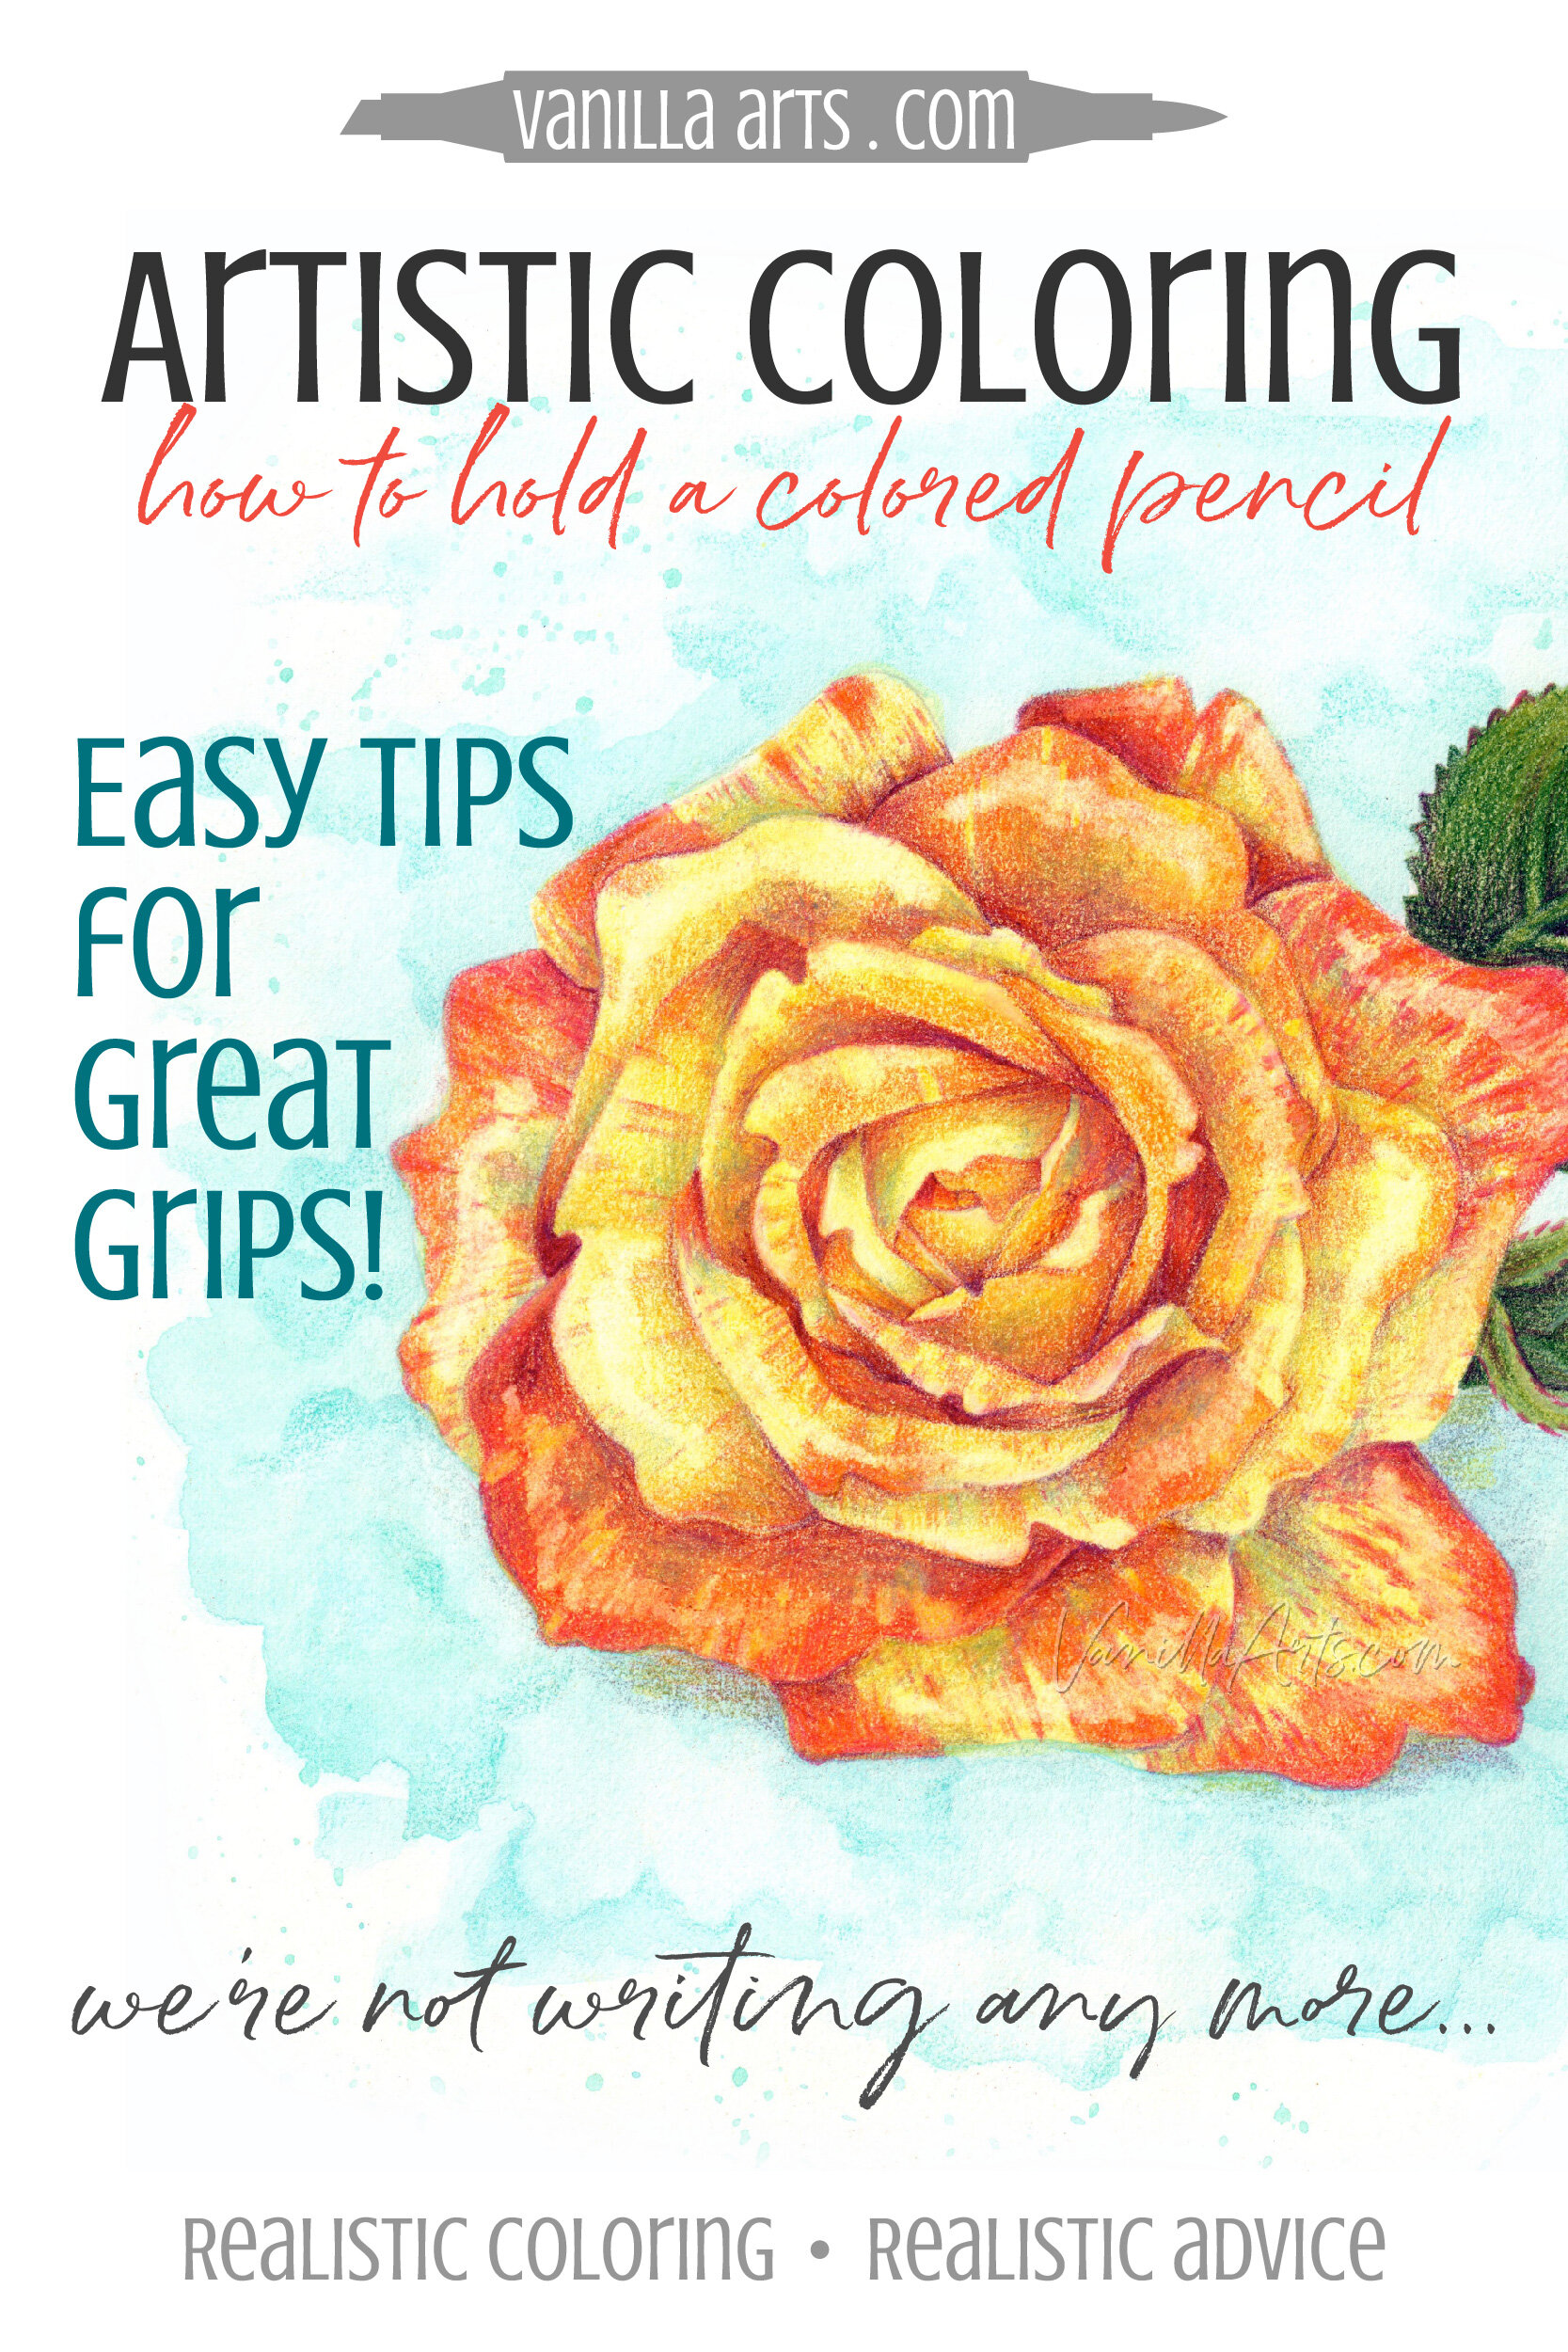
Select Products used in Red Striped Rose:
This project is week 12 of Colored Pencil Plus and exclusive to the course.

Vanilla Arts Company is a participant in the Amazon Services LLC Associates Program, an affiliate advertising program designed to provide a means for use to earn fees by linking to Amazon.com.


