
Colored Pencil: Do You Have Time & Patience for Slow Coloring? (plus Tips for Efficient Coloring)
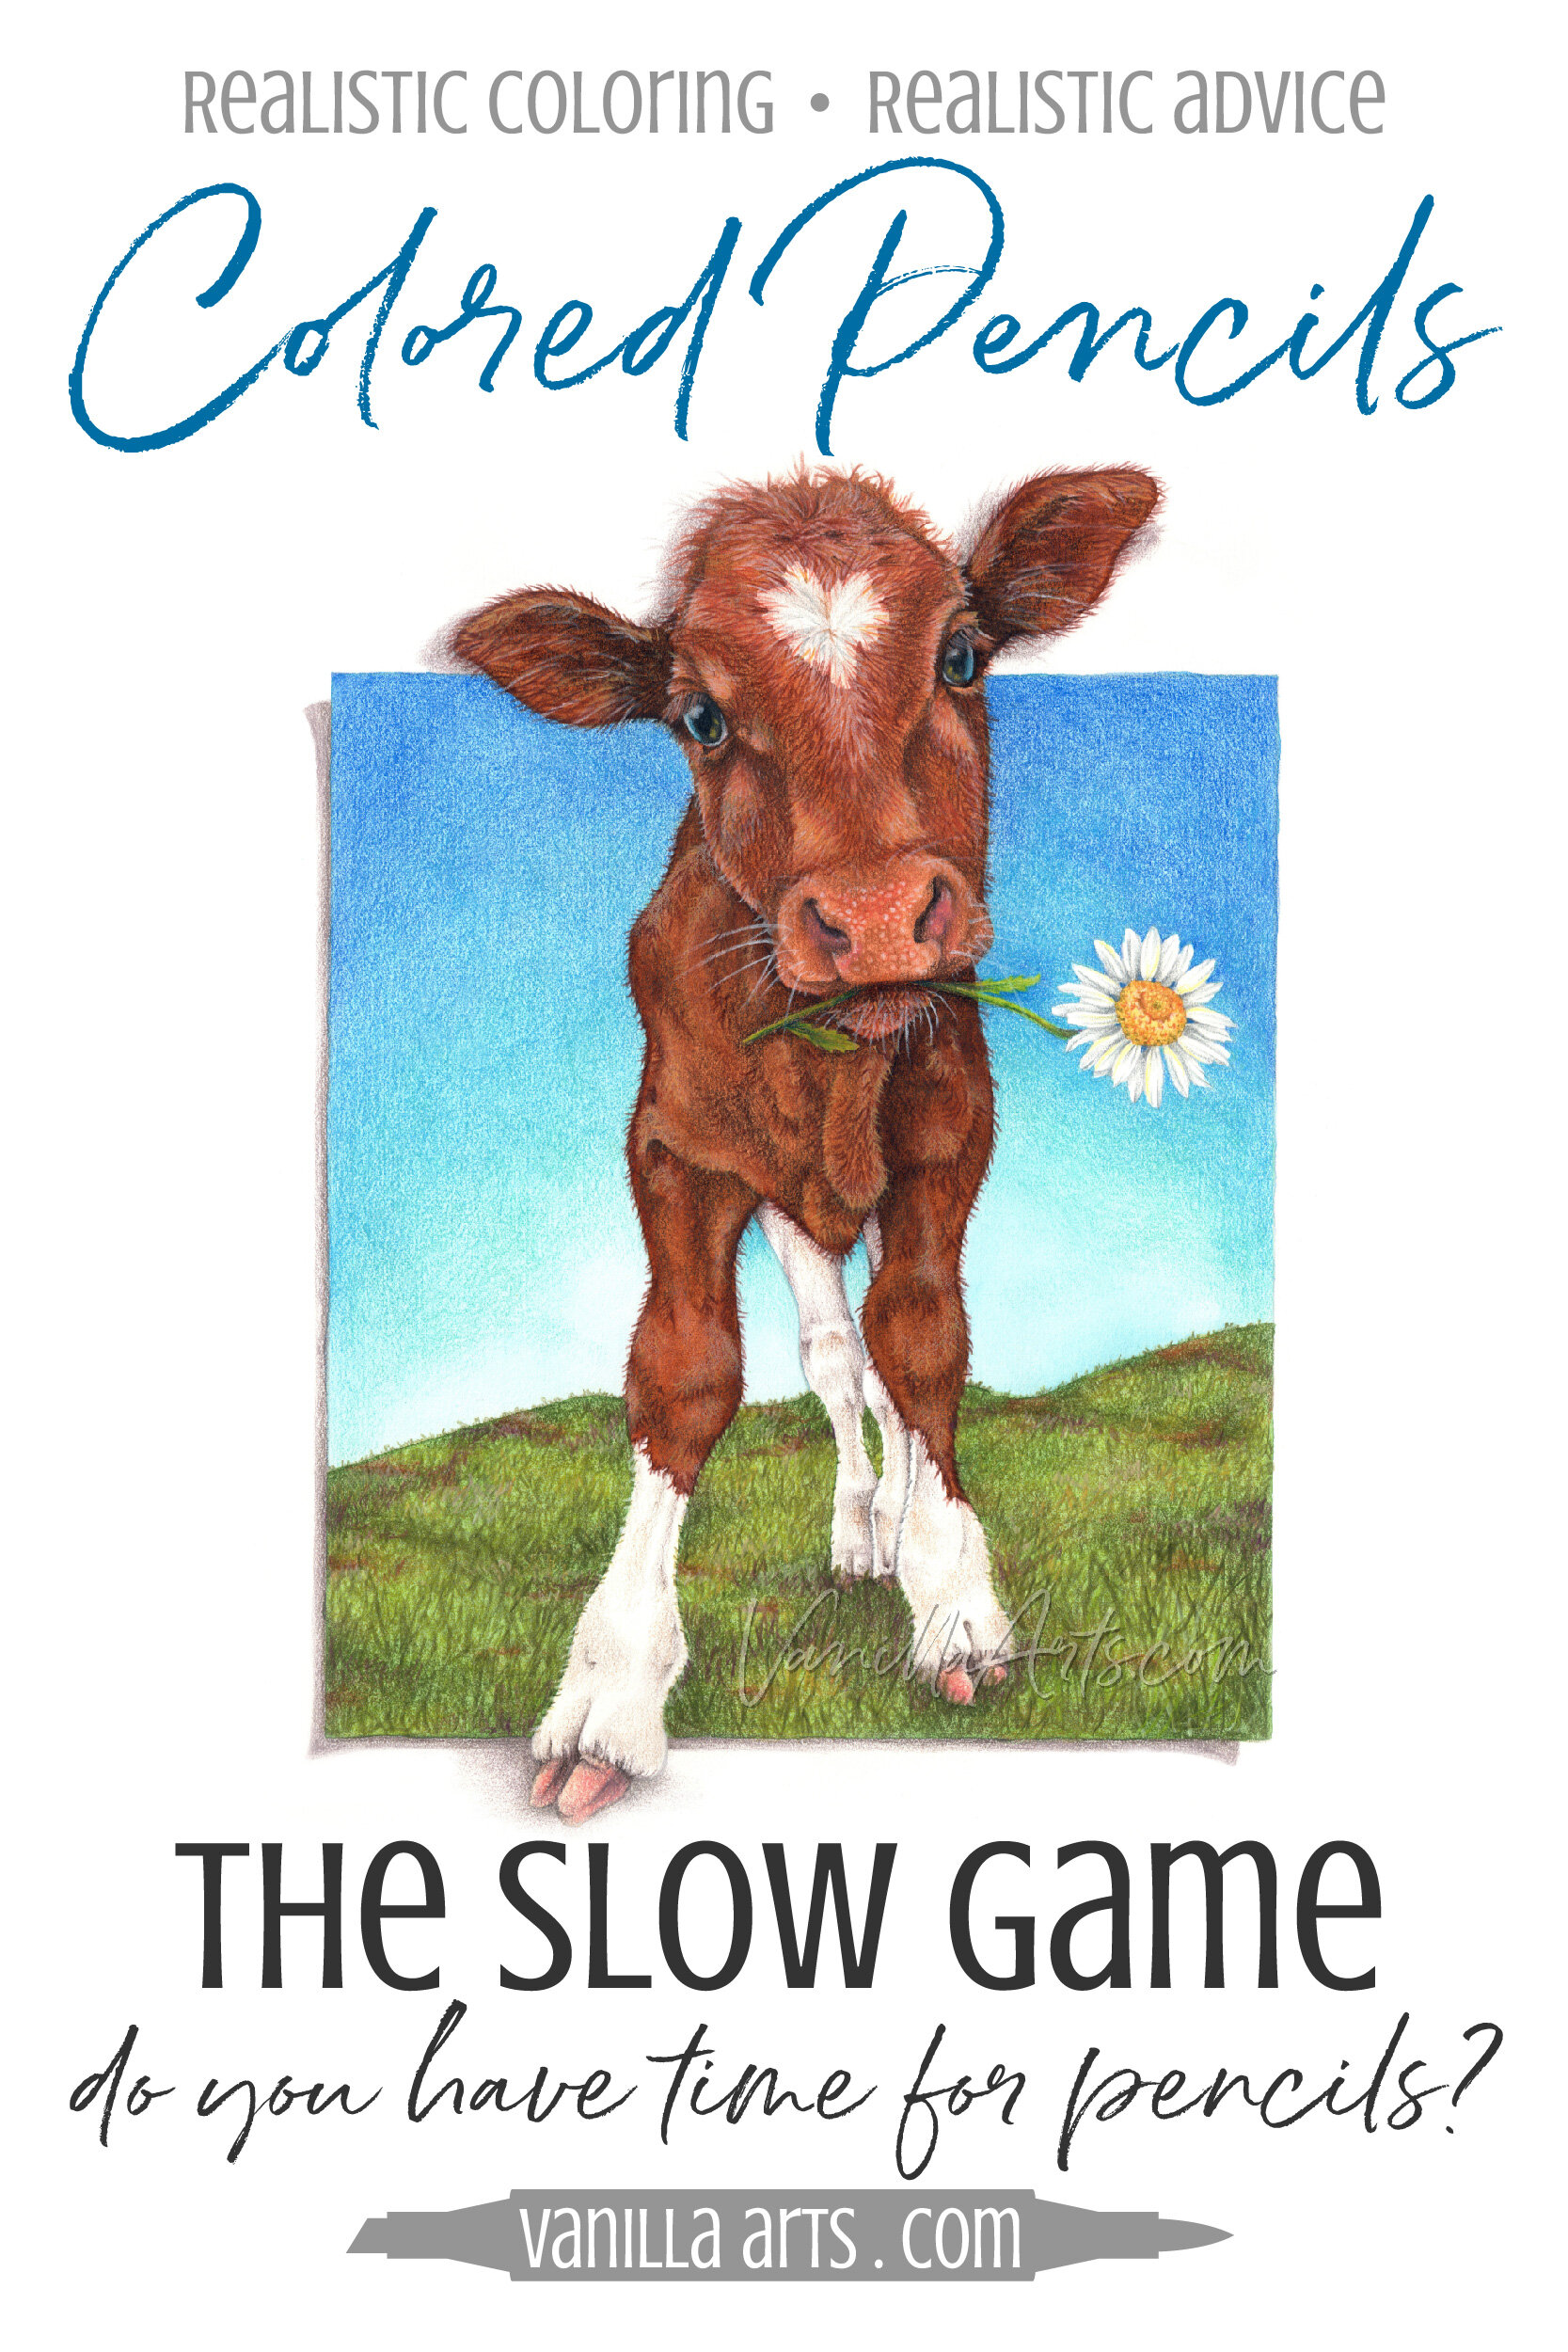

Colored Pencil is Slow!
The sharp point on a colored pencil is teeny-tiny.
If that’s not bad enough, colored pencil painting requires many layers for vibrancy. It takes forever to complete even a small pencil project!
Do you have the time for colored pencil? Do you have the patience?
I picked up my first artist grade colored pencil in the fall of 1984 and I’m still working with them today. That’s decades of working at a turtle’s pace.
How have I survived this long without going crazy?
Hmmmm…
How about if I share some efficiency tips that I’ve picked up over the years?
Colored pencil is slow— pencils are small, the projects large, and vibrant color requires many layers. Not everyone is well suited to pencil art. Professional illustrator Amy Shulke provides an honest look at how long her projects take and shares tips to make coloring efficient and effective.
Before you invest in expensive artist-grade colored pencils, let’s be honest about what it takes to succeed with this time intensive medium.
Projects that Take Forever
I’m not going to sugarcoat it.
Colored pencil takes a long time.
How much time do you spend coloring with Copic Markers or watercolor? Triple that for colored pencil.
As much as I love colored pencils, I understand they’re not for everyone.
Coloring with a pencil sounds so simple. They look easy to learn and easy to use. Yet there are a lot of expensive pencil sets gathering dust in craft rooms across the country right now.
Because colored pencils are deceptive.
They’re frustratingly slow.
Lucifer himself designed colored pencil as the art medium which slowly drives you batty.
“I’ll be there in a minute, honey. Just one more layer…”
You’re adding an eleventeenth layer while the rest of the world is out having frolicking.
More Colored Pencil Tips:
Don’t miss my previous colored pencil tips and suggestions!


How Long Does Colored Pencil Take?
I know you’ve watched colored pencil artists on YouTube. Wow! In just 10 minutes, they colored photo-realistic celebrities, loveable dogs, or the whole darned Grand Canyon.
But psssttt… Look closer.
Very few pencil artists make real-time coloring videos.
They’re almost always time-lapse videos aren’t they?
Why?
Watching colored pencil in actual time is like watching a banana turn brown.
It ain’t much of a show unless you speed it up and add catchy guitar music.
How slow do colored pencil artists work?
You’re in luck; I timed my latest commission piece.
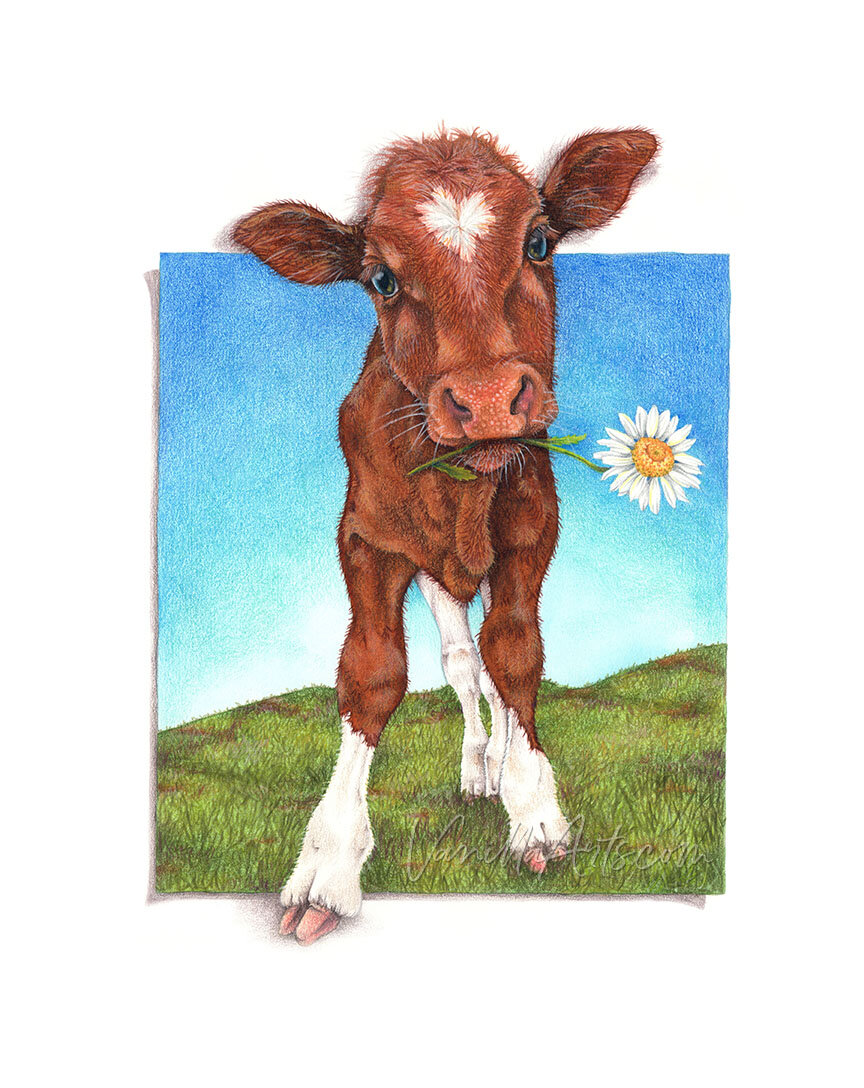
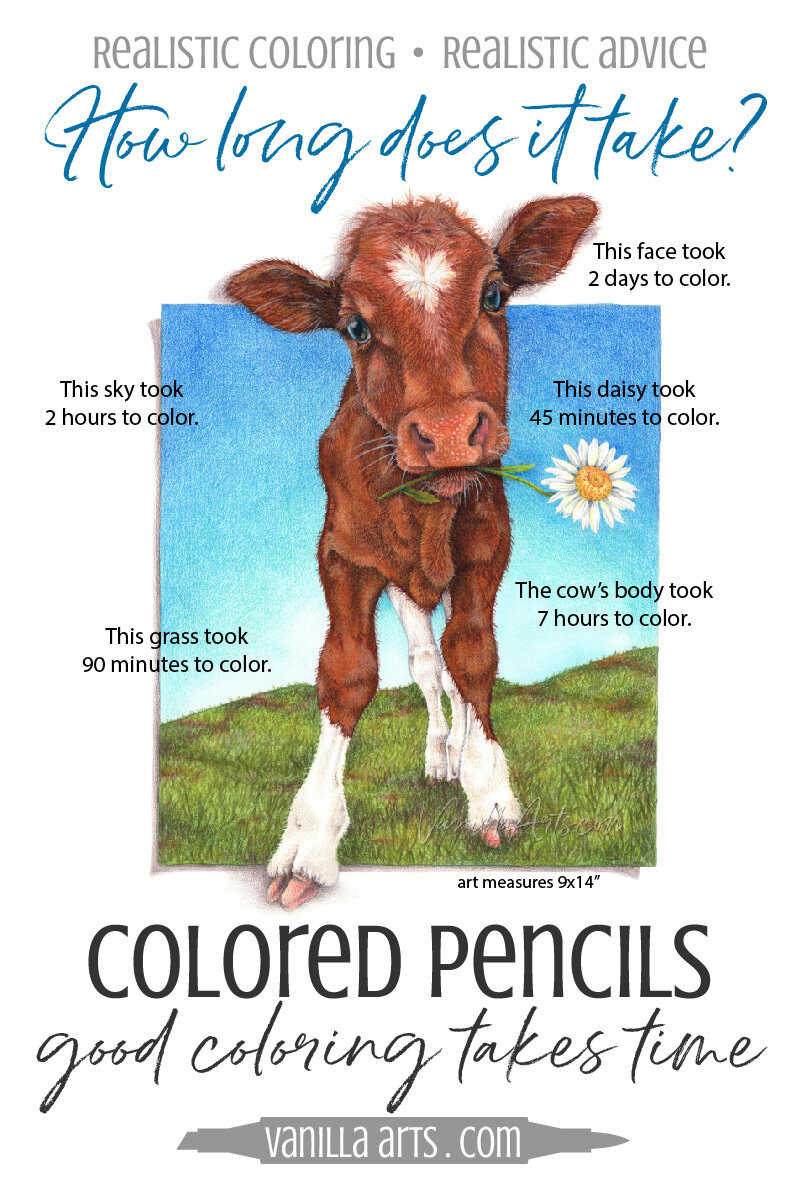
For reference, Emily’s Cow measures 9 inches wide by 14 inches tall. I would have gone larger but this was a rush-job and larger pieces take longer.
45 minutes to draw the line art. I spent another half hour digitizing the drawing and adjusting some of the shapes.
I use a watercolor base below my pencil-work. The painting process took about 2 hours and dried overnight.
2 days for the face. I’d estimate 10 hours total if you don’t include thinking time, small breaks, and letting the dog out. There are at least 8 layers of pencil in most of the face.
7 hours on the body. There aren’t as many pencil layers but the shaping was tricky. I erased several times and there’s a ton of hair flowing in different directions.
45 minutes for the daisy. That’s a lot of time for something basically white.
2 hours on the sky… and honestly, if I wasn’t rushing, I could have used another hour to really fill in the tooth at the top. Coloring smooth with no texture takes concentration.
90 minutes for the grass and I rushed it, trying to make it to the printer’s before they closed. I didn’t use my normal finicky grass technique and frankly, I didn’t do the horizon justice.
This cow took 24.5 hours to color.
And that’s a rush job.
Colored Pencil is Not For Everyone
You either love this medium or you don’t. There’s no halfway about it.
As I said before, pencil appeals to a lot of beginners because they’re a familiar tool. You’ve colored a few itty bitty stamp images so why not try coloring larger? It might be fun.

But you won’t know if you love it until about 45 minutes into a serious piece.
When you look down and see how little you’ve accomplished? At that point, you’re either tickety-boo or you want to stab your eye out.
You’re a pencil person or you’re very much a not-pencil person. And it’ll be obvious.
If colored pencil is your thing, you’ll feel it in your heart. Your brain will burst with tons of ideas to try.
When you’re in your element, the creativity flows.
Idea after idea, flooding out of you. “Ohhh wouldn’t it be cool if I could…”
And if you’re wondering what’s new on Netflix or wishing you were in a Zoom meeting with the entire accounting department instead of adding one more, maybe two layers of blue to a sky? Uhm… well, you’re probably not a pencil person.
You won’t feel the lack of enthusiasm in your heart, you’ll feel it in your left butt cheek which fell asleep 3 layers ago.
Oh, and that’s another sign—
Colored pencil people never say “noooo, not another layer!”

Who Can Love such a Slooooow Medium?
It takes a special kind of person to love working at a sedated snail’s pace.

I’m not the only crazy person who loves this medium dearly.
Many people love to work slow and methodically.
Slow has definite benefits!
I teach classes in colored pencil but also markers and watercolor. When a student picks up ink or paint for the first time, the reaction is usually
“Whoa, whoa, WHOA! Why is this stuff drying so fast? I’ve barely had a chance to touch it!”
That never happens with colored pencil.
You can stop and think all you want with colored pencil.
Evaluate. Meditate. It’s not going anywhere.
Colored pencil encourages you to think and experiment. What happens when I put blue over this red? What happens when I make lines instead of circles?
If you don’t like it, erase it!
You can’t do that with most mediums!
Tips for making colored pencil less never-ending
It’s never going to be speedy but I have learned over the years to work faster.
Fast-er
Faster-ish
But hey, it’s never going to be be fast.
Here are 5 tips for smart and efficient colored pencil coloring:
Size matters
Large projects take more time.
Now remember, if you’re coming from stamp coloring and card-making, our “large” is a whole ‘nother scale than your “large”.
Art paper comes standard in 22x30” sheets and many of us fill the whole page. To many artists- large is anything that requires us to buy paper that’s larger-than-normal.
I know it sounds crazy to someone used to coloring a two inch image but honestly, you folks really do work small.
The smaller-ish you work, the faster-ish you can fill spaces and build layers.
In my pencil classes, I give students images that fit on 8.5 x 11” paper.
So I’m absolutely NOT suggesting that you go back to teeny-weenie stamp-sized coloring images.
Realistic depth and dimension requires more size than stamp-colorers assume. You need space to explore details, add texture, and develop form. But size is a definite trade off because large images take more time to complete.
8.5 x 11 is large enough to develop some level of detail and realism without boring you to death.
I still encourage people to try working larger but when time is an issue, downsize the project.
2. Be realistic about time
Whether you’re a skilled professional or a hobbyist, we all underestimate the amount of time required to complete a project.
We know colored pencil is slow but we rarely allow ourselves enough time to actually work slow.
Heck, at one point my career was nothing but art on strict deadlines but even with that experience, I still manage to talk myself out of reserving enough time.

Here’s how I typically shoot myself in the Achille’s heel:
(yes, I love a good mixed metaphor)
I calculate how many days I need to complete the project. I’m actually pretty good at this part.
But I start drawing at the last possible moment.
I color leisurely and marvel at how much fun I’m having.
I suddenly realize I’m almost out of time.
I sprint to the finish, skipping most of my best ideas.
Not exactly a formula for greatness, eh?
I see students do something similar— not so much with time but with overestimating their patience.
They start at a reasonable pace and color the first few items with great concentration and skill.
Then the little devil on their shoulder whispers:
“Do you realize how long the rest of this project is going to take? You’ll be here forever! Neener-neener ha ha!”
And even though there’s no deadline and despite the fact that I’ve told them repeatedly to take as much time as they want…
Suddenly they rush like someone’s about to release the lions…
They just need to be done.
It doesn’t matter if they’re ruining excellent work with pure scribbles. The finish line is their only goal.
Rushing is never a good thing.
“Yeah, yeah yeah” we say, “next time I’ll give myself more time.” But somehow we never do it.
So let this sink in: You will never do your best work if you’re rushing to finish.
I need to tattoo that on the back of my left hand, up my right arm, and maybe on my forehead. Sigh.
3. Learn to underpaint
I teach mixed media instead of pure colored pencil classes. That’s because I’ve developed an underpainting method to save time.
A good underpainting with watercolor or Copic Marker can replace 3-4 coats of pencil.
Watercolor and marker ink are wet media. They seep down and coat the tooth of your paper with gorgeous color.
It’s the pre-coloring before the real coloring.
Every pencil person knows we spend most of our time trying to build up enough pencil layers to fill in the tooth. This eliminates the patchy white tooth-valleys that make colored pencil projects look like gritty sidewalk chalk drawings.
Now I know, some of you are saying “well, I don’t need to underpaint because I use Gamsol to fill in the tooth.”
But hold on, solvent is not a time saver!
The average artist lays down 2-4 layers of pencil before applying OMS or other solvents.
Then they add more layers over the melted layers. And once more, they melt the new layers with solvent again.
Then they add texture layers or the finish coats of pencil over the top of all that.
You’re not reducing the number of layers, you’re just smooshing them around with a paintbrush. You’re never using fewer layers of pencil.
PLUS the solvent step is basically another layer, this one with an itty bitty blending stump or a fiddly brush.
A simple underpaint layer actually replaces the first few coats of pencil.
A more skillful underpaint layer can stand on its own with NO pencil on top.
That’s actually actual time savings and it looks beautiful.
To learn more about underpainting, check out my online workshops here.

4. Color the eyes first
Everyone has their own reasons for starting where they start. Some begin coloring the background and work their way forward. Some block in all the lightest lights or darkest darks. Some start with the cutest thing they see and gradually tackle the boring stuff.
I recommend starting with the eyes.
And to be clear, I’m not talking about the drawing process. I mean that I draw first and underpaint next. But then I begin the colored pencil coloring process with the eyes. Always the eyes.
Why?
Because the eyes are the most important part of any portrait or character. Good eyes make cute cows. Bad eyes make bovine serial killers.
Basically, if you mess up the eyes, you’re starting over anyway.
So start with the eyes first. Then if you mess them up beyond repair, you’re throwing away less of your hard work.
You’re welcome.
5. Form before detail
Okay, this is something I always thought was purely logical… like why would anyone work any other way? But then I noticed very few coloring students do this.
So now I’m thinking I picked it up in an art class somewhere. I don’t know but it saves a ton of time.
Base-coat everything for shape before adding details, texture, and decoration.
For Emily’s Cow, I started with a watercolor underpainting. With my paintbrush, I started to develop the depth a bit, darkening the neck to push it behind the head, darkening the armpits and the back legs. On the head, I darkened inside the ears, below the eyes, and around the nose.
This is what artists call defining and refining the form.
Then after the eyes were to my liking (see tip #4), I again started back on the form of the cow’s head and body. I did 2 layers of pencil, just exploring and refining the basic shape of the cow.
Fur is fun to color, but if the skull, body muscles, and legs are not shaped correctly, you’re stuck with a freaky looking cow. No amount of awesome fur can hide a bad body.
And sure, the highlights are tempting to color right away… but again, if the cow isn’t shaped right, you’ll be erasing all these fun details to correct the underlying structural issues.
A lot of colorers color piecemeal. They’ll color the head to perfection. Then color the daisy. Then color the body. the grass, and the sky.
But that’s risky because you can end up with back legs which look closer than his chin or a sky that pops forward instead of receding far into the distance.
If the forms, depth, and distance are wrong, it doesn’t matter how nice the fur is or how sparkling the highlights are.
Get the essentials correct before moving to the details.
It saves you time and heartache.
There you go,
5 Tips to Color Smart & Efficient with Colored Pencils
Colored pencil is always going to take longer than you want but if you approach the project wisely, you can work faster-ish.

Size matters- Find the Goldilocks size; large enough for detail and realism but small enough to finish before your grandchildren have grandchildren.
Be realistic about time- Plan enough time to meet the deadline but also know your mental limits. Rushing never ends well.
Underpaint- A smart base-coat of paint, ink, or even pastel can eliminate several layers and enhance the look of your projects.
The eyes have it- Make sure the eyes look warm and friendly before you invest effort into developing the rest of the scene.
Shape before detail- The form is more important than texture or pattern. Don’t get sucked into working all the fun stuff to perfection first.
And remember: colored pencil takes a long time…
BUT THAT’S NOT BAD!
There’s a wonderful zen experience to working slowly and methodically with colored pencil. If you’re patient and can celebrate small victories, corored pencil painting a very rewarding art form!
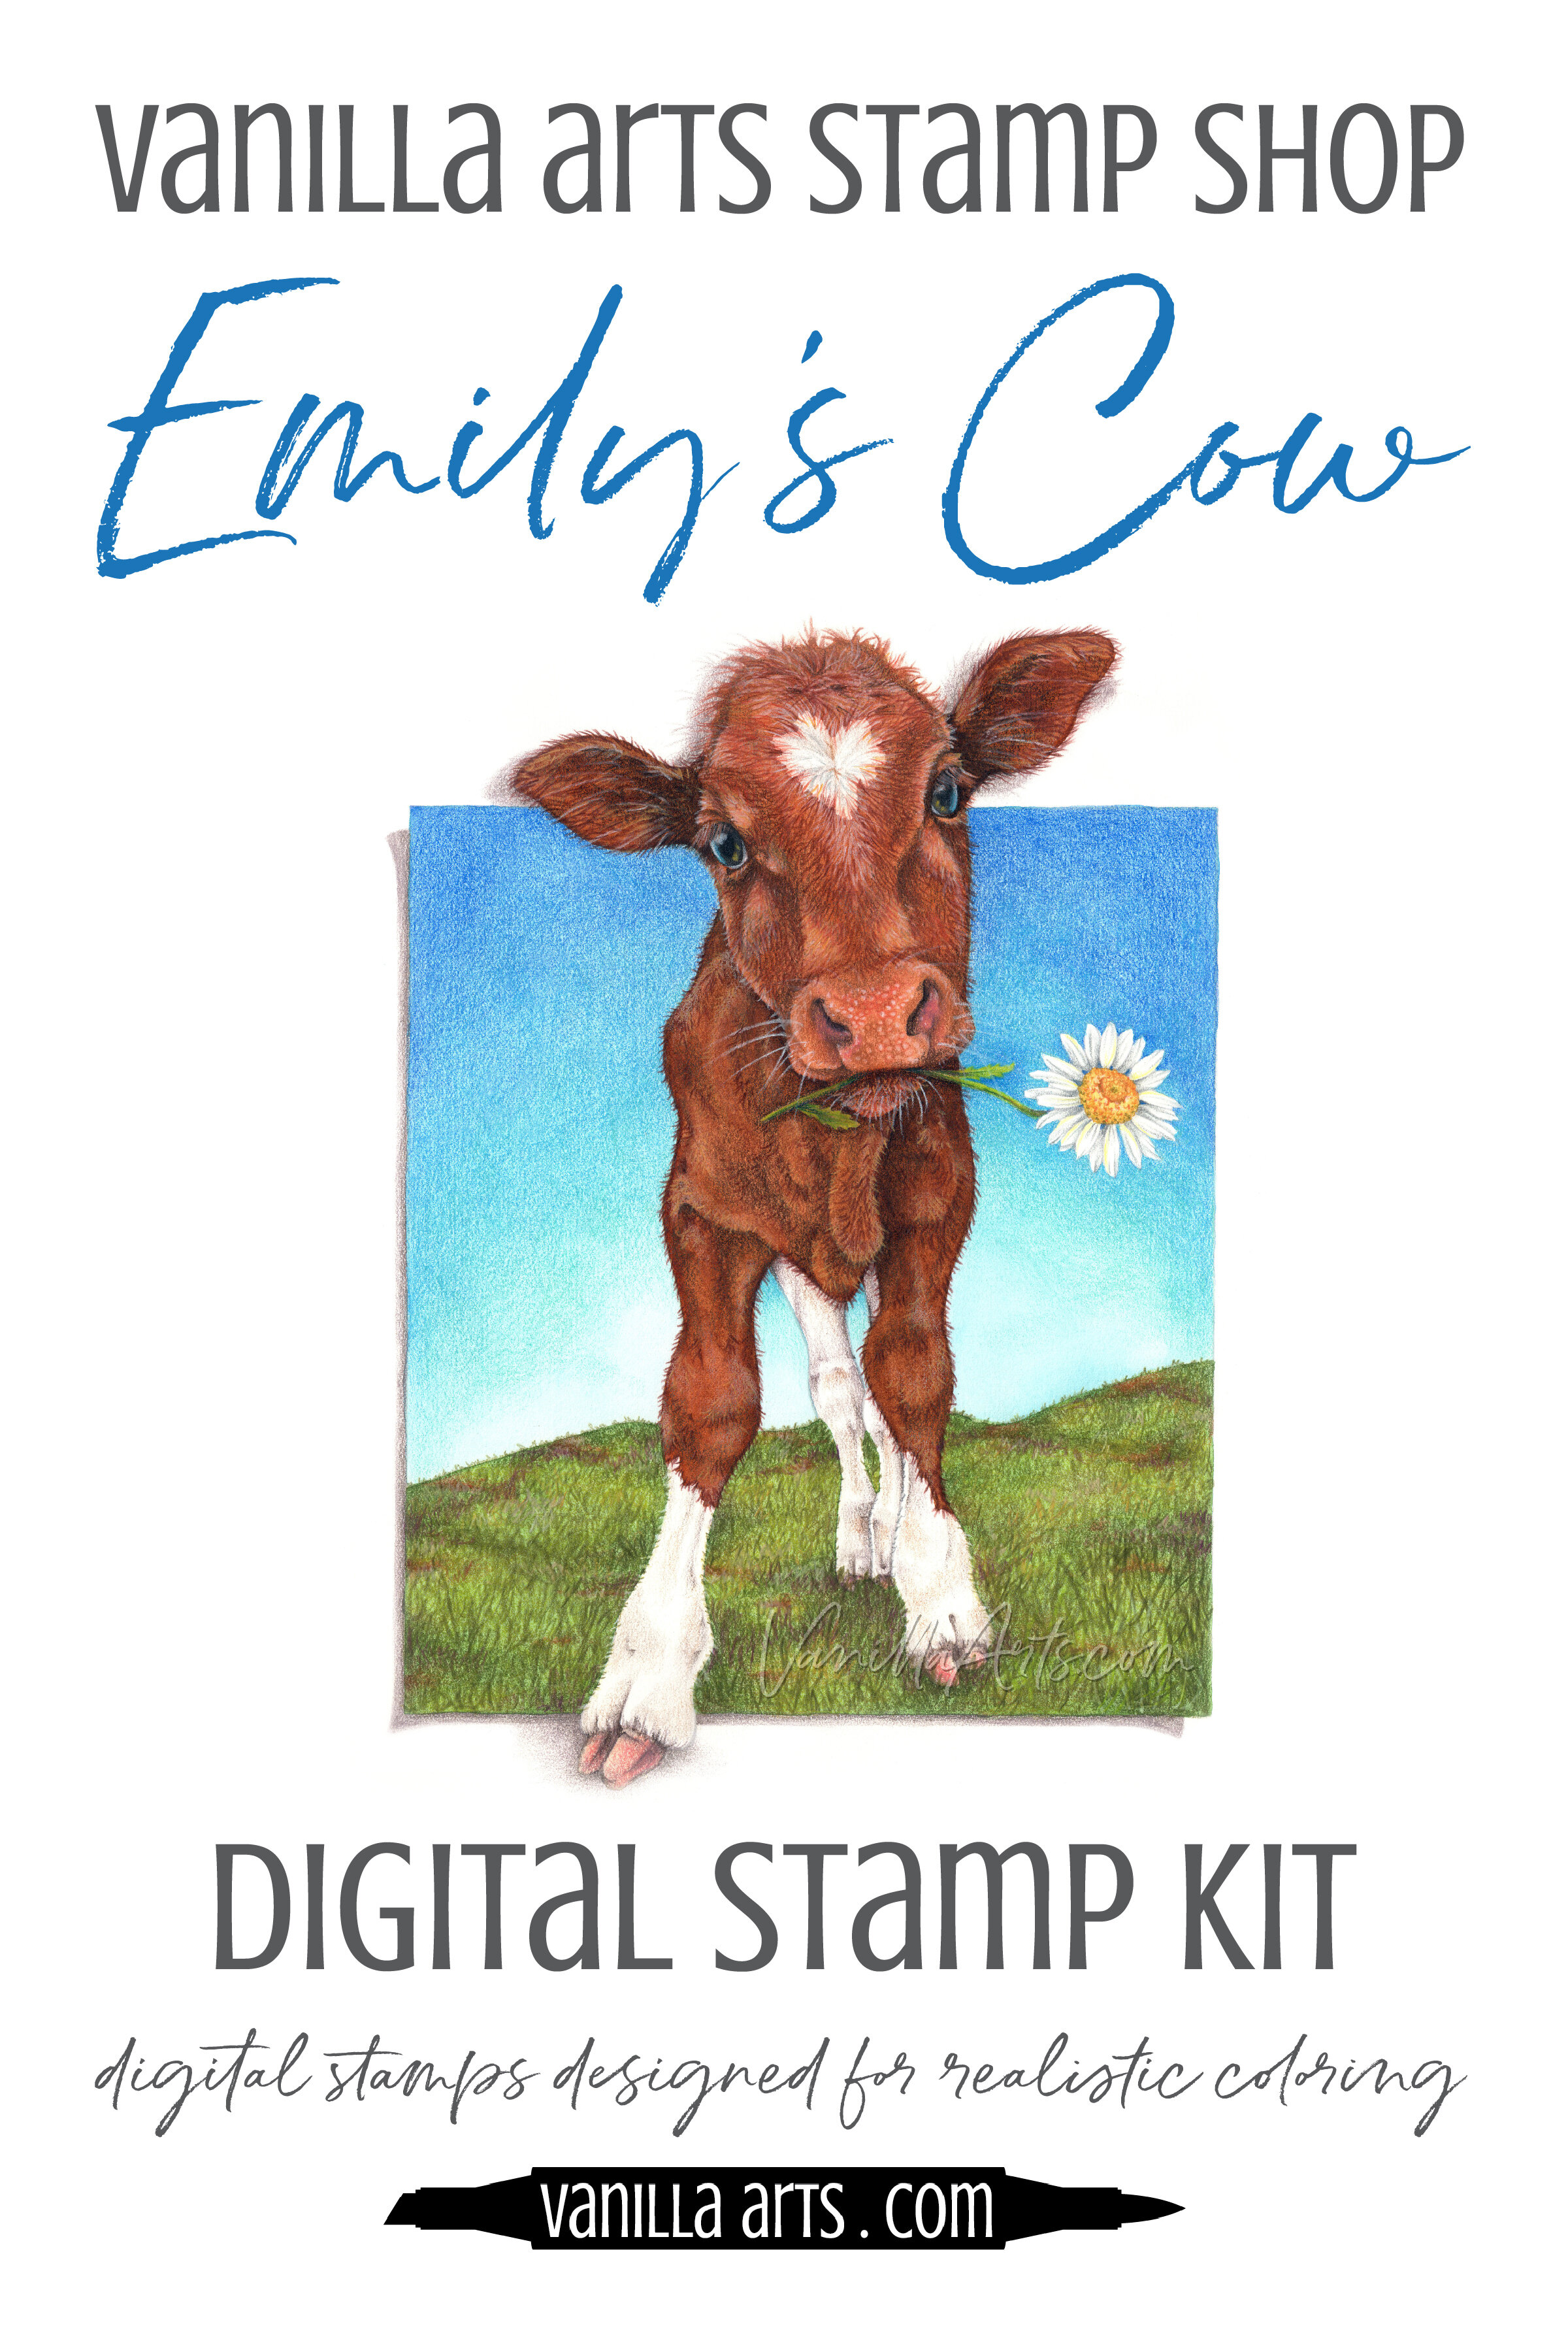
How Now, Brown Cow?
Ready to try challenge level coloring?
Emily’s Cow is a new digital stamp package from Vanilla Arts!
Apply the techniques and concepts you’ve learned in fur and color sculpting lessons here at Vanilla Arts on a fun new retreat-sized image.
The included cow coloring process photos will guide you through coloring this lovable and curious calf.
Packet Includes: PDF Color Palette Suggestions, Photo References, Grayscale Image, Color Map, Full Color Project Sample, and Process Photo Collage.
Select Products used in Emily’s Cow:

Vanilla Arts Company is a participant in the Amazon Services LLC Associates Program, an affiliate advertising program designed to provide a means for use to earn fees by linking to Amazon.com.